Fairy With Wand Embroidered Iron On Patch
- Delivery time: 7-8 working days
- Free Shipping on All Orders Above INR 1,000

Description
Description
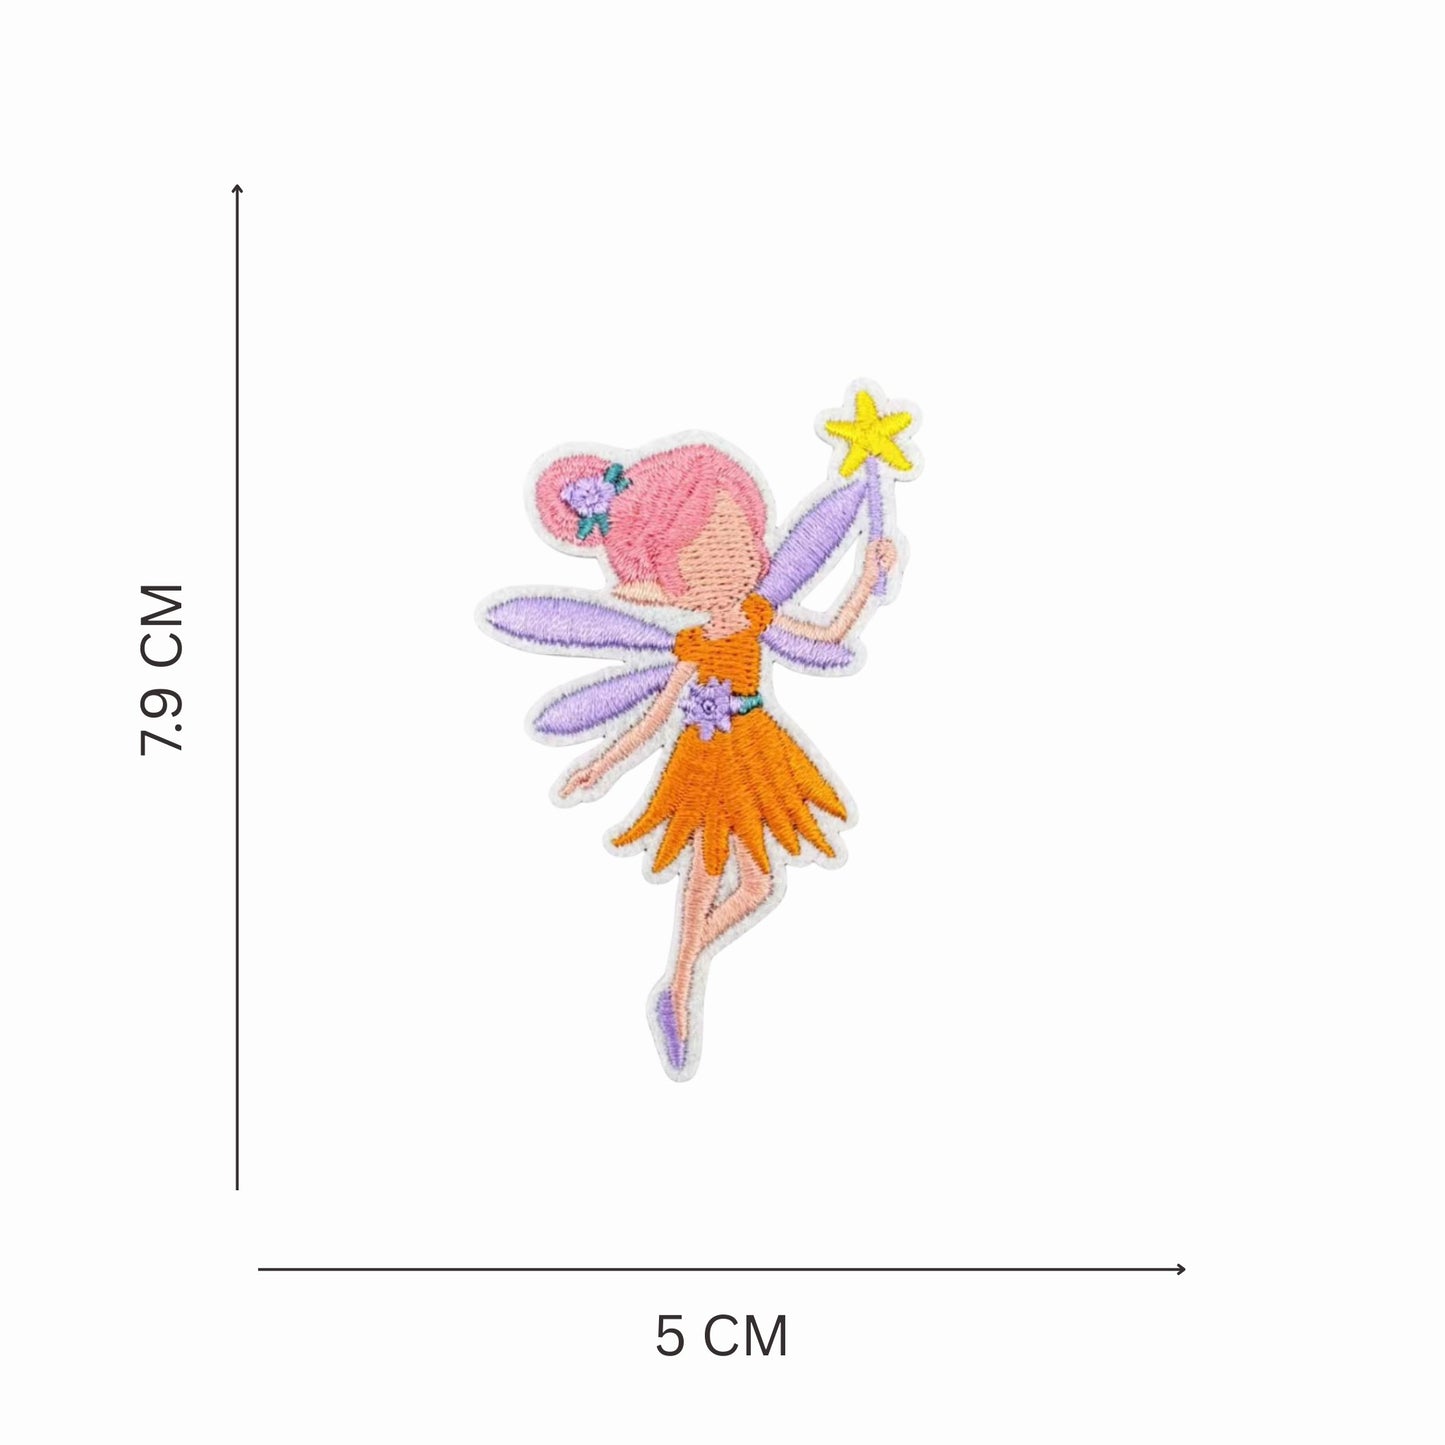
Bring a touch of magic and imagination to everyday accessories with this beautifully embroidered fairy iron on patch. Designed with delicate detailing and soft pastel tones, this patch features a graceful fairy holding a star wand, making it perfect for children and adults who love whimsical, storybook inspired designs.
Crafted with high quality embroidery, the patch showcases a harmonious blend of pastel pink, lavender, soft peach, warm orange, and hints of yellow, finished with a clean white border for a polished look. The fine stitching adds texture and dimension, ensuring the design stands out while remaining lightweight and versatile.
Ideal for personalising backpacks, jackets, tote bags, pouches, caps, and craft projects, this iron on patch allows you to transform everyday items into something truly unique. Whether used as a playful accent or a thoughtful gift, it adds charm, creativity, and a sense of wonder to any piece.
How To Use:
How To Use:
To Iron-On A Patch
Step 1: Prepare the Patch Area
Ensure the patch area is free from any debris, such as hairs, lint, or dirt.
Step 2: Select the Appropriate Fabric
Assess the fabric type of the item you plan to attach the patch to. For delicate materials like leather or heat-sensitive synthetics, opt for a sew-on patch instead.
Step 3: Set Your Iron
Prepare a dry iron (without steam) to avoid damaging the fabric or patch.
Step 4: Attach the Patch
Position the patch on the fabric, covering it with a piece of fabric or parchment paper. Gently press the iron onto the patch, starting from the center and using the tip of the iron for precision.
Step 5: Flip the Fabric
Turn the fabric over and repeat the same ironing process on the back side of the patch to ensure a secure bond.
Step 6: Allow Time to Bond
Let the patch cool for 5-10 minutes, allowing the adhesive to fully bond with the fabric.
Shipping & Returns
Shipping & Returns
Shipping Information:
We offer fast and reliable shipping with tracking to ensure your order reaches you promptly.
Returns Information:
We do not accept returns
Disclaimer
Disclaimer
Please note that the colors of our products may vary slightly from what you see on the website. This is due to differences in photography, editing, and lighting. We strive to represent our products as accurately as possible.