Iron On/Sew On Patches - Glitter Pearl Letters Patches
5 in stock - Almost gone!
- Delivery time: 7-8 working days
- Free Shipping on All Orders Above INR 1,000

Description
Description
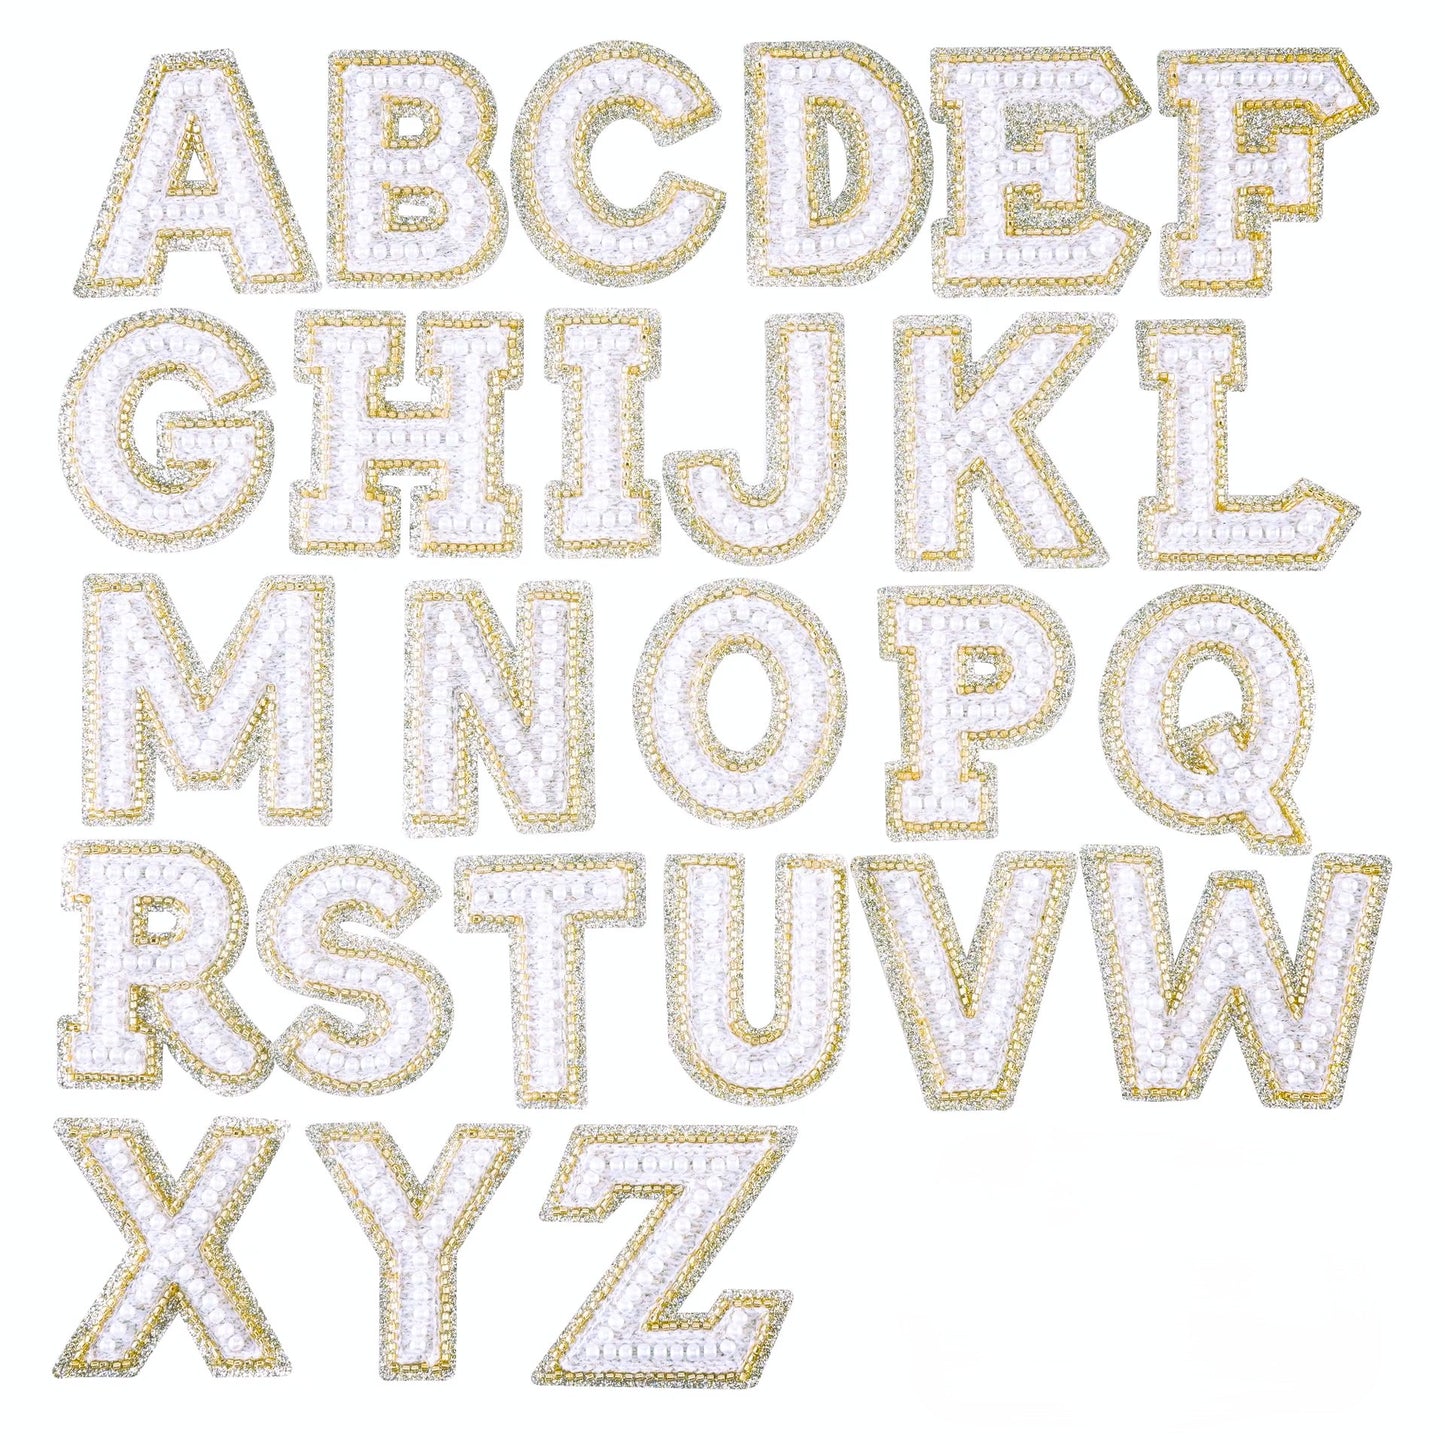
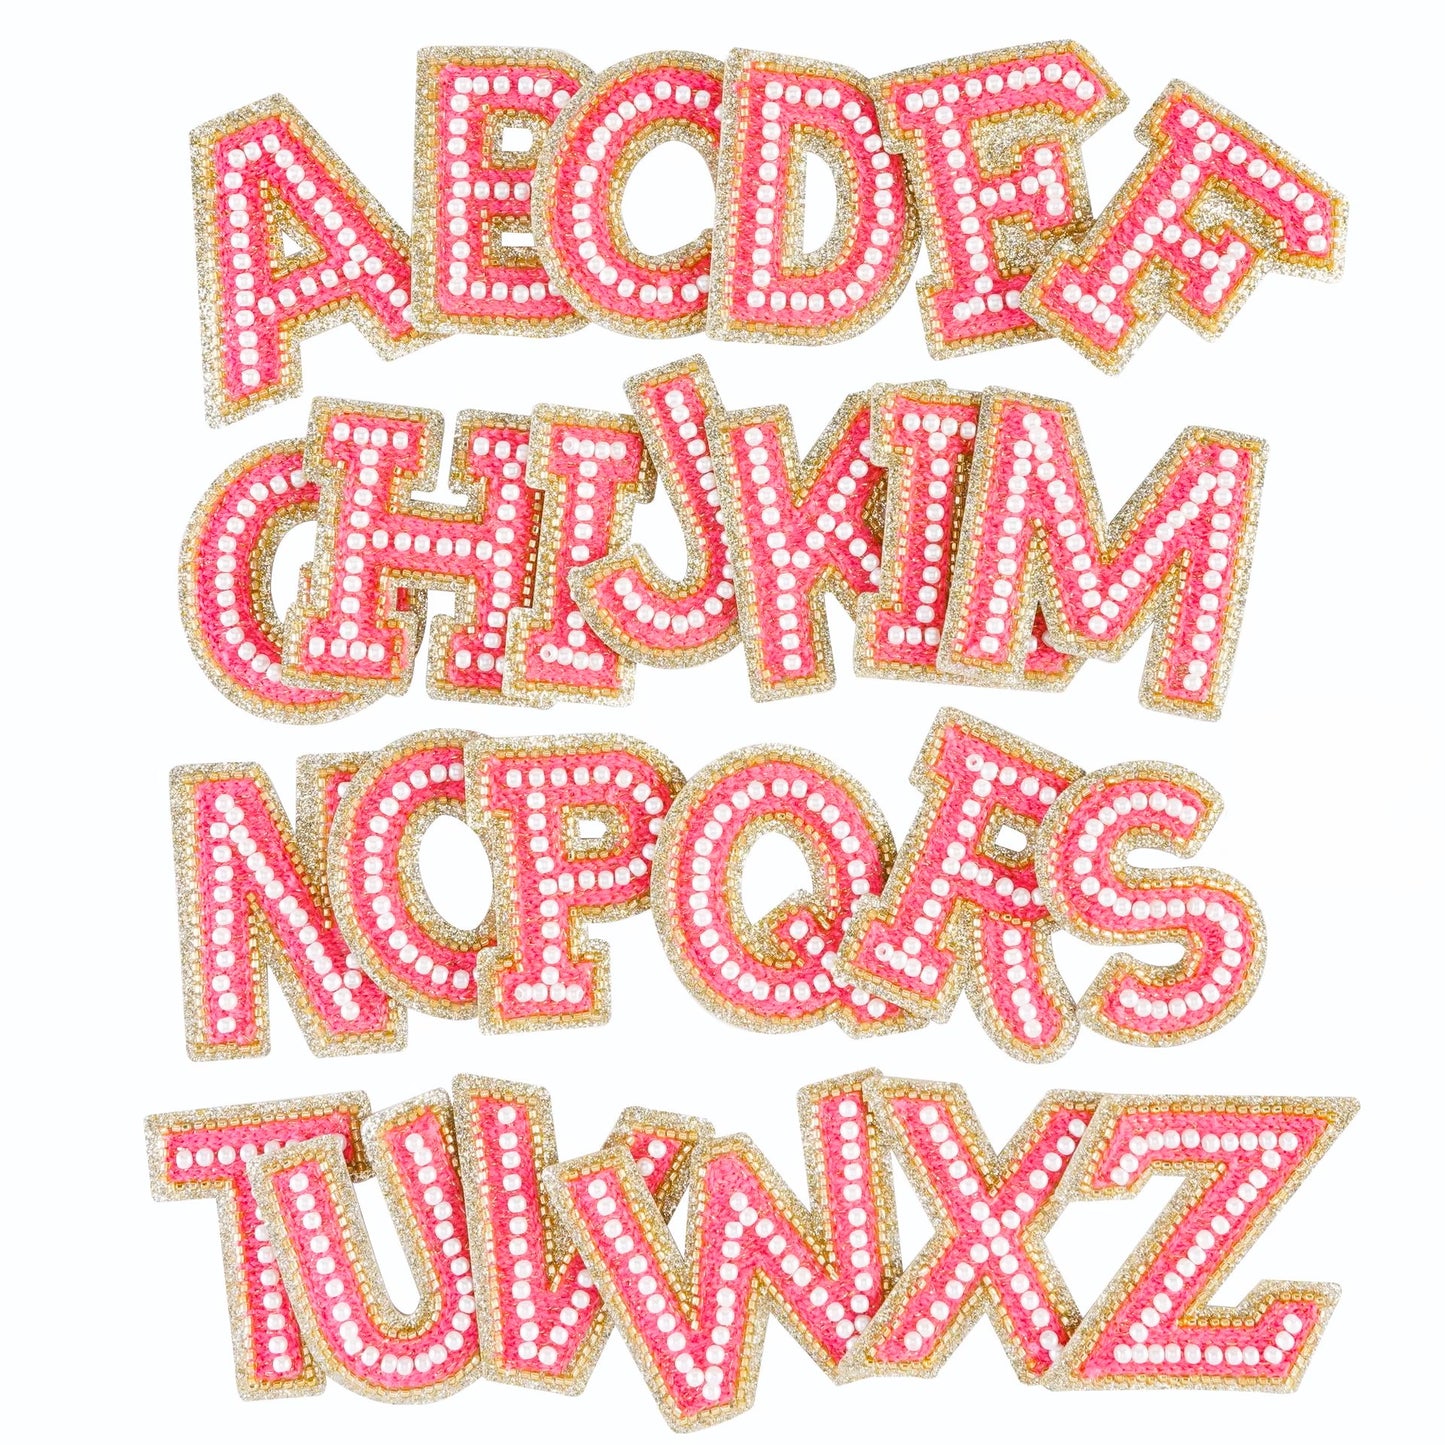
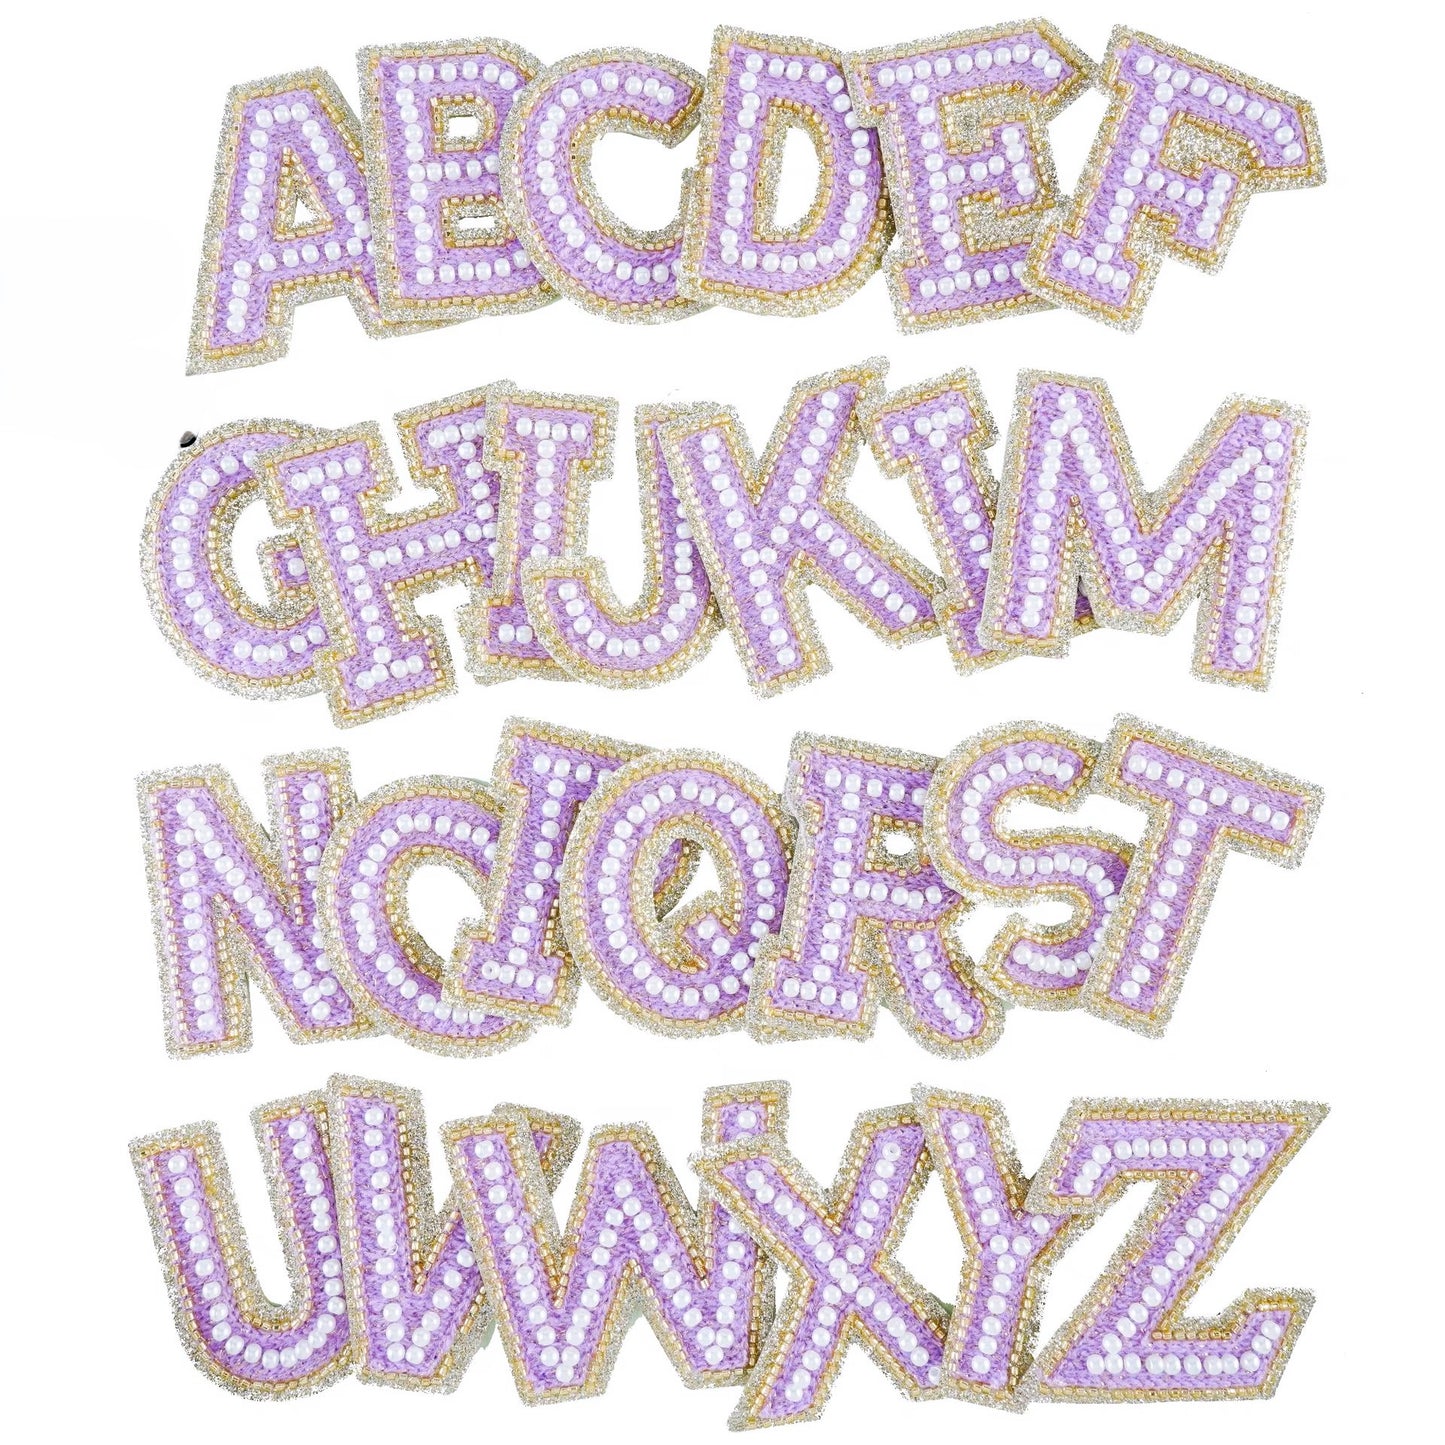
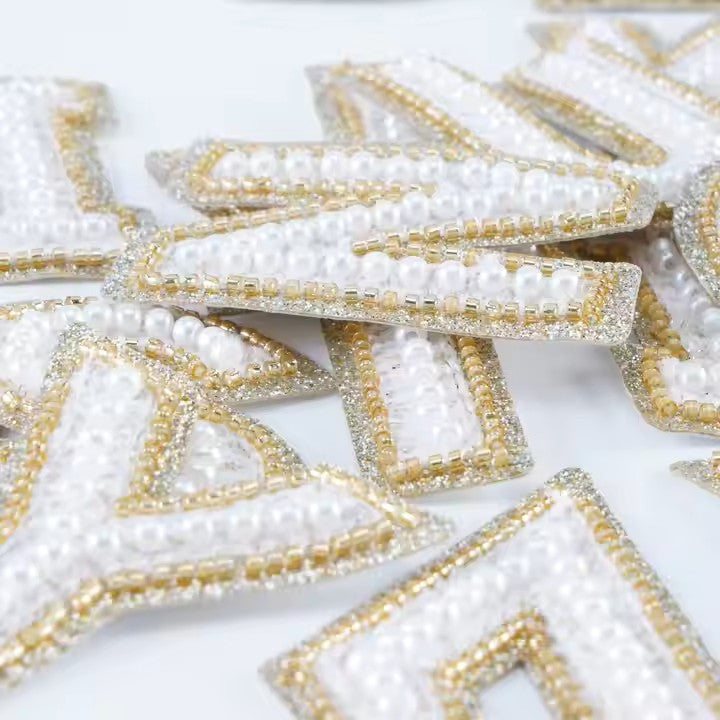
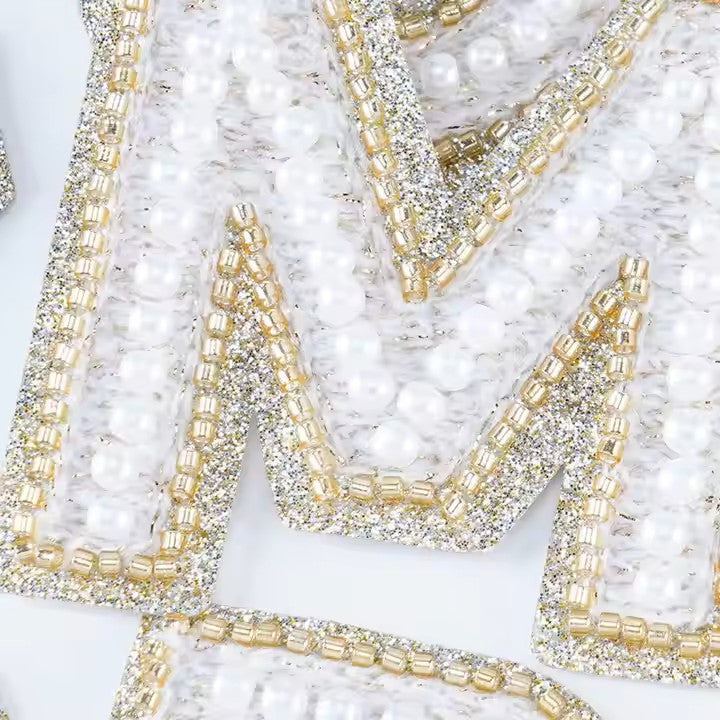
Elevate your style with these Iron-On Premium Quality Glitter Pearl Letters Patches! Available in six stunning colors—Green, Light Pink, Bright Pink, Lavender, Light Blue, and White—these patches add a sparkling, glamorous touch to any item. The glitter and pearl details create a luxurious and eye-catching effect, perfect for personalizing clothing, bags, hats, and accessories. Made with premium materials, these patches are durable and easy to apply with and iron or sew, allowing you to effortlessly customize your favorite items. Whether you're looking to make a bold statement or add a subtle shimmer, these glitter pearl letter patches are the perfect way to add a touch of elegance and fun to your wardrobe.
How To Use:
How To Use:
To Iron-On A Patch
Step 1: Prepare the Patch Area
Ensure the patch area is free from any debris, such as hairs, lint, or dirt.
Step 2: Select the Appropriate Fabric
Assess the fabric type of the item you plan to attach the patch to. For delicate materials like leather or heat-sensitive synthetics, opt for a sew-on patch instead.
Step 3: Set Your Iron
Prepare a dry iron (without steam) to avoid damaging the fabric or patch.
Step 4: Attach the Patch
Position the patch on the fabric, covering it with a piece of fabric or parchment paper. Gently press the iron onto the patch, starting from the center and using the tip of the iron for precision.
Step 5: Flip the Fabric
Turn the fabric over and repeat the same ironing process on the back side of the patch to ensure a secure bond.
Step 6: Allow Time to Bond
Let the patch cool for 5-10 minutes, allowing the adhesive to fully bond with the fabric.
Shipping & Returns
Shipping & Returns
Shipping Information:
We offer fast and reliable shipping with tracking to ensure your order reaches you promptly.
Returns Information:
We do not accept returns
Disclaimer
Disclaimer
Please note that the colors of our products may vary slightly from what you see on the website. This is due to differences in photography, editing, and lighting. We strive to represent our products as accurately as possible.