Mini Iron-On Alphabet Patches (A–Z, 2.5 cm) – Rounded Thick Stroke Embroidered Letters in Black, White & Pink
Almost gone!
- Delivery time: 7-8 working days
- Free Shipping On All Orders Above INR 1000
Description
Description
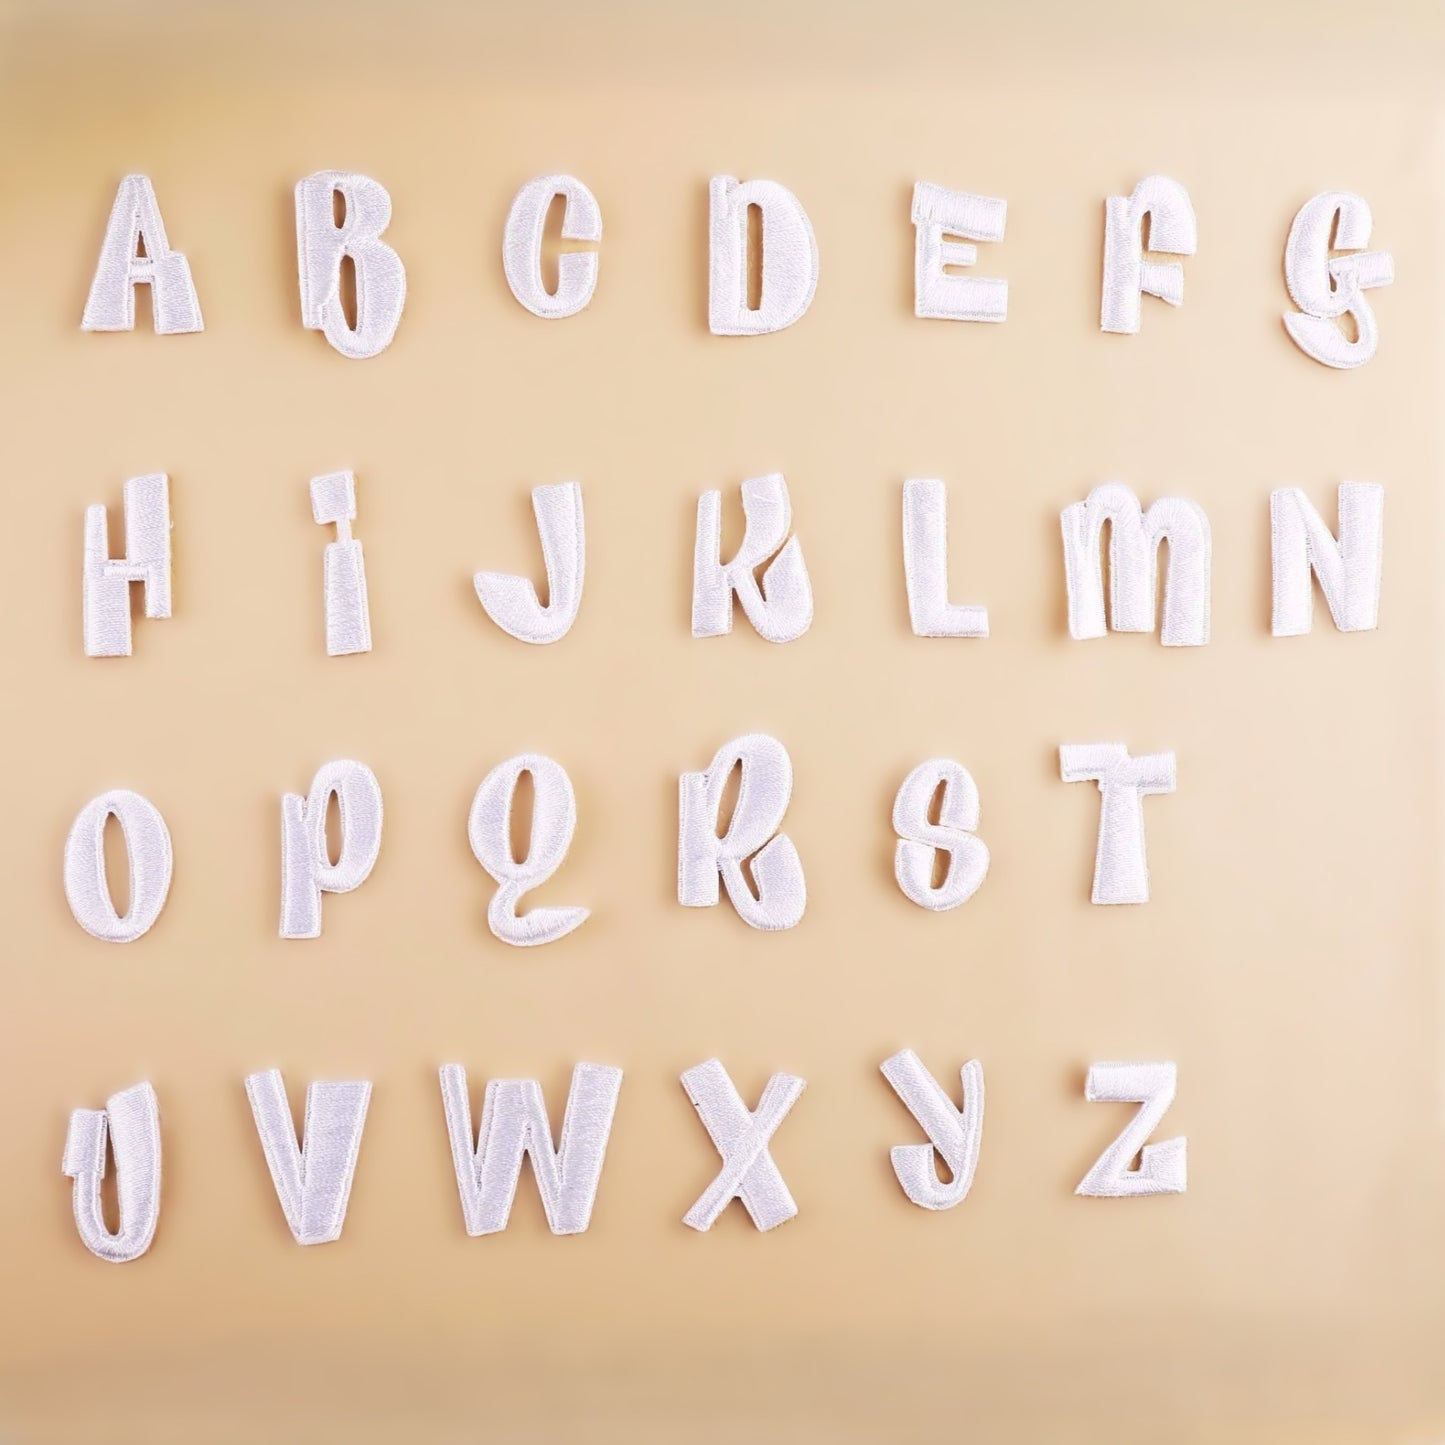
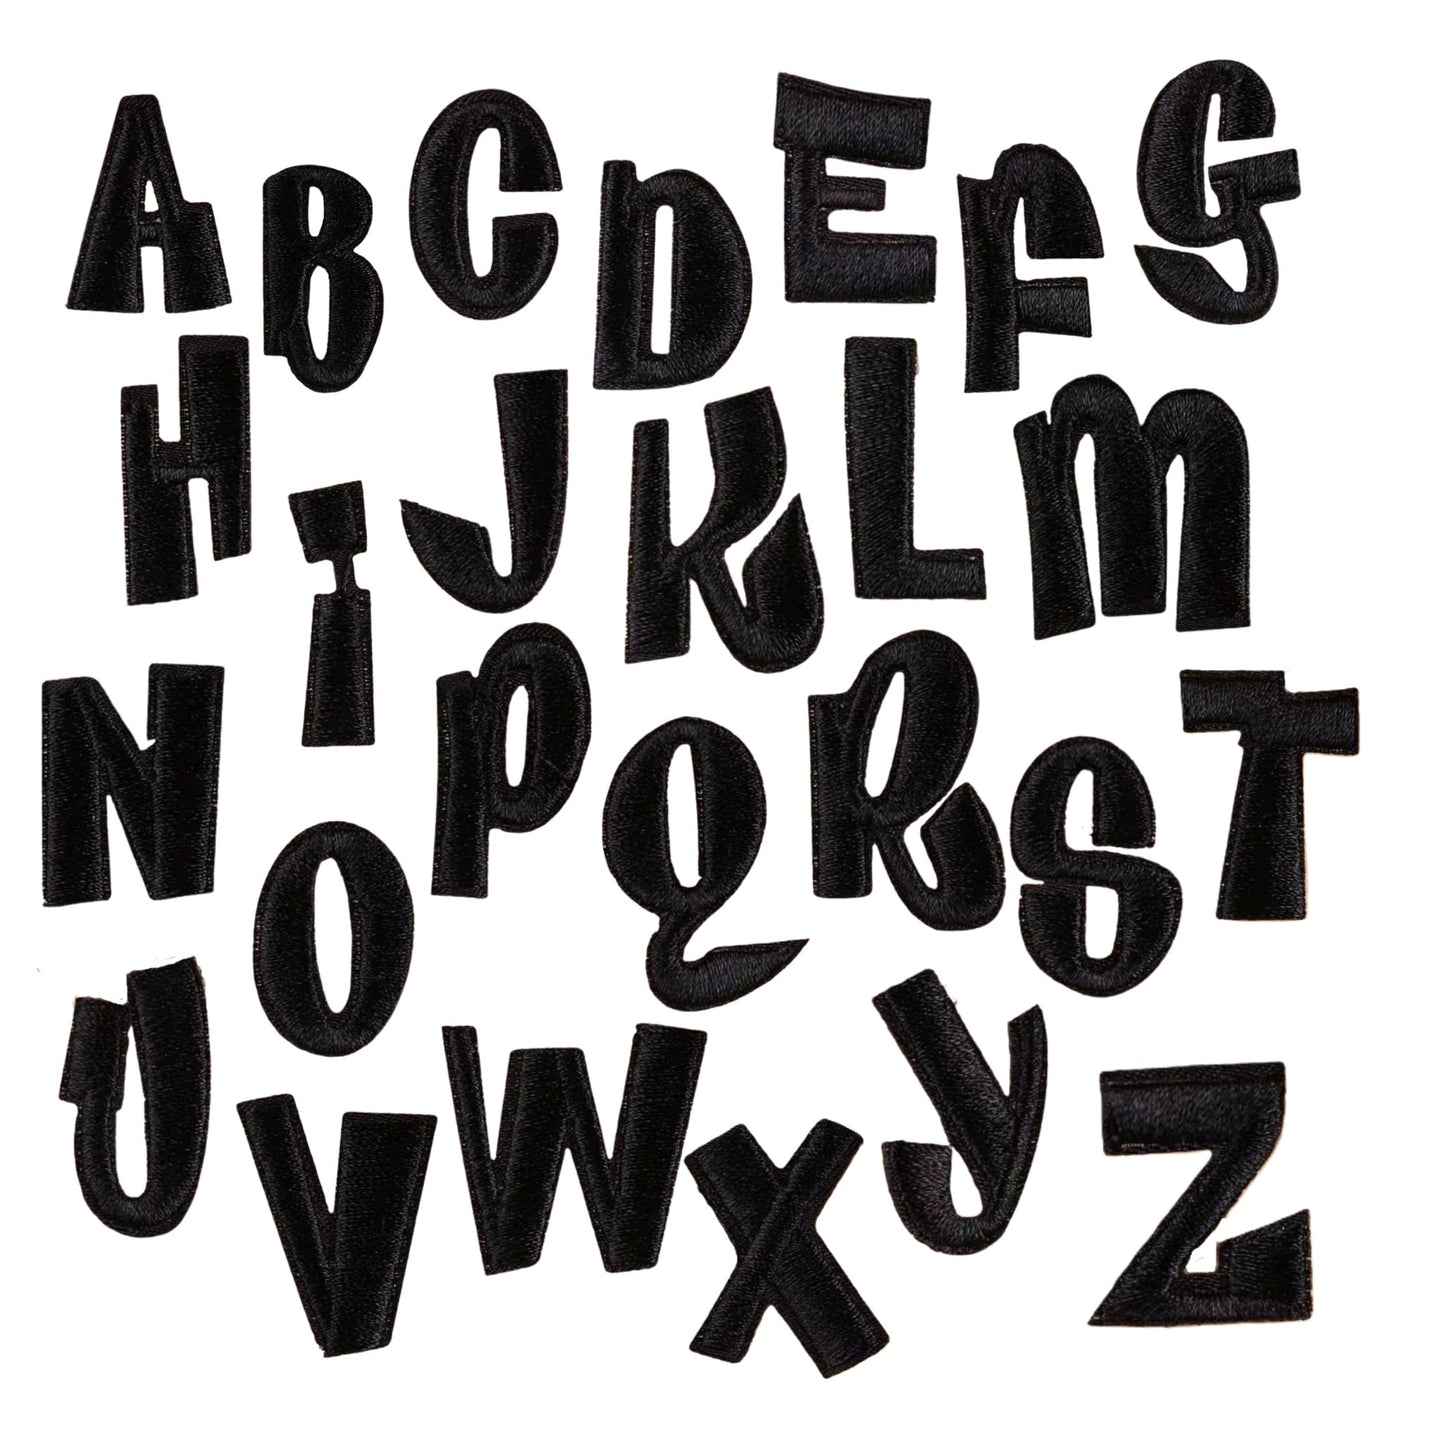
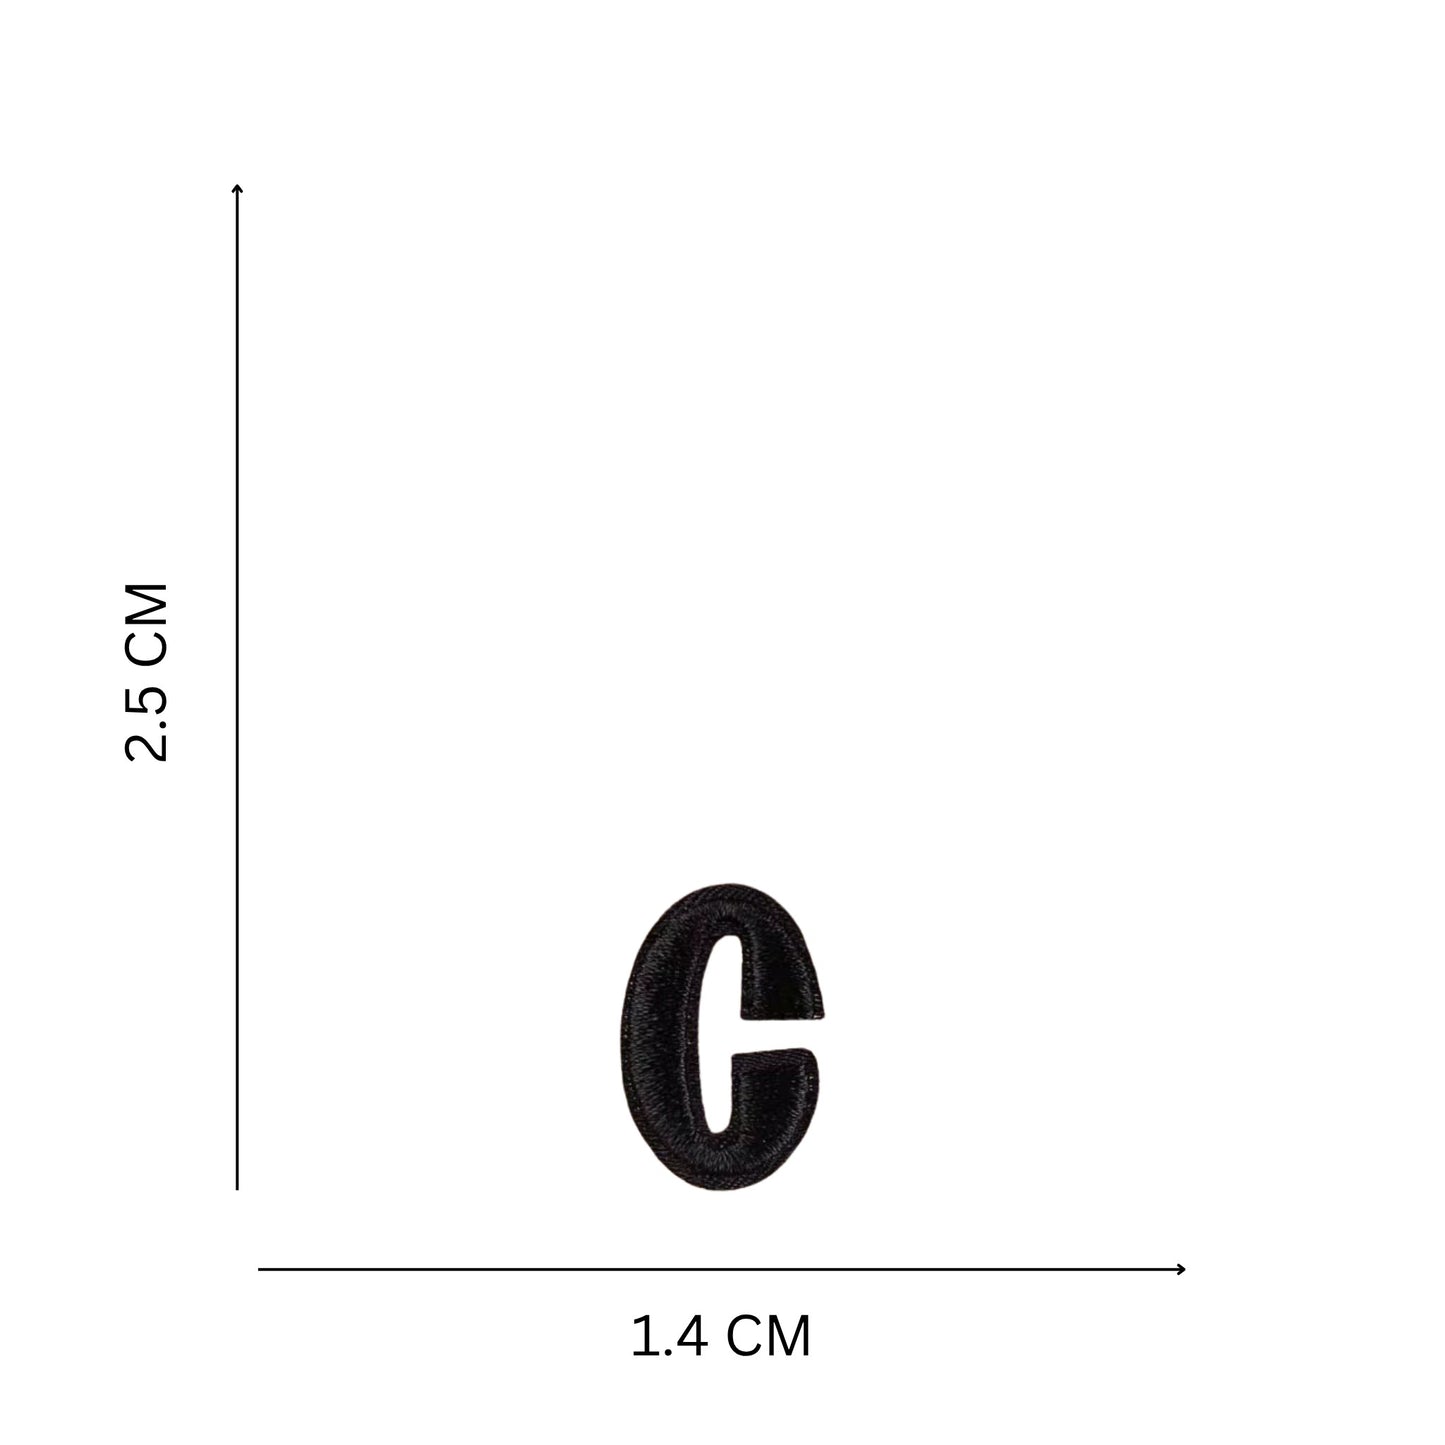
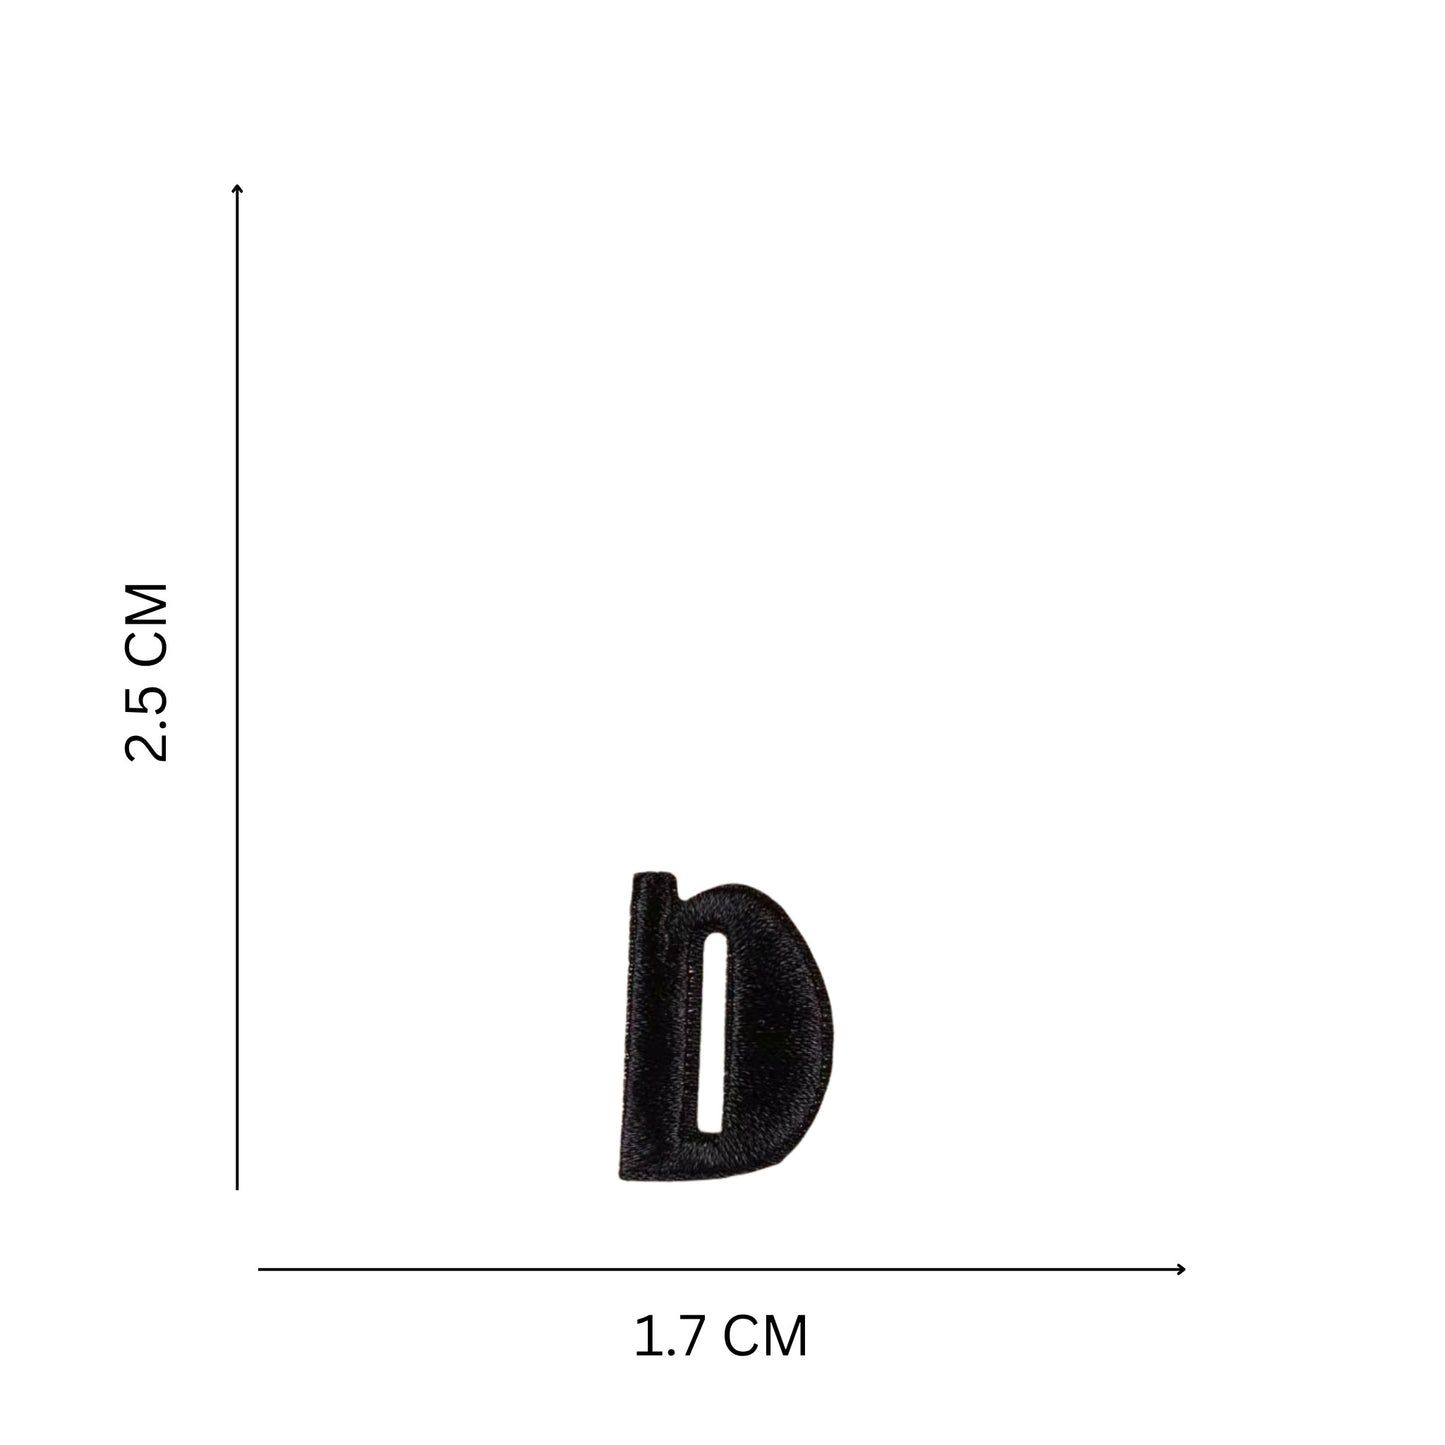
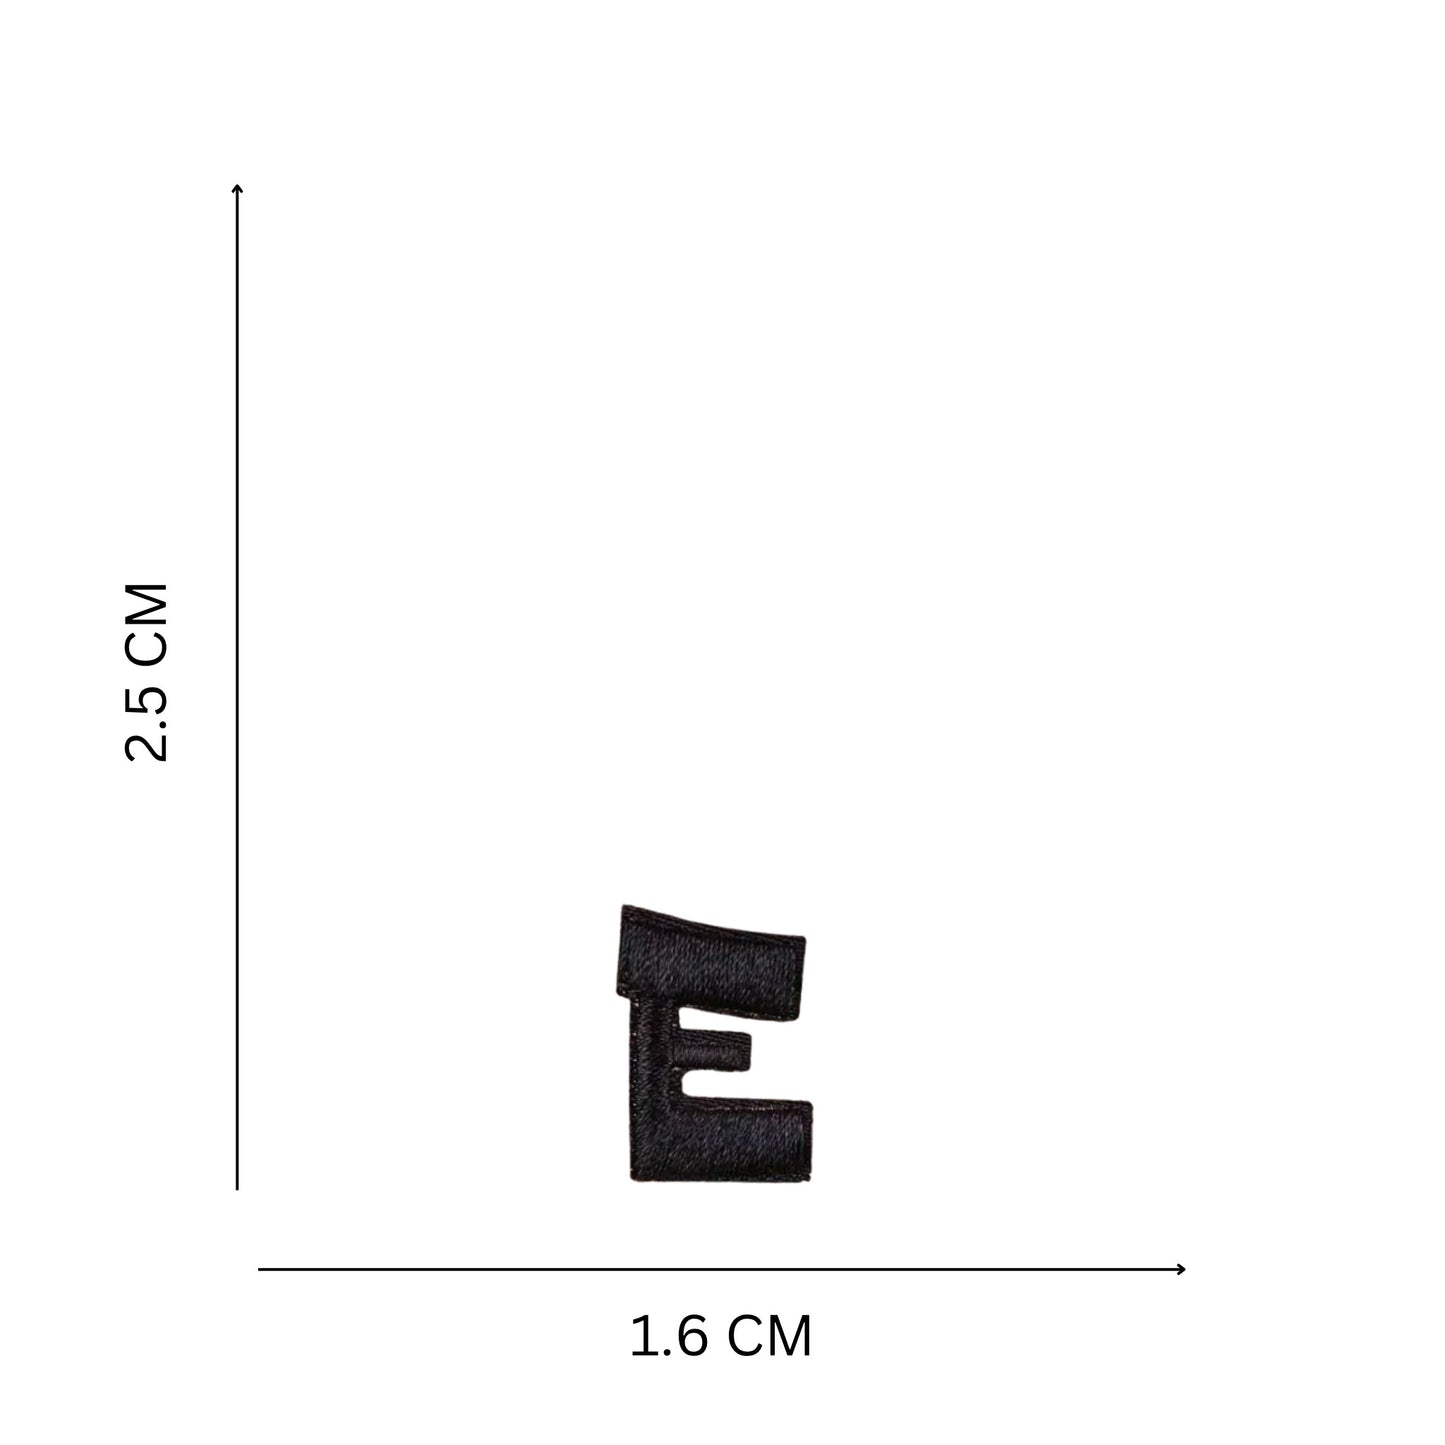
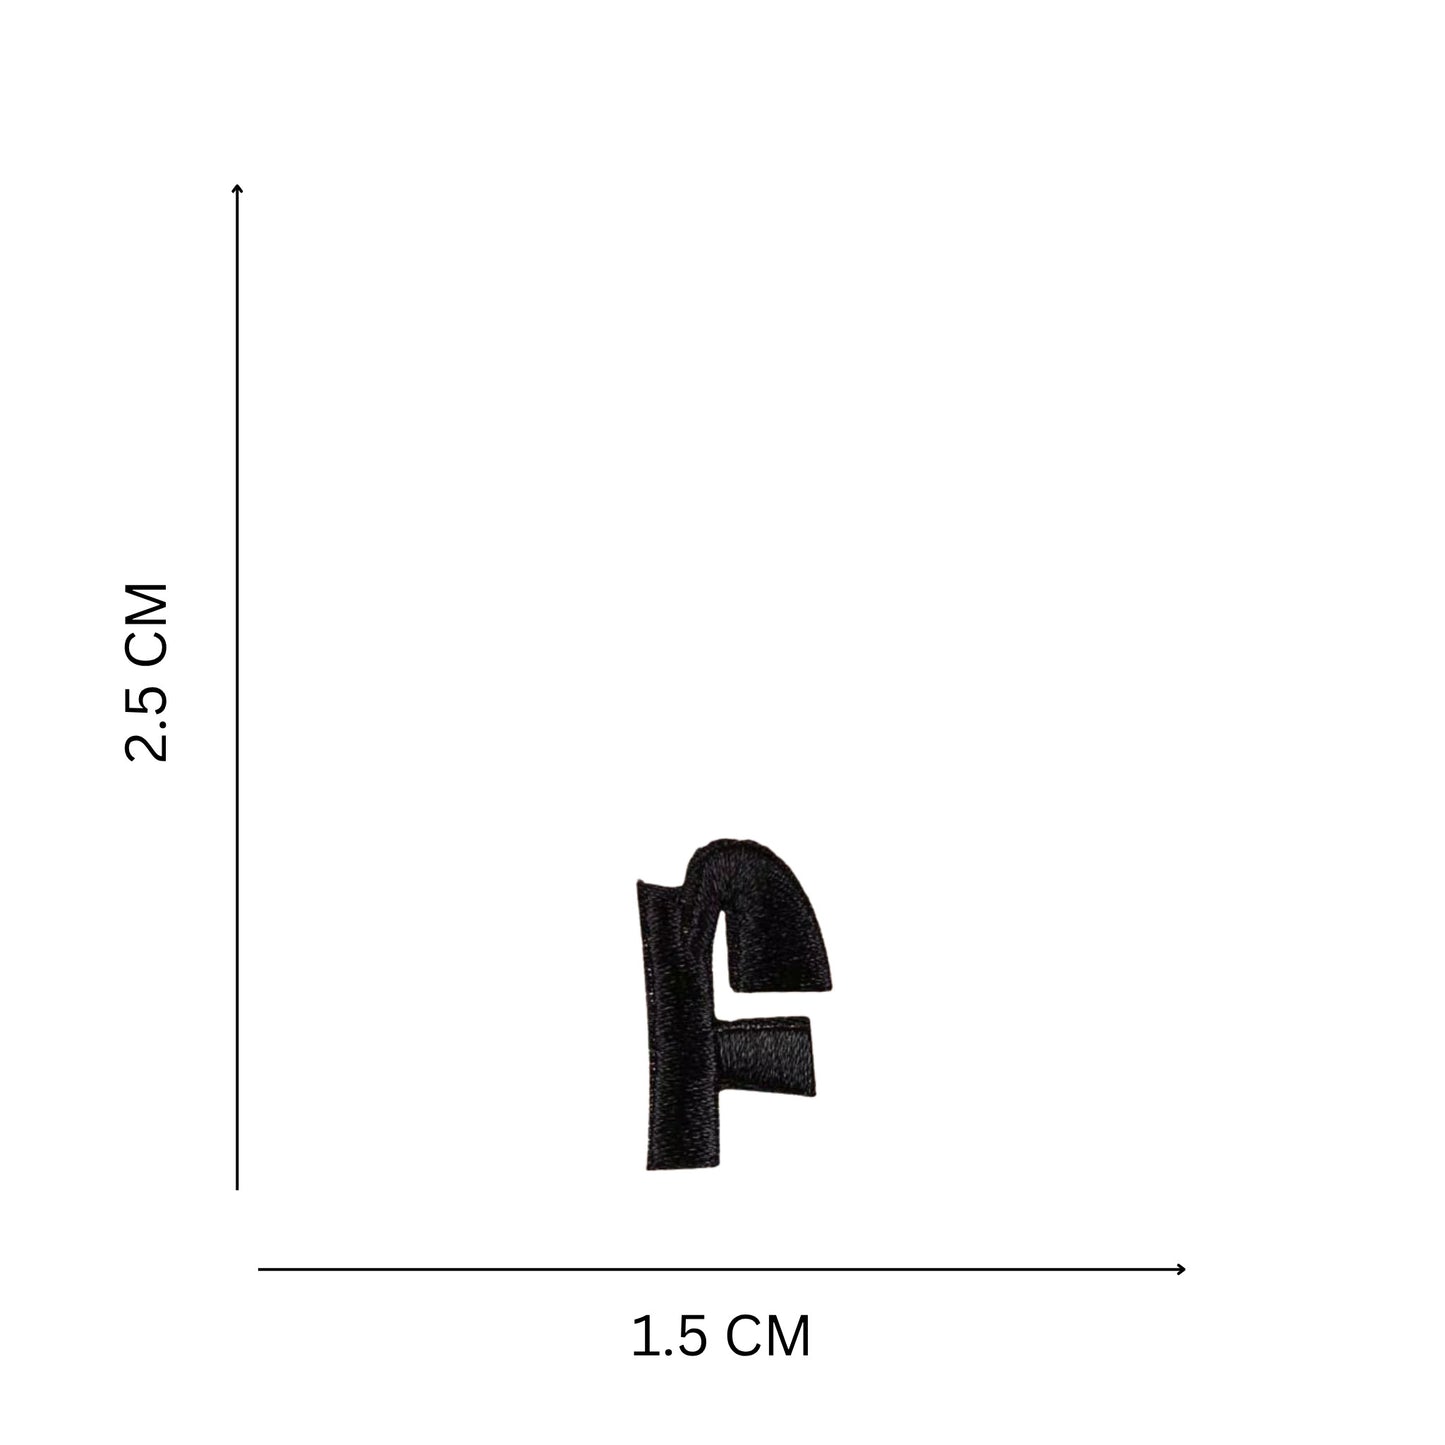
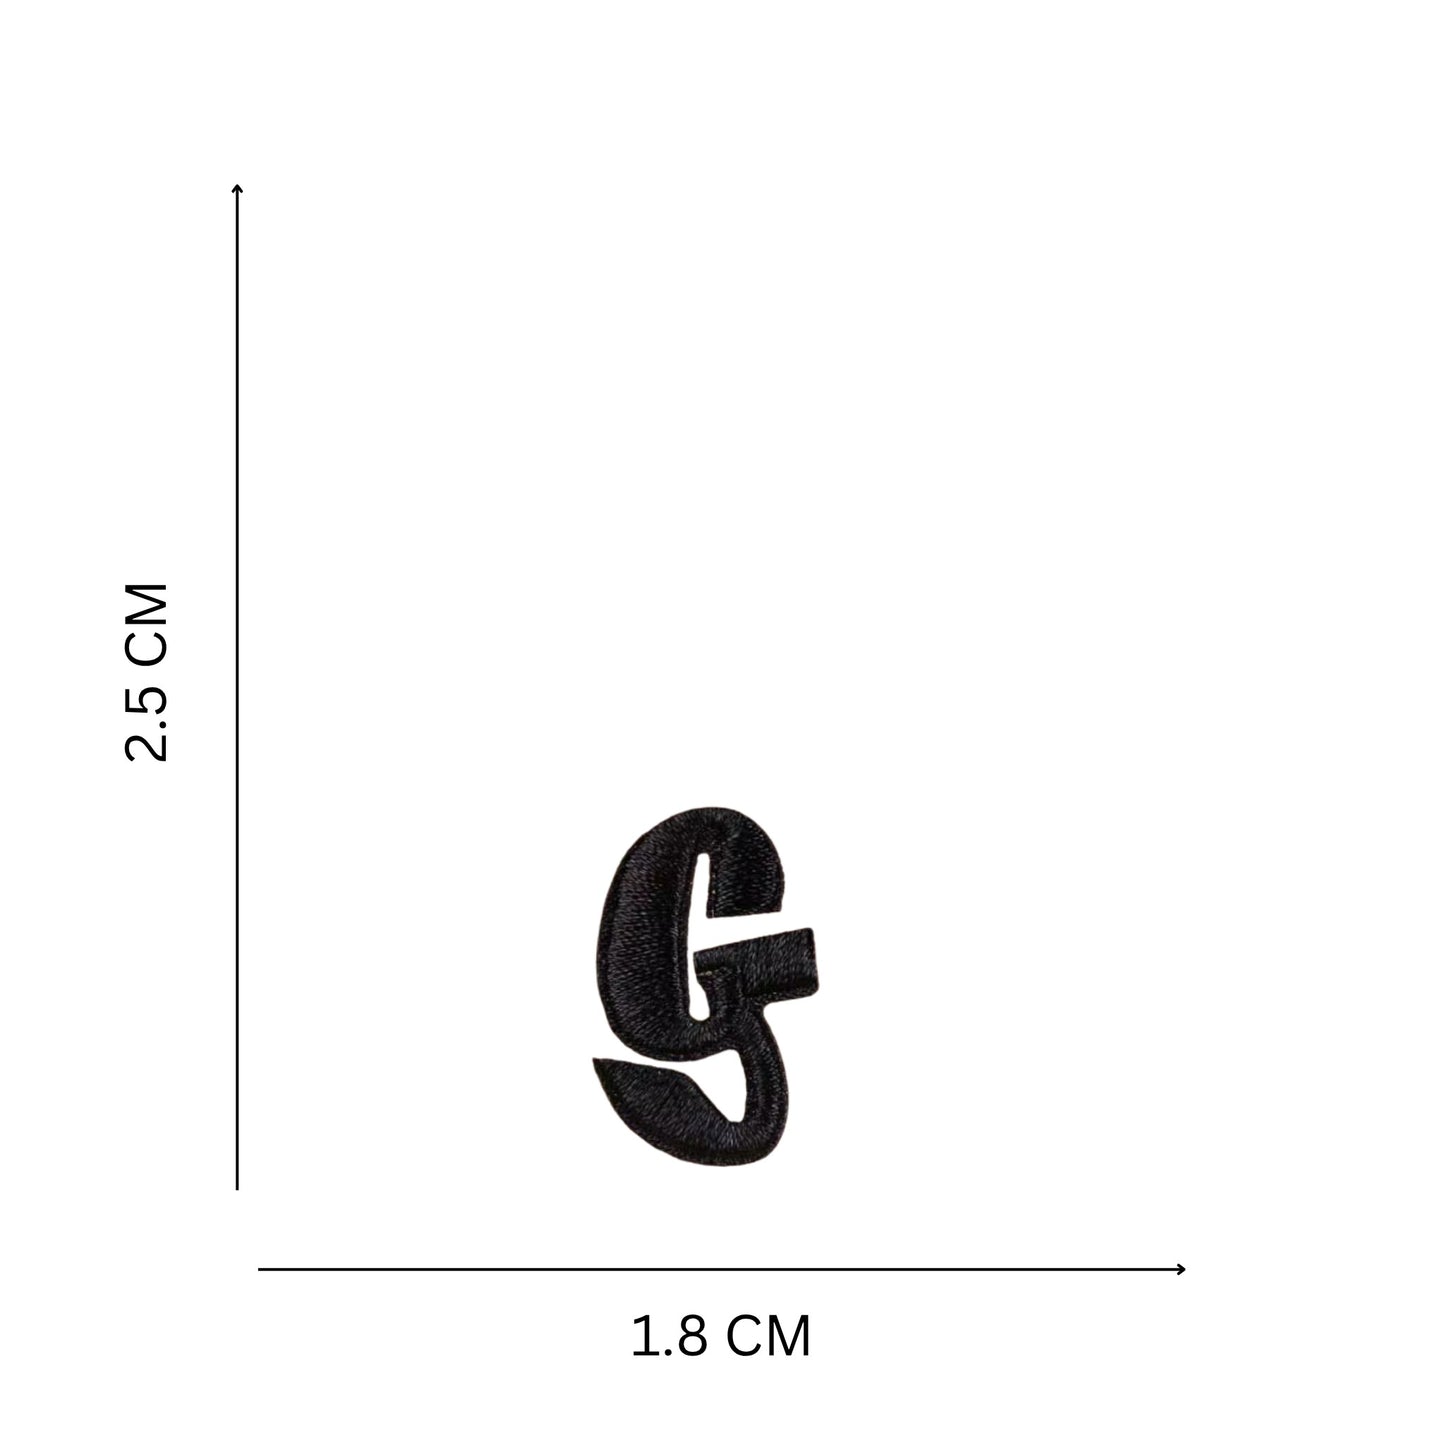
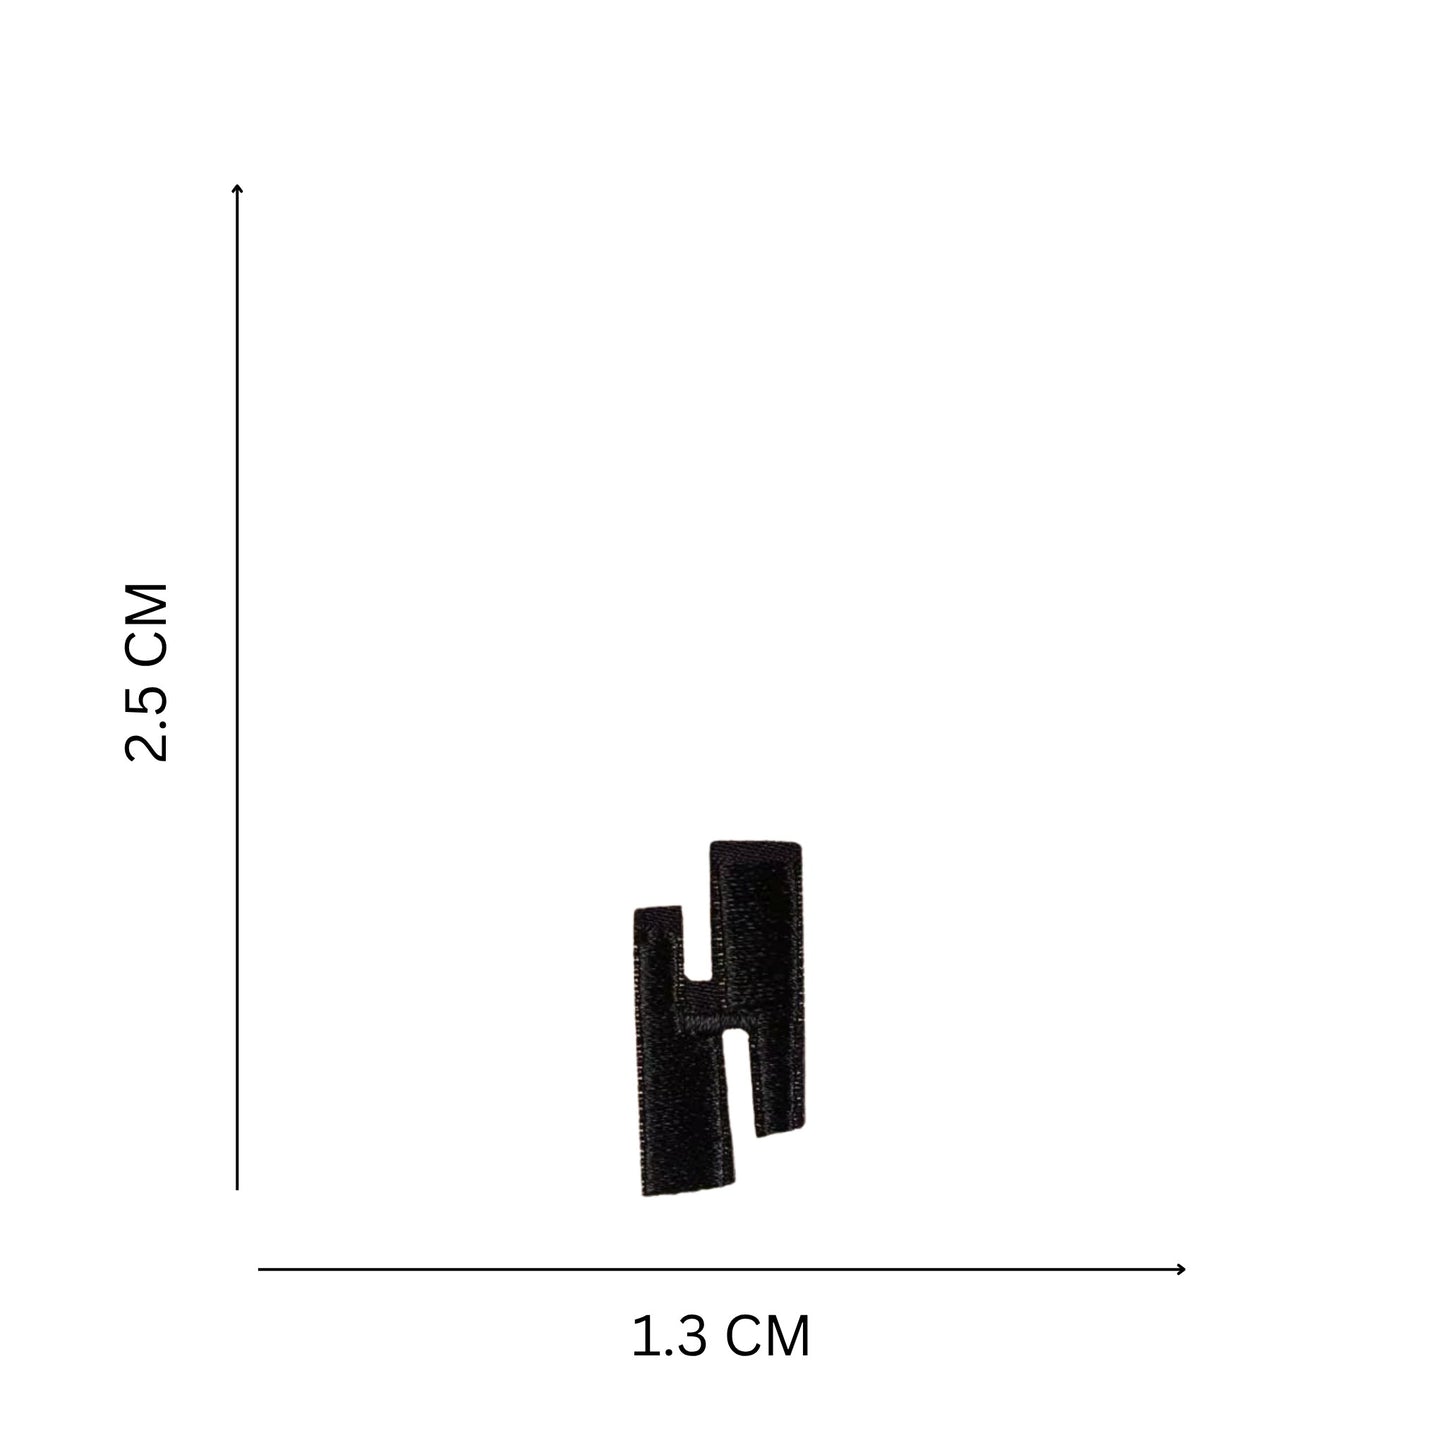
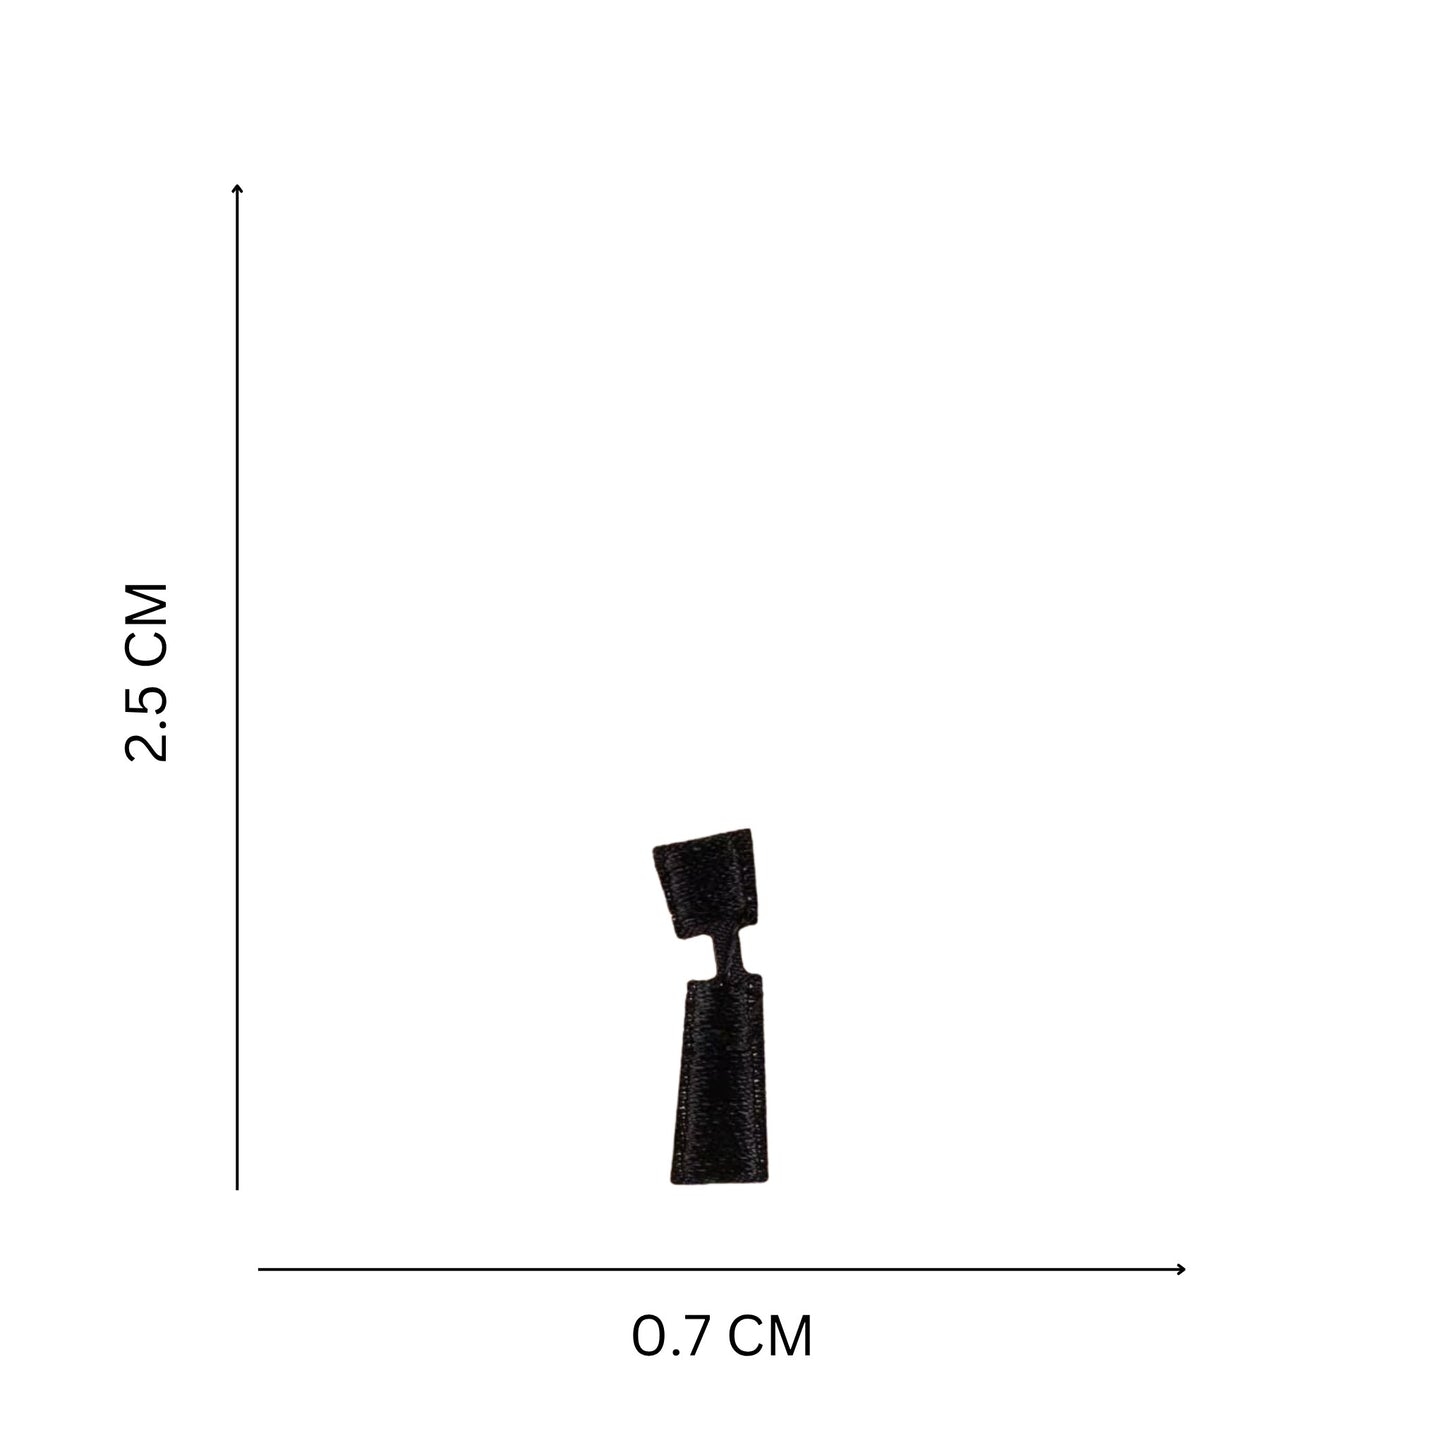
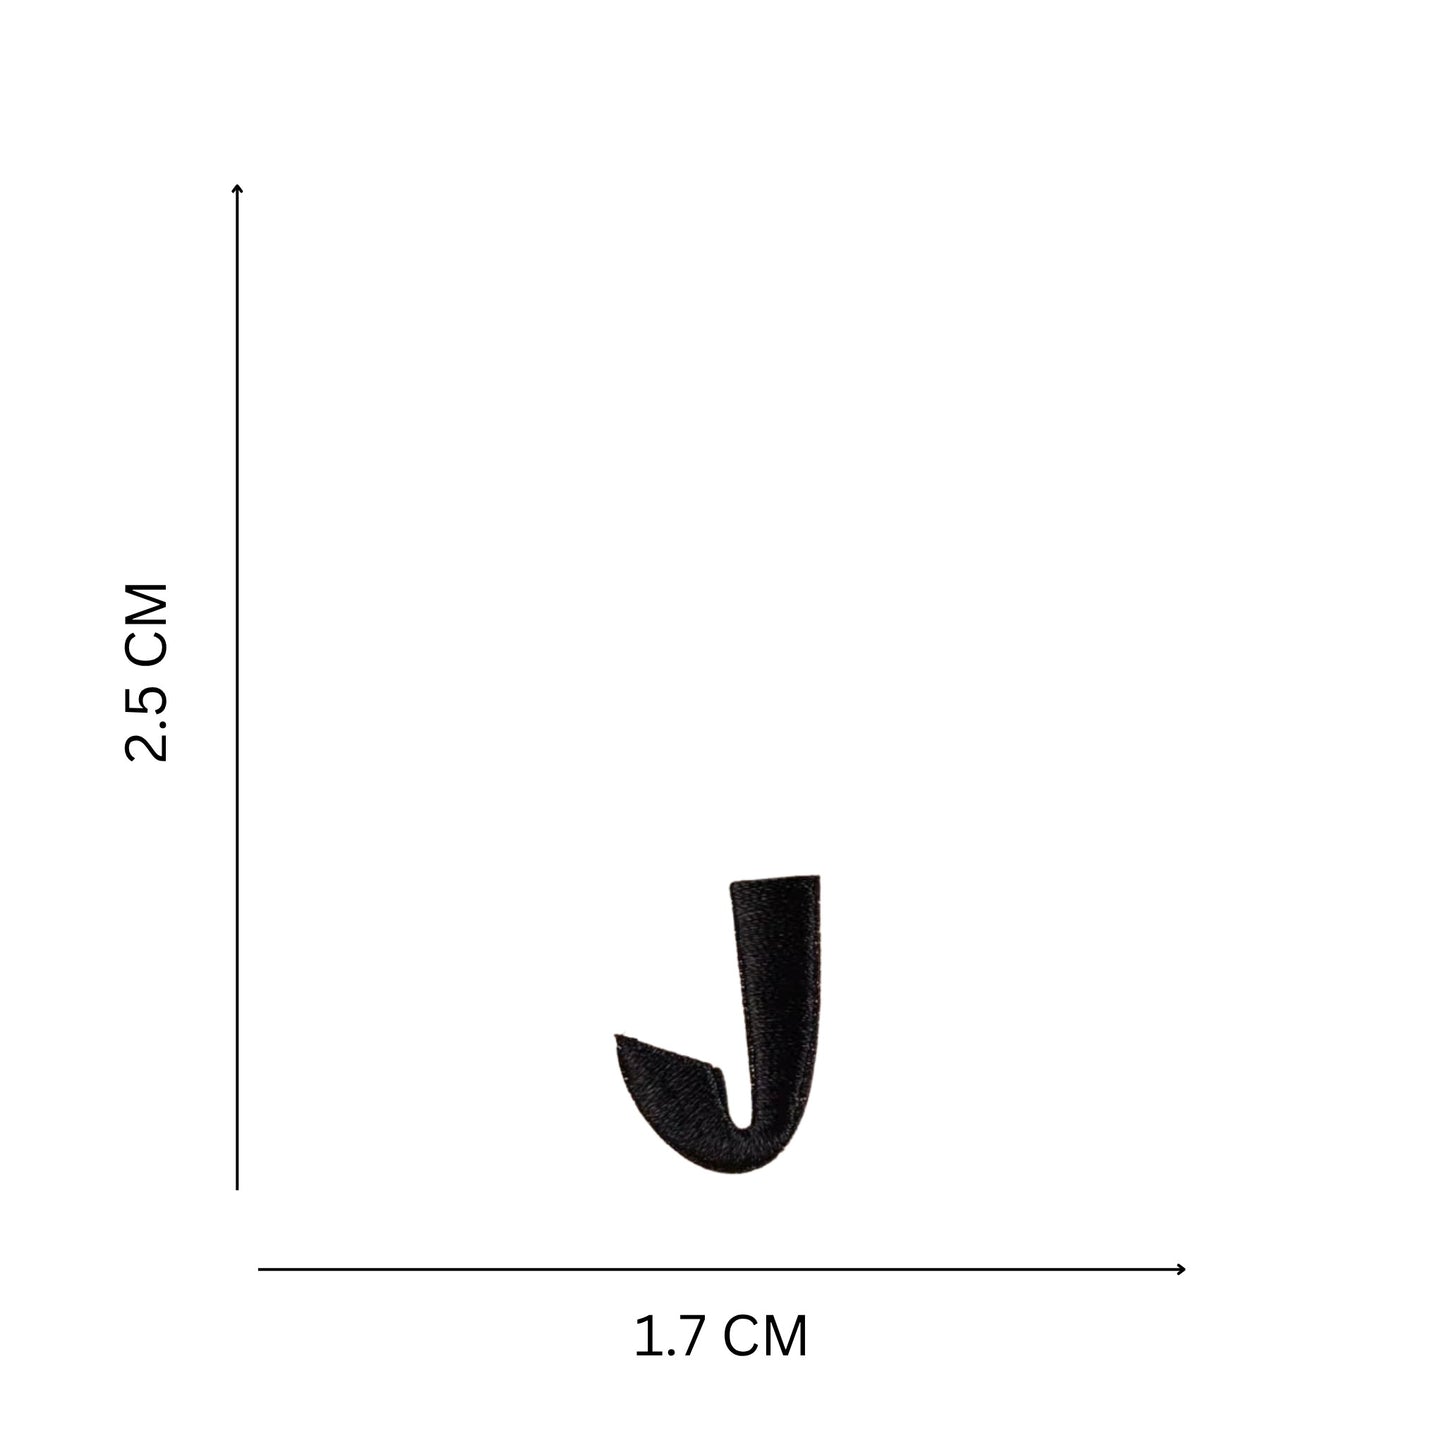
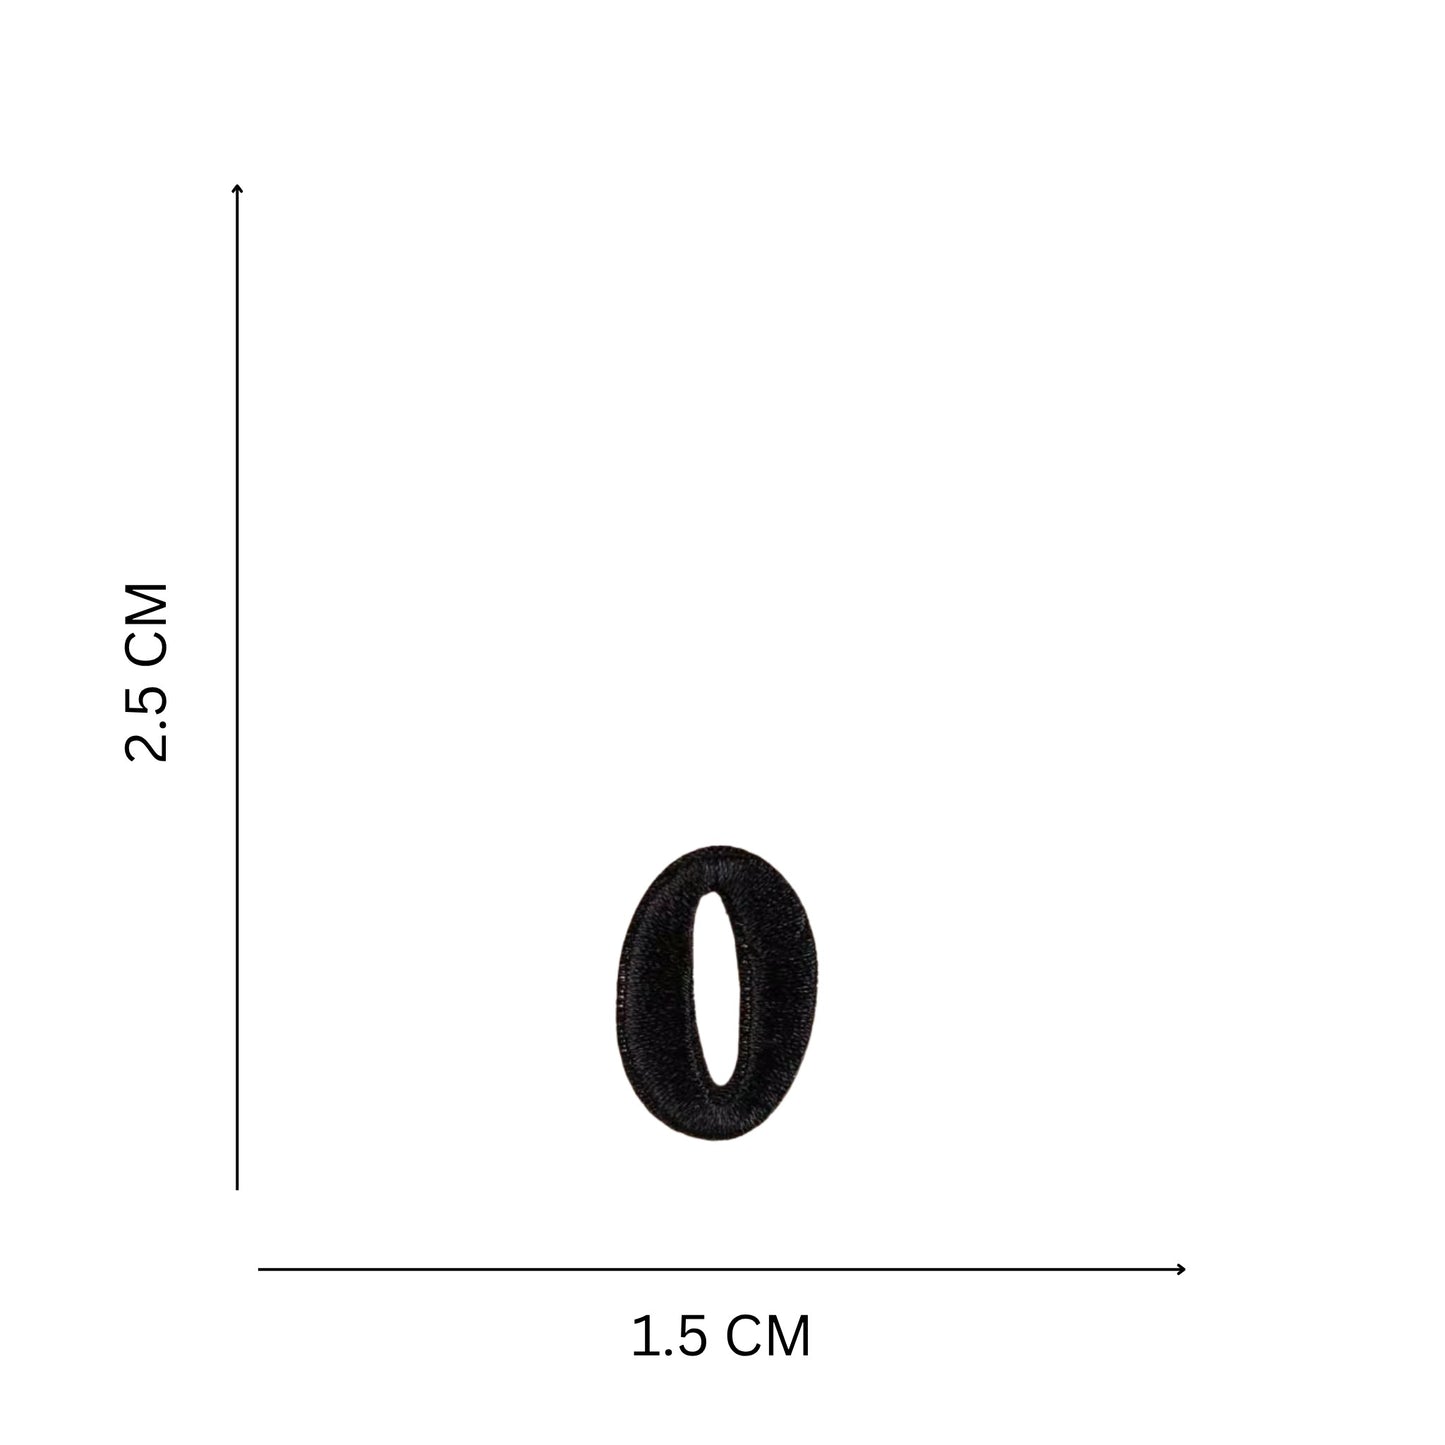
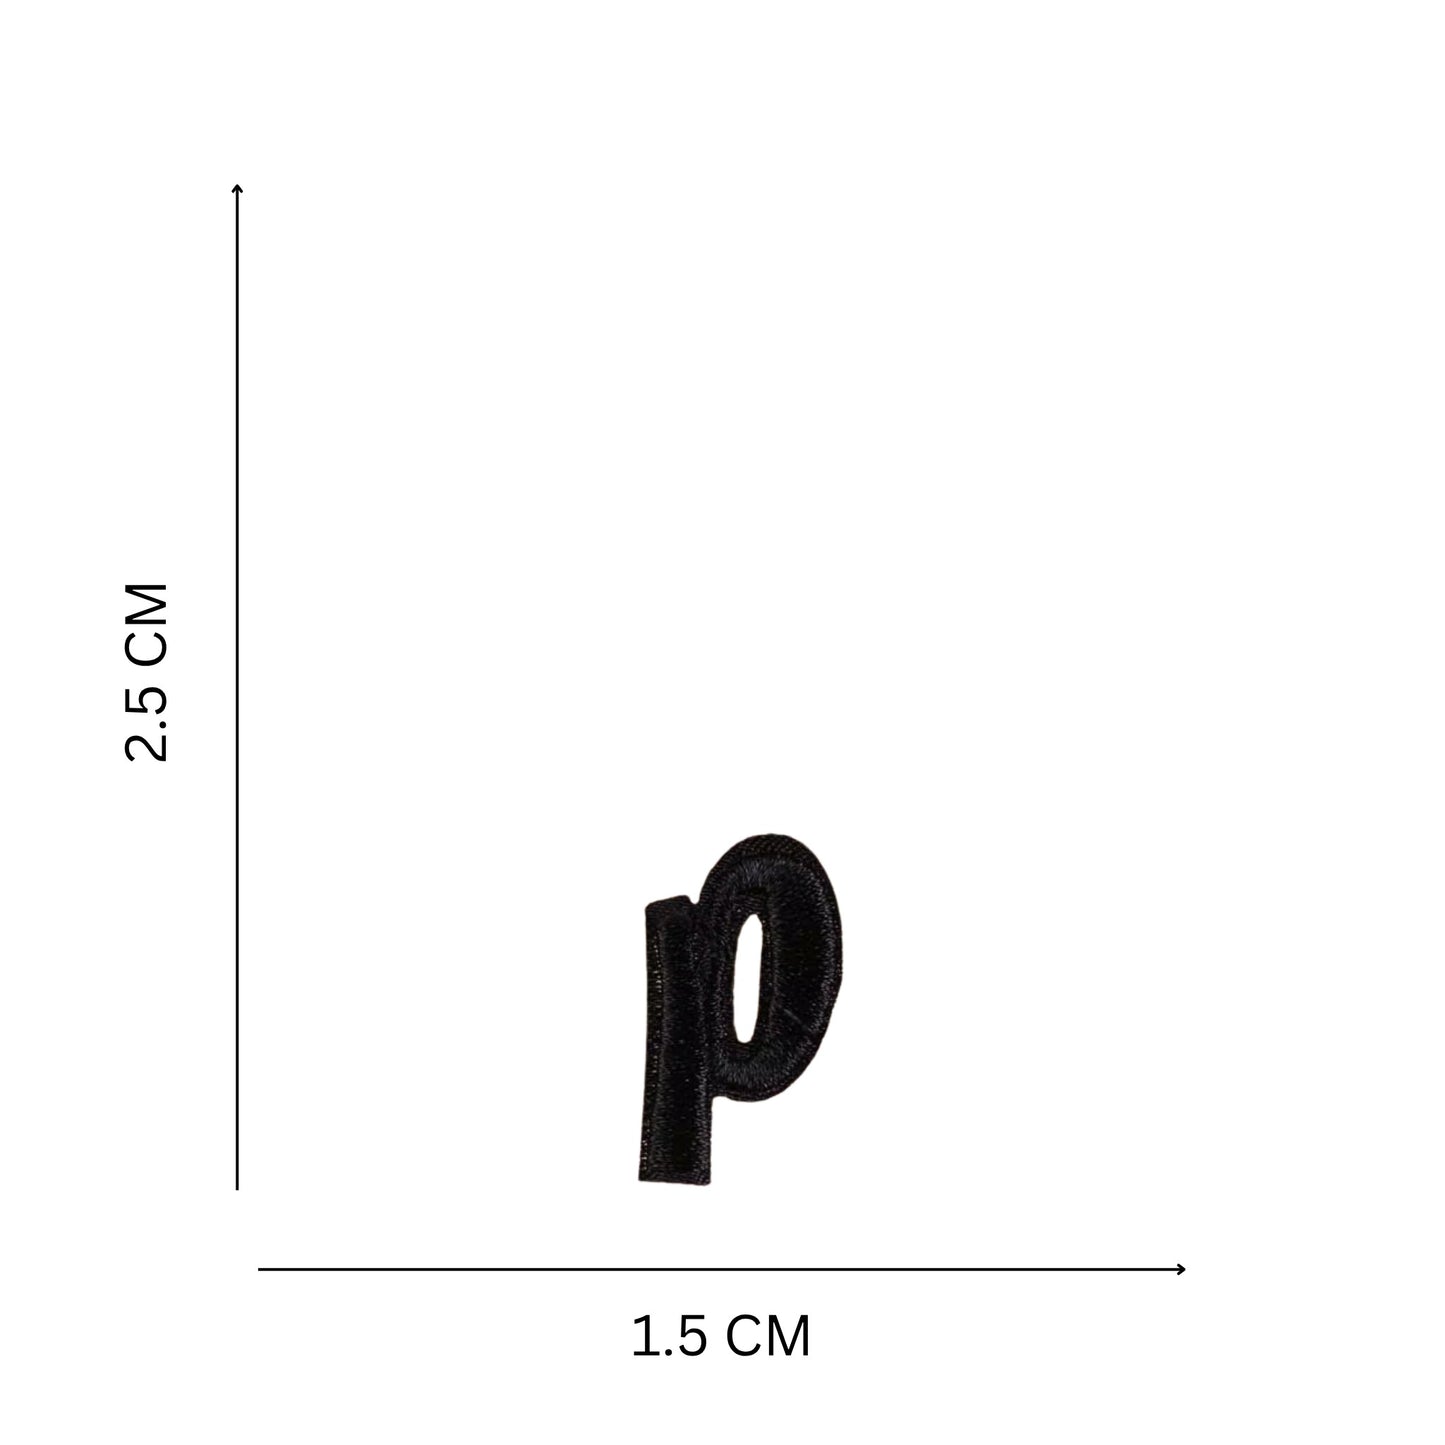
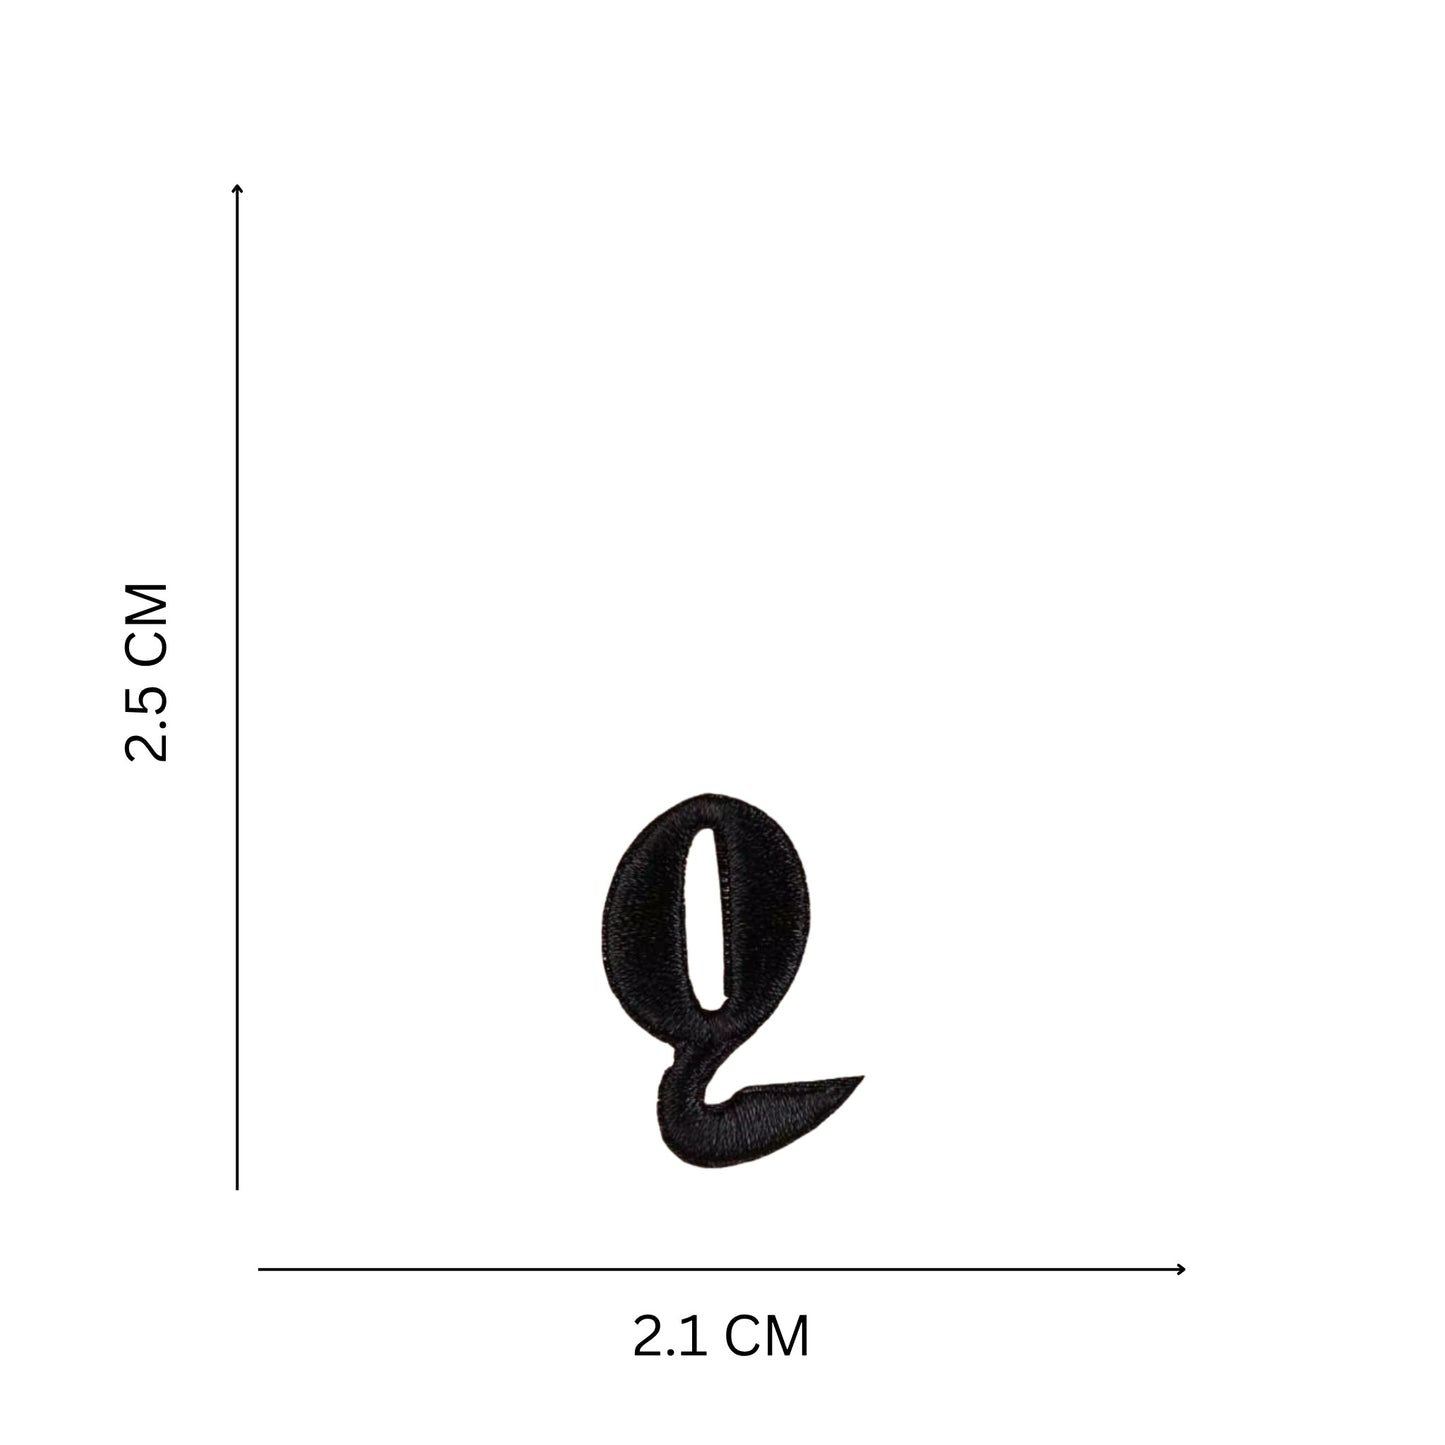
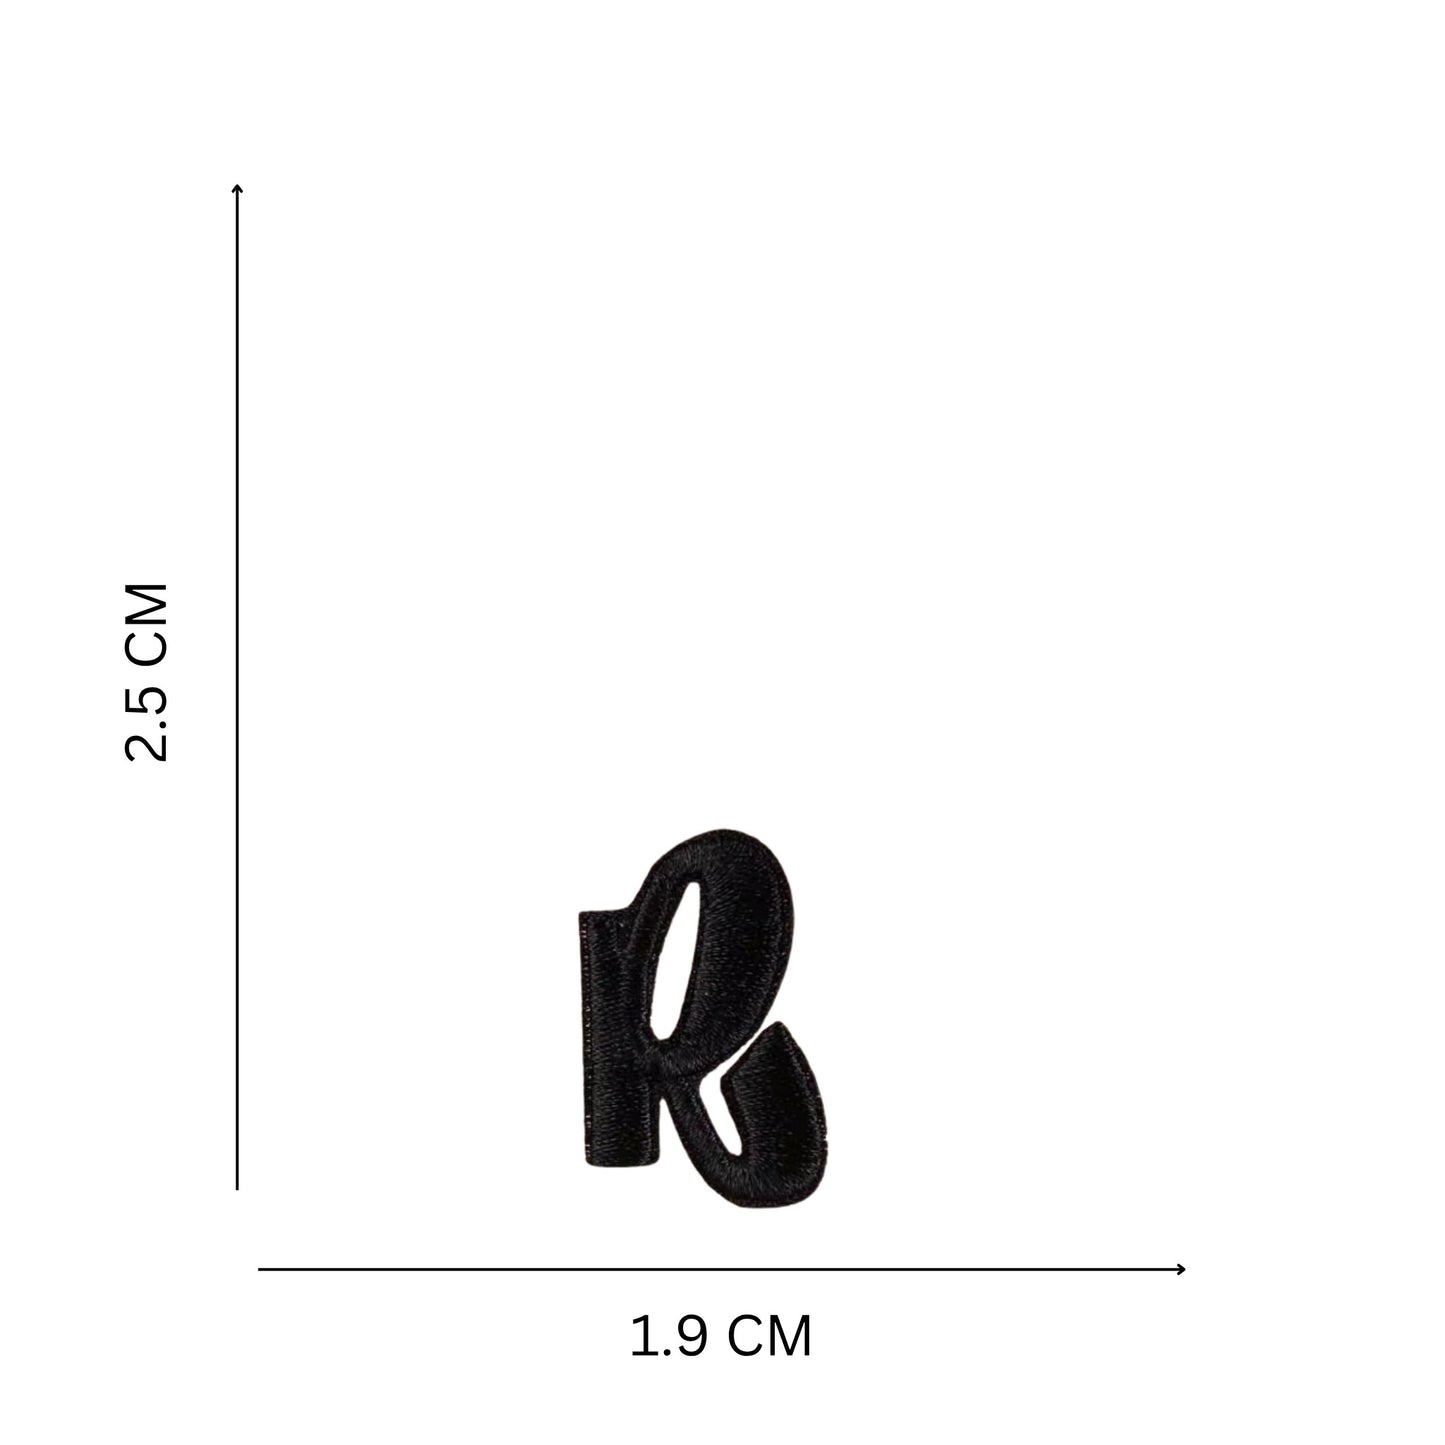
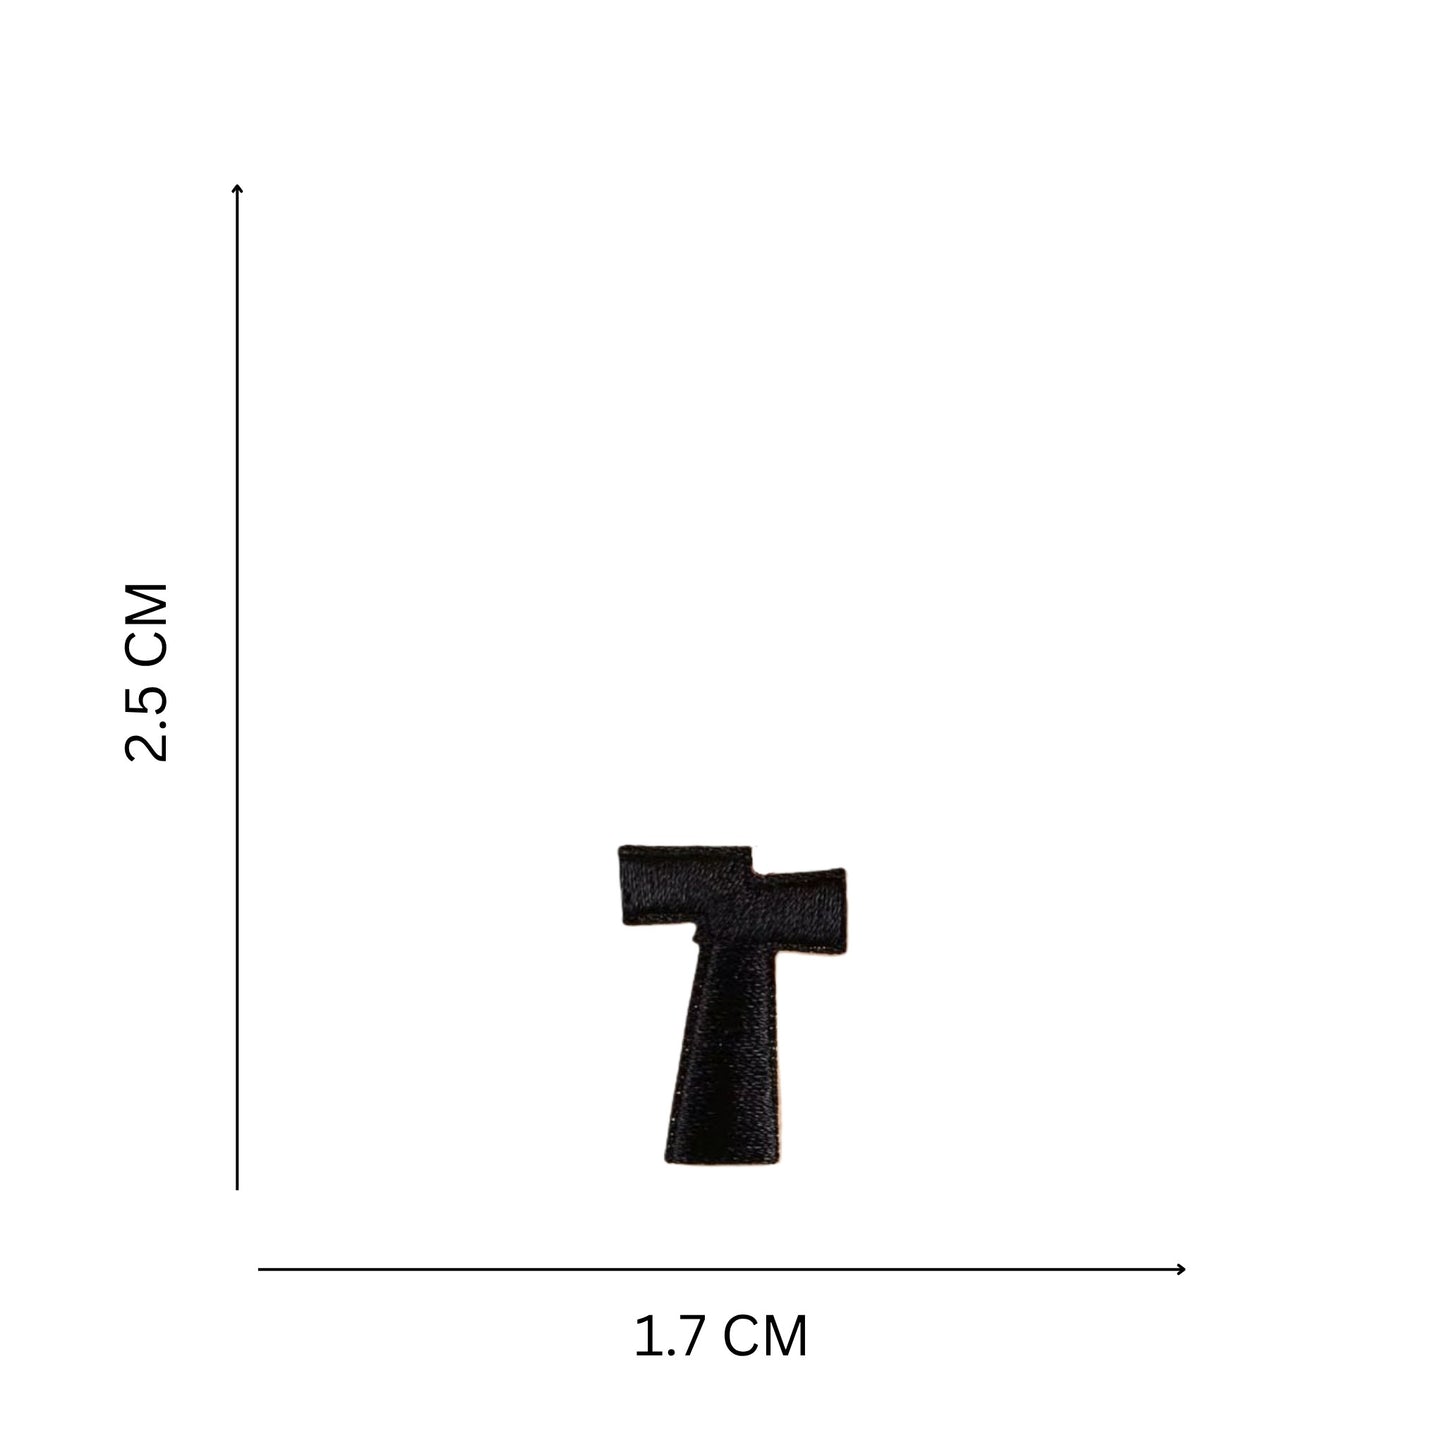
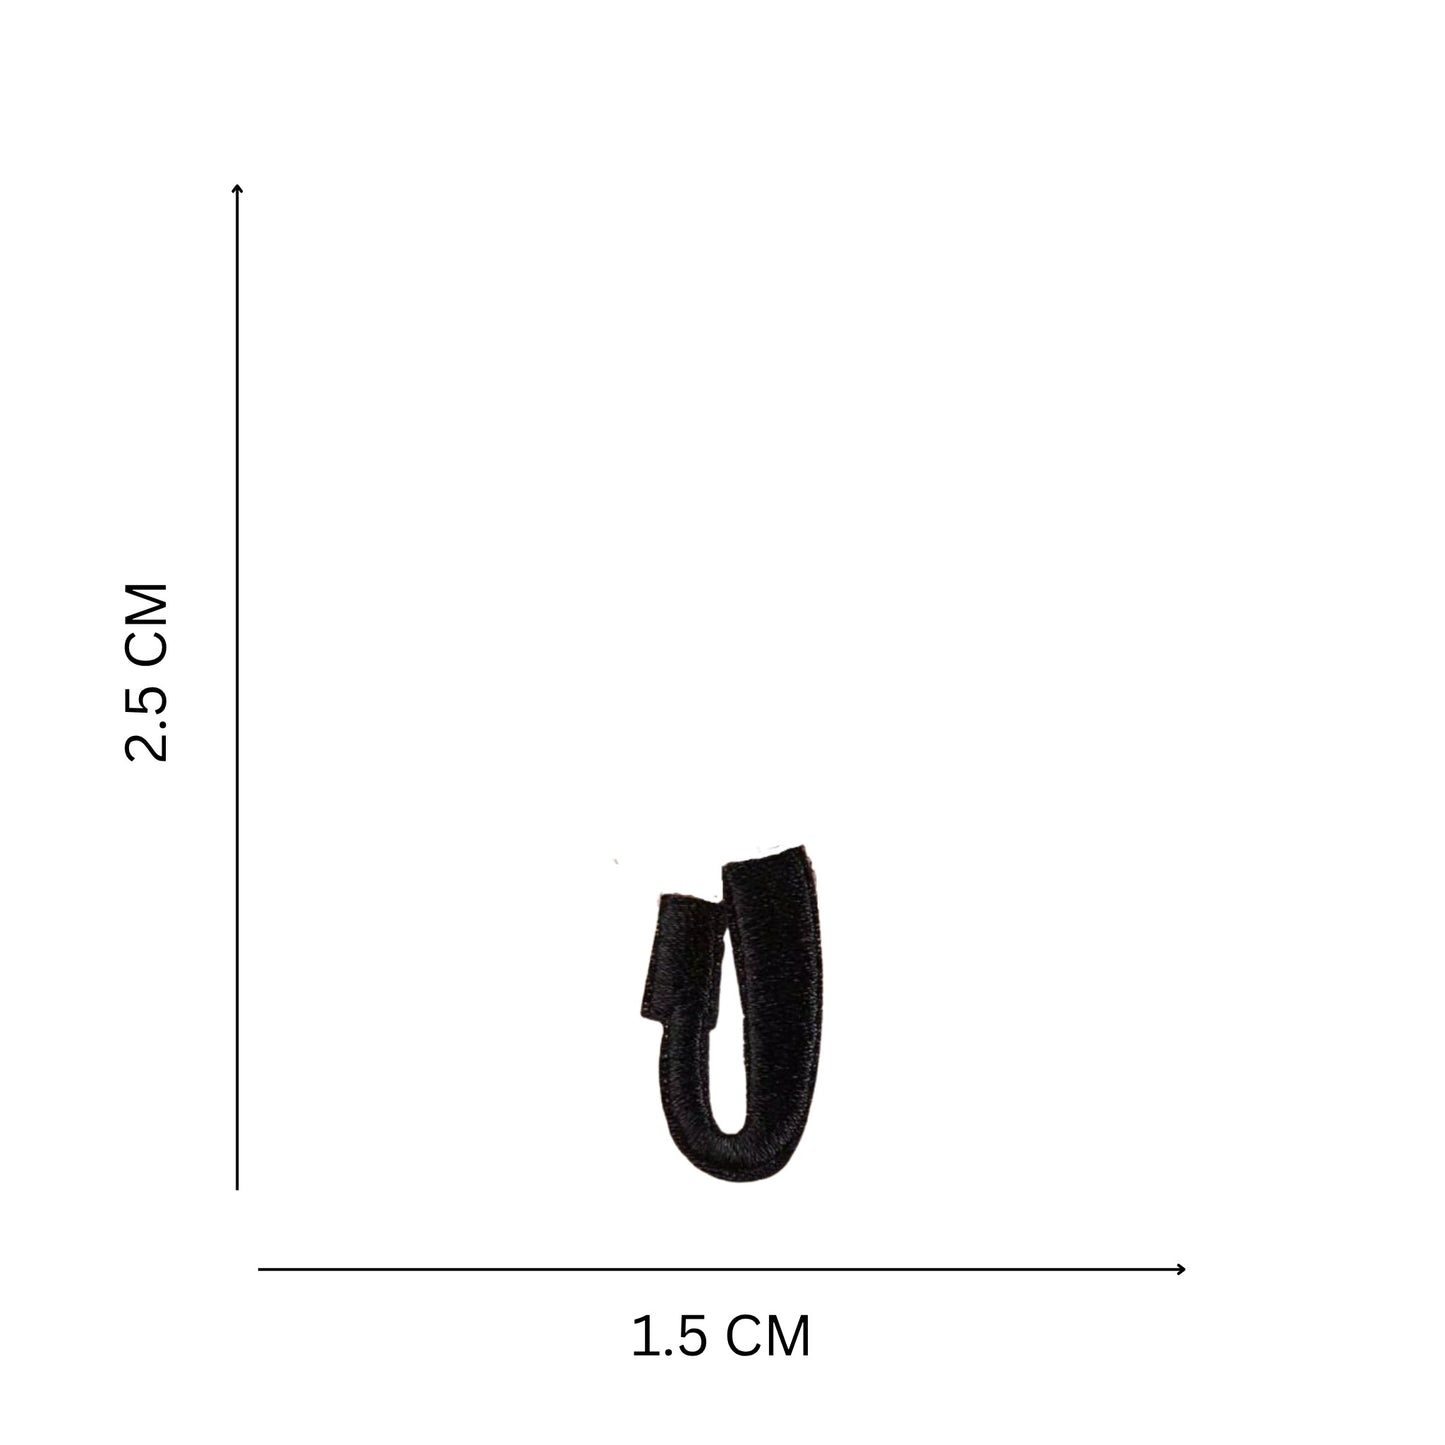
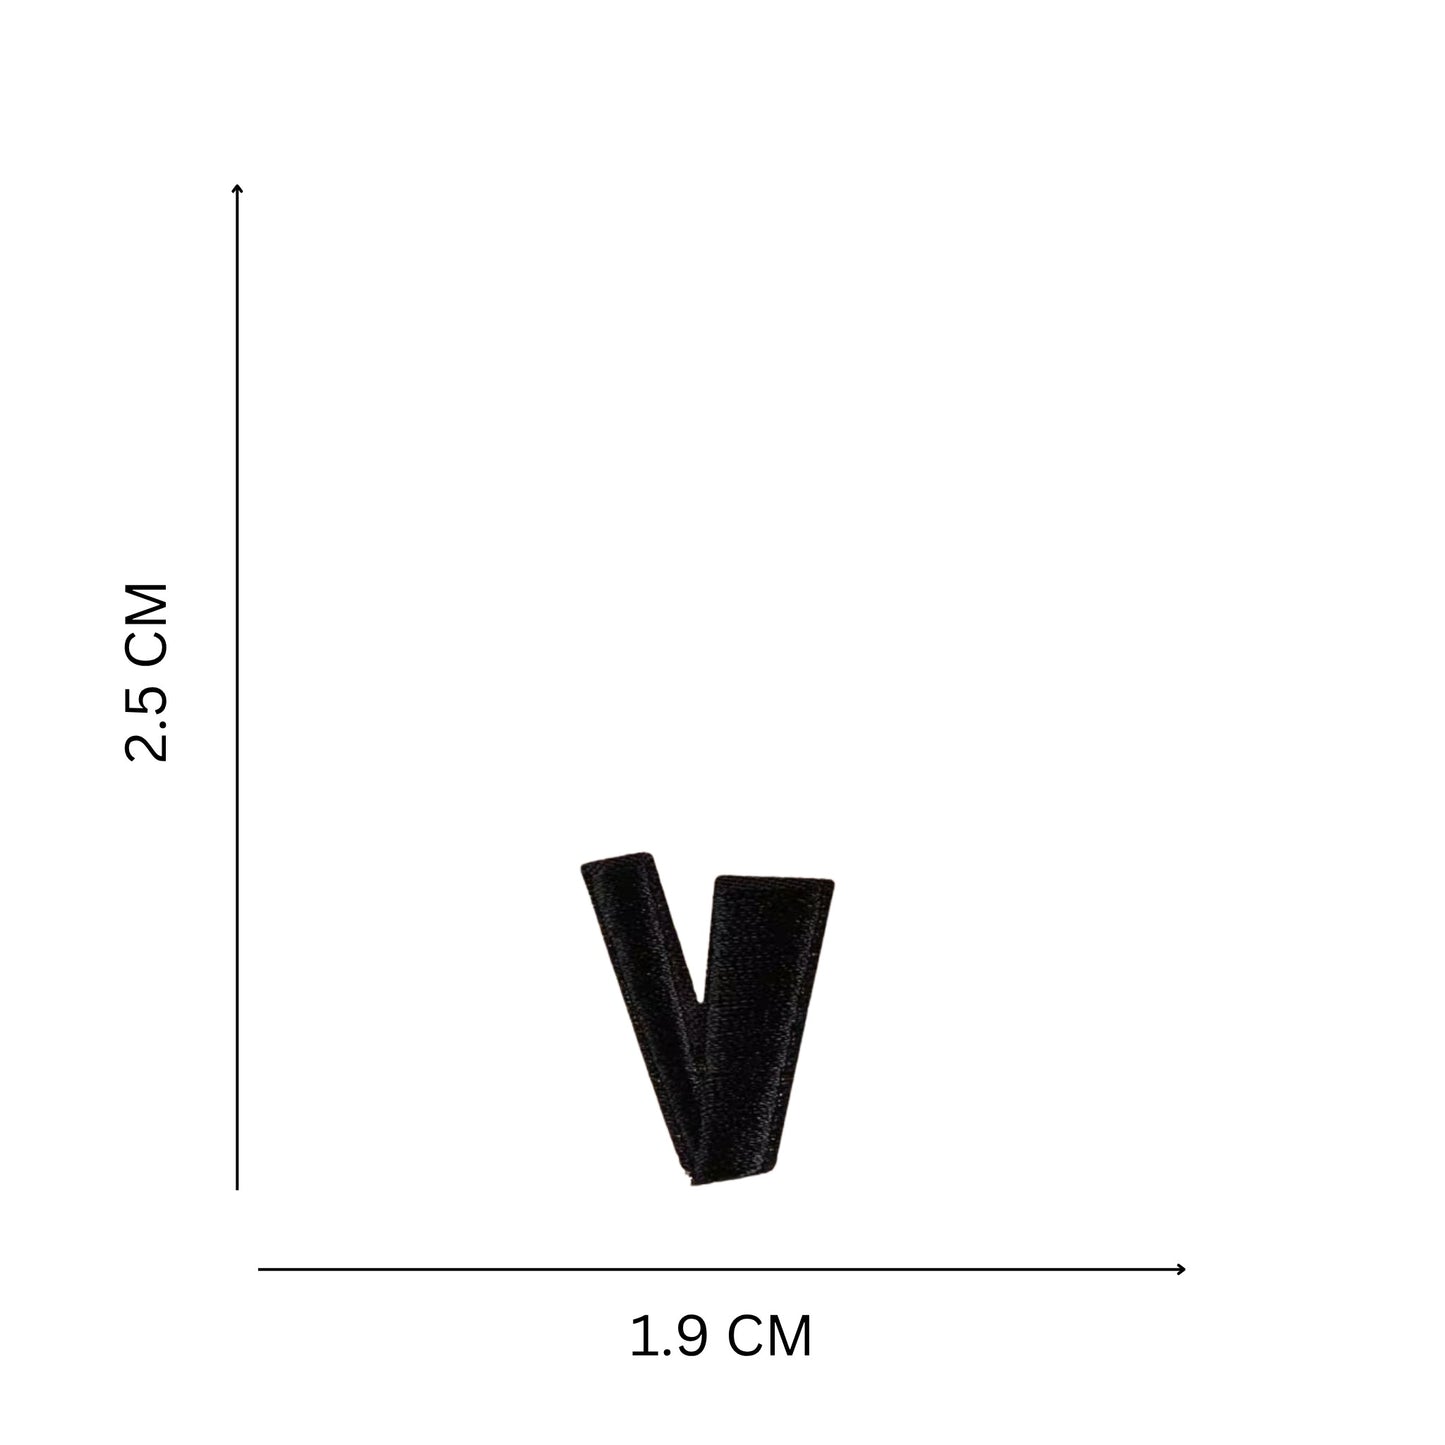
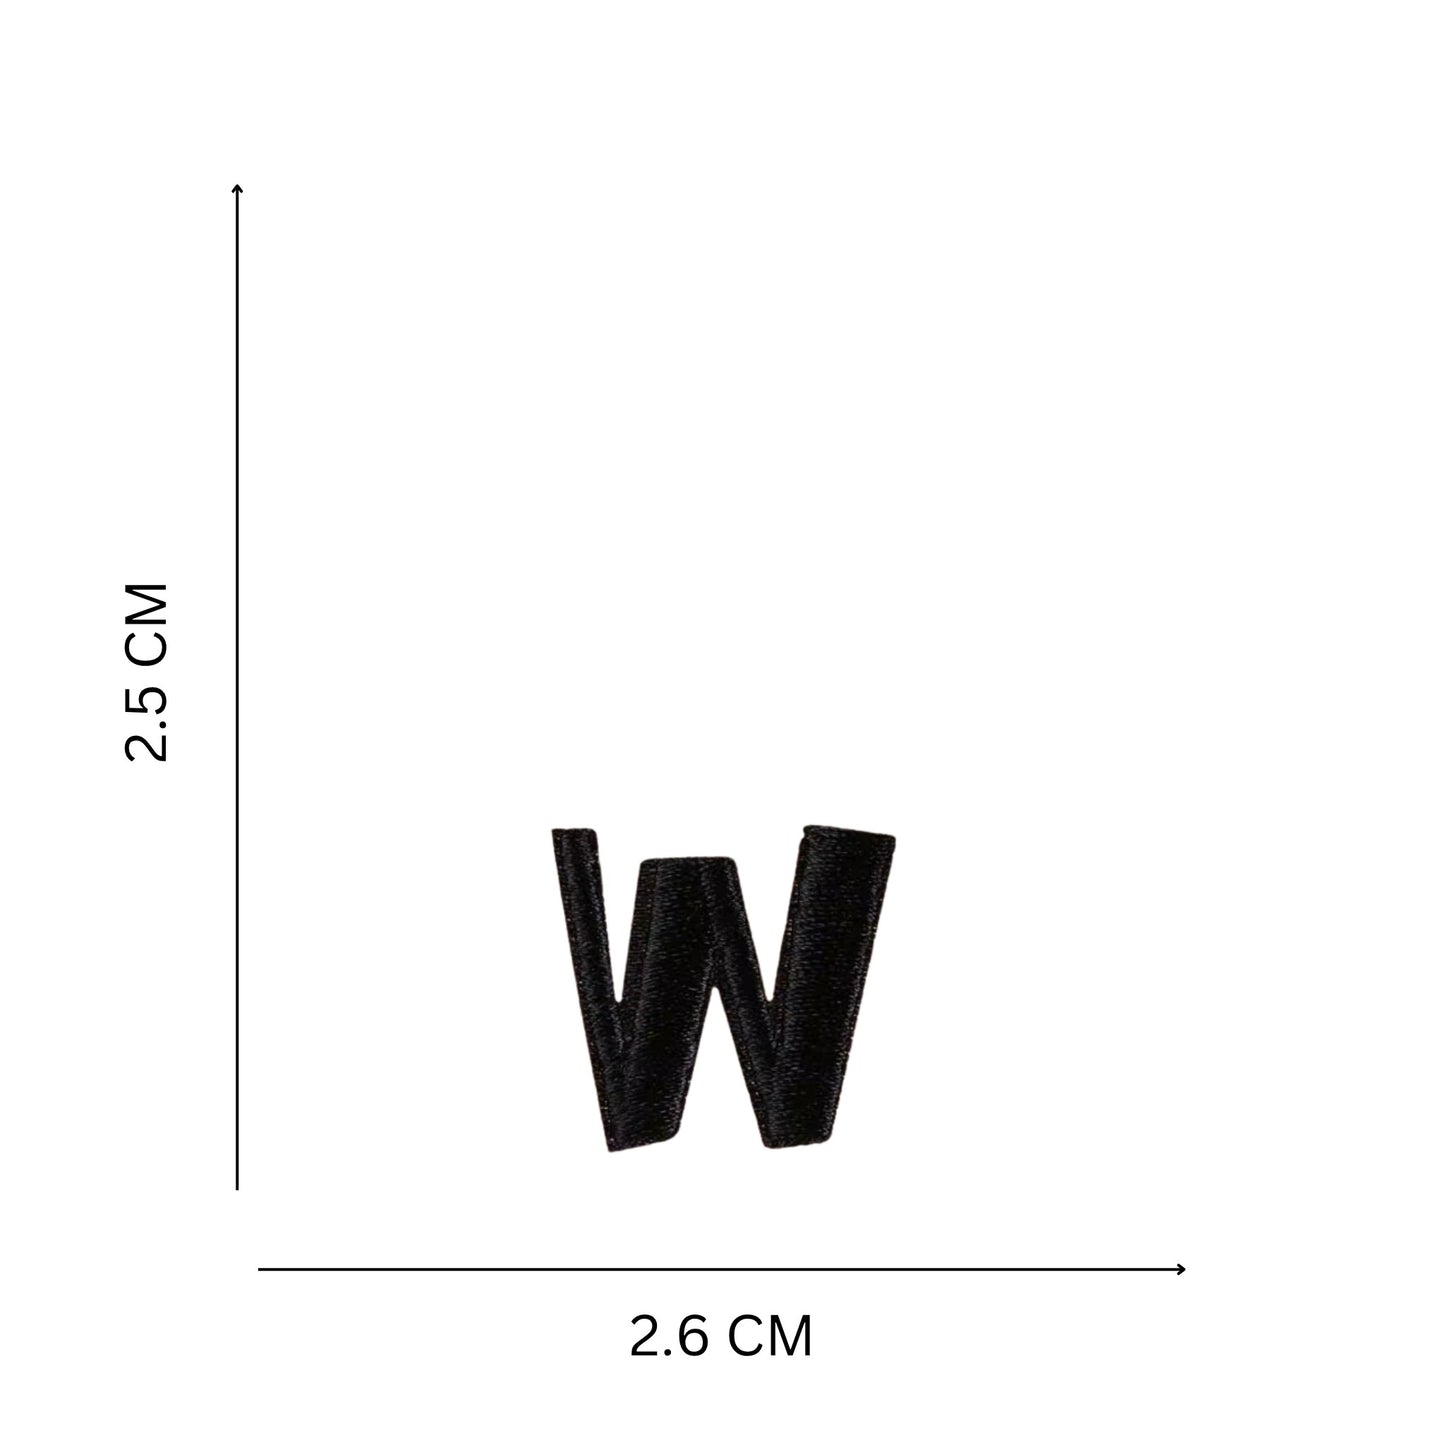
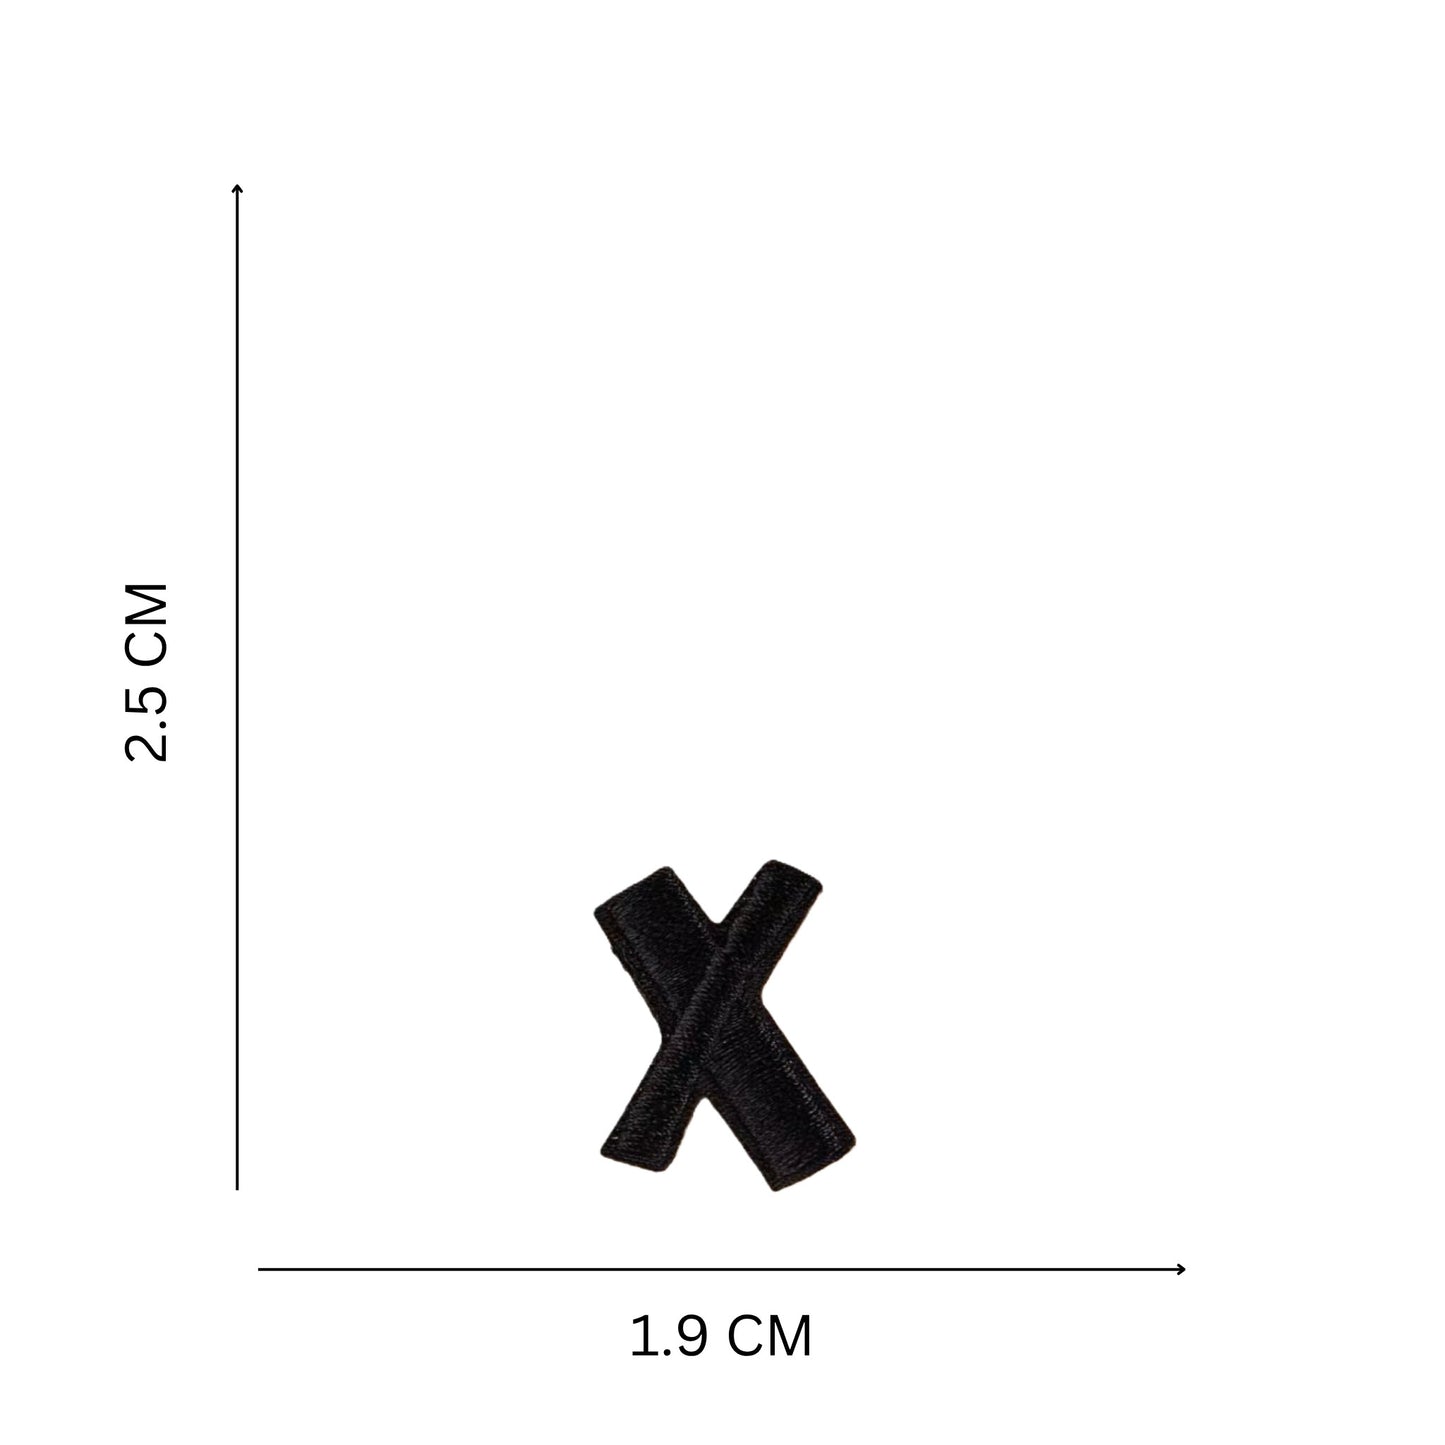
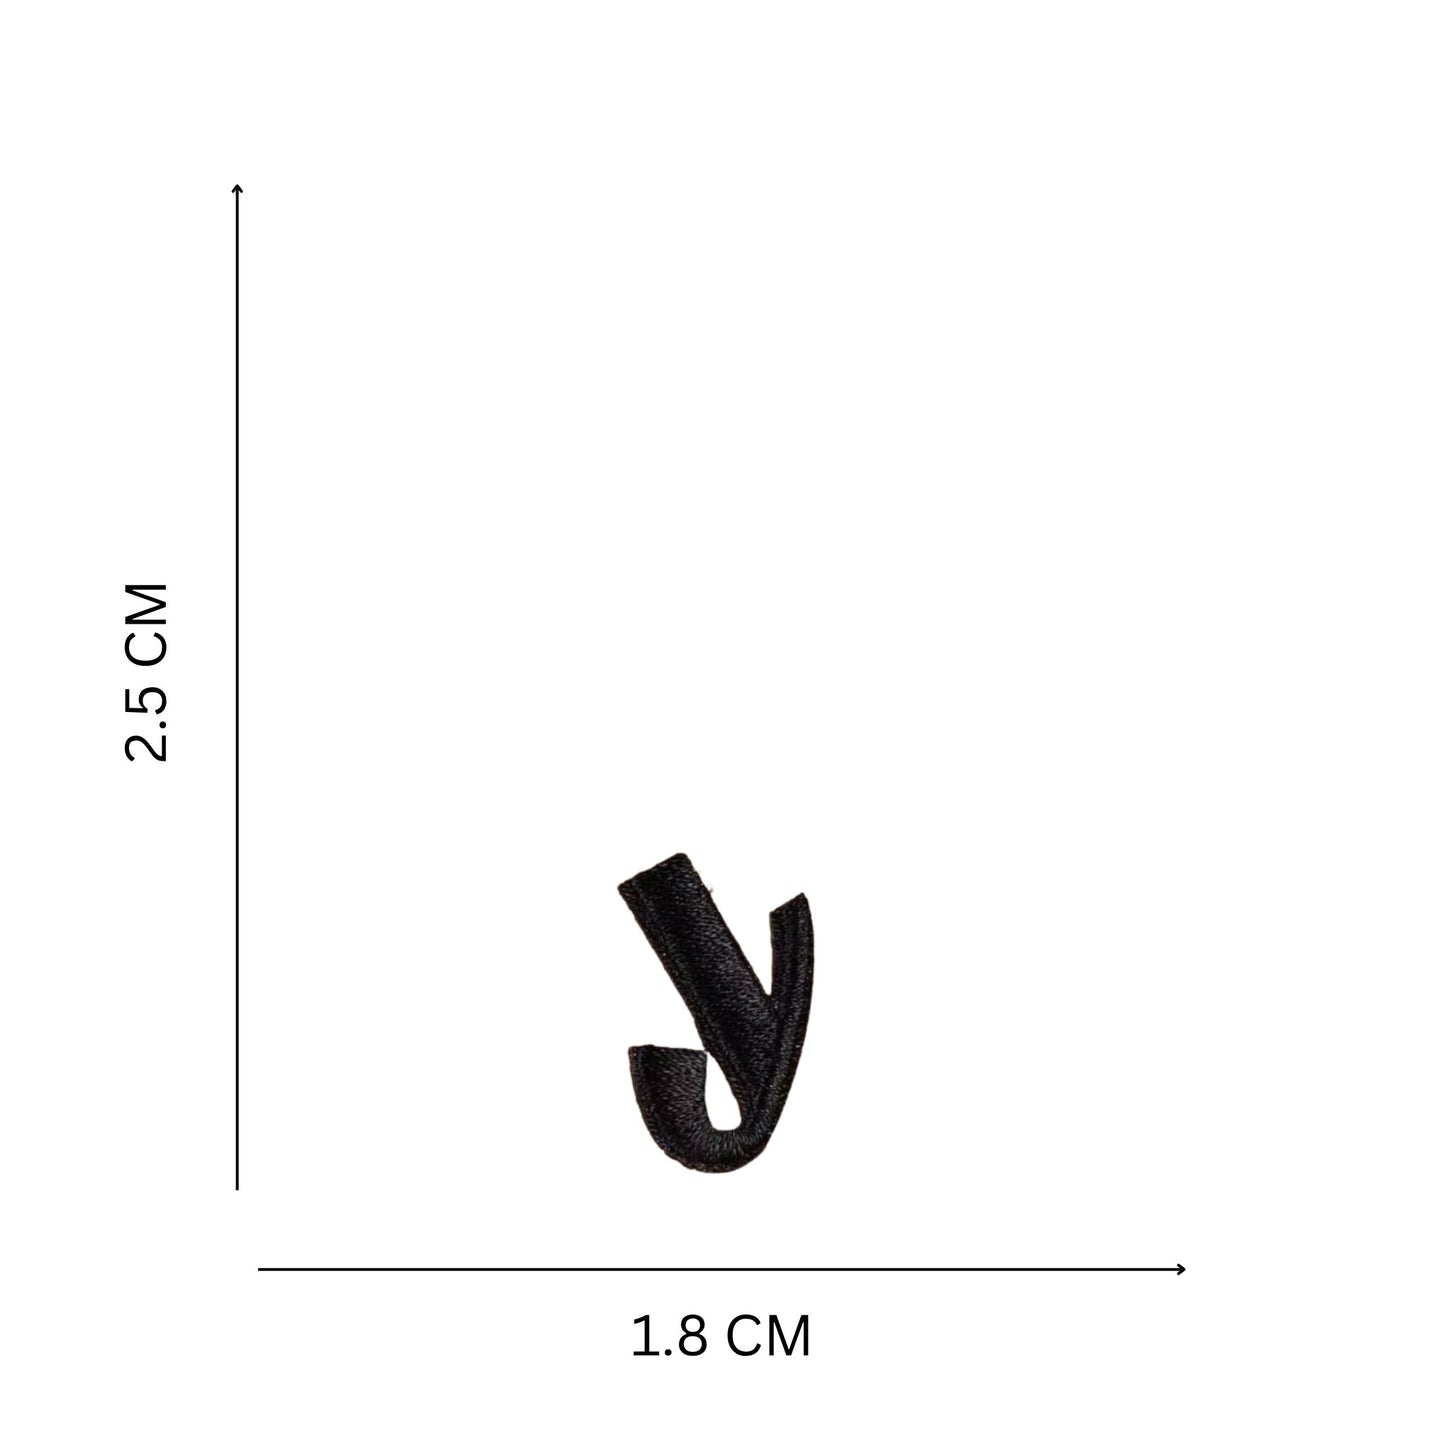
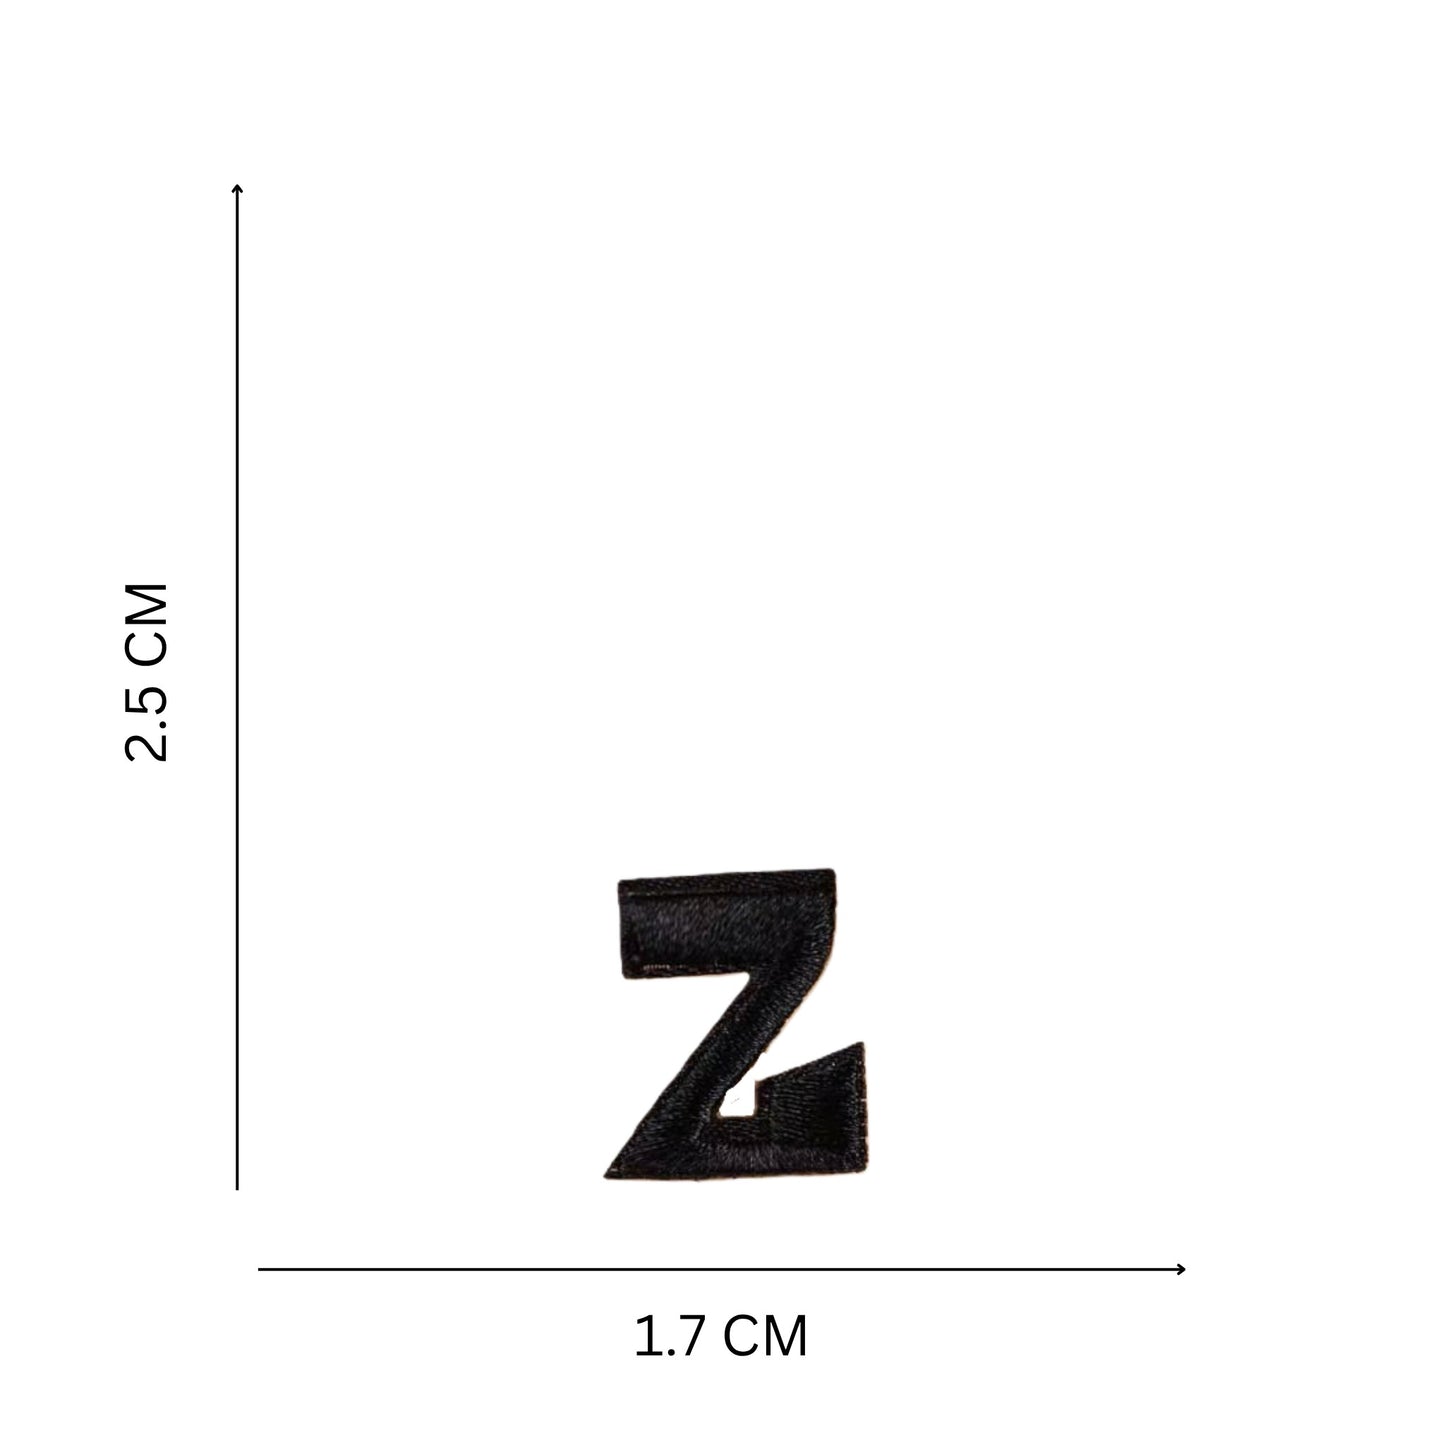
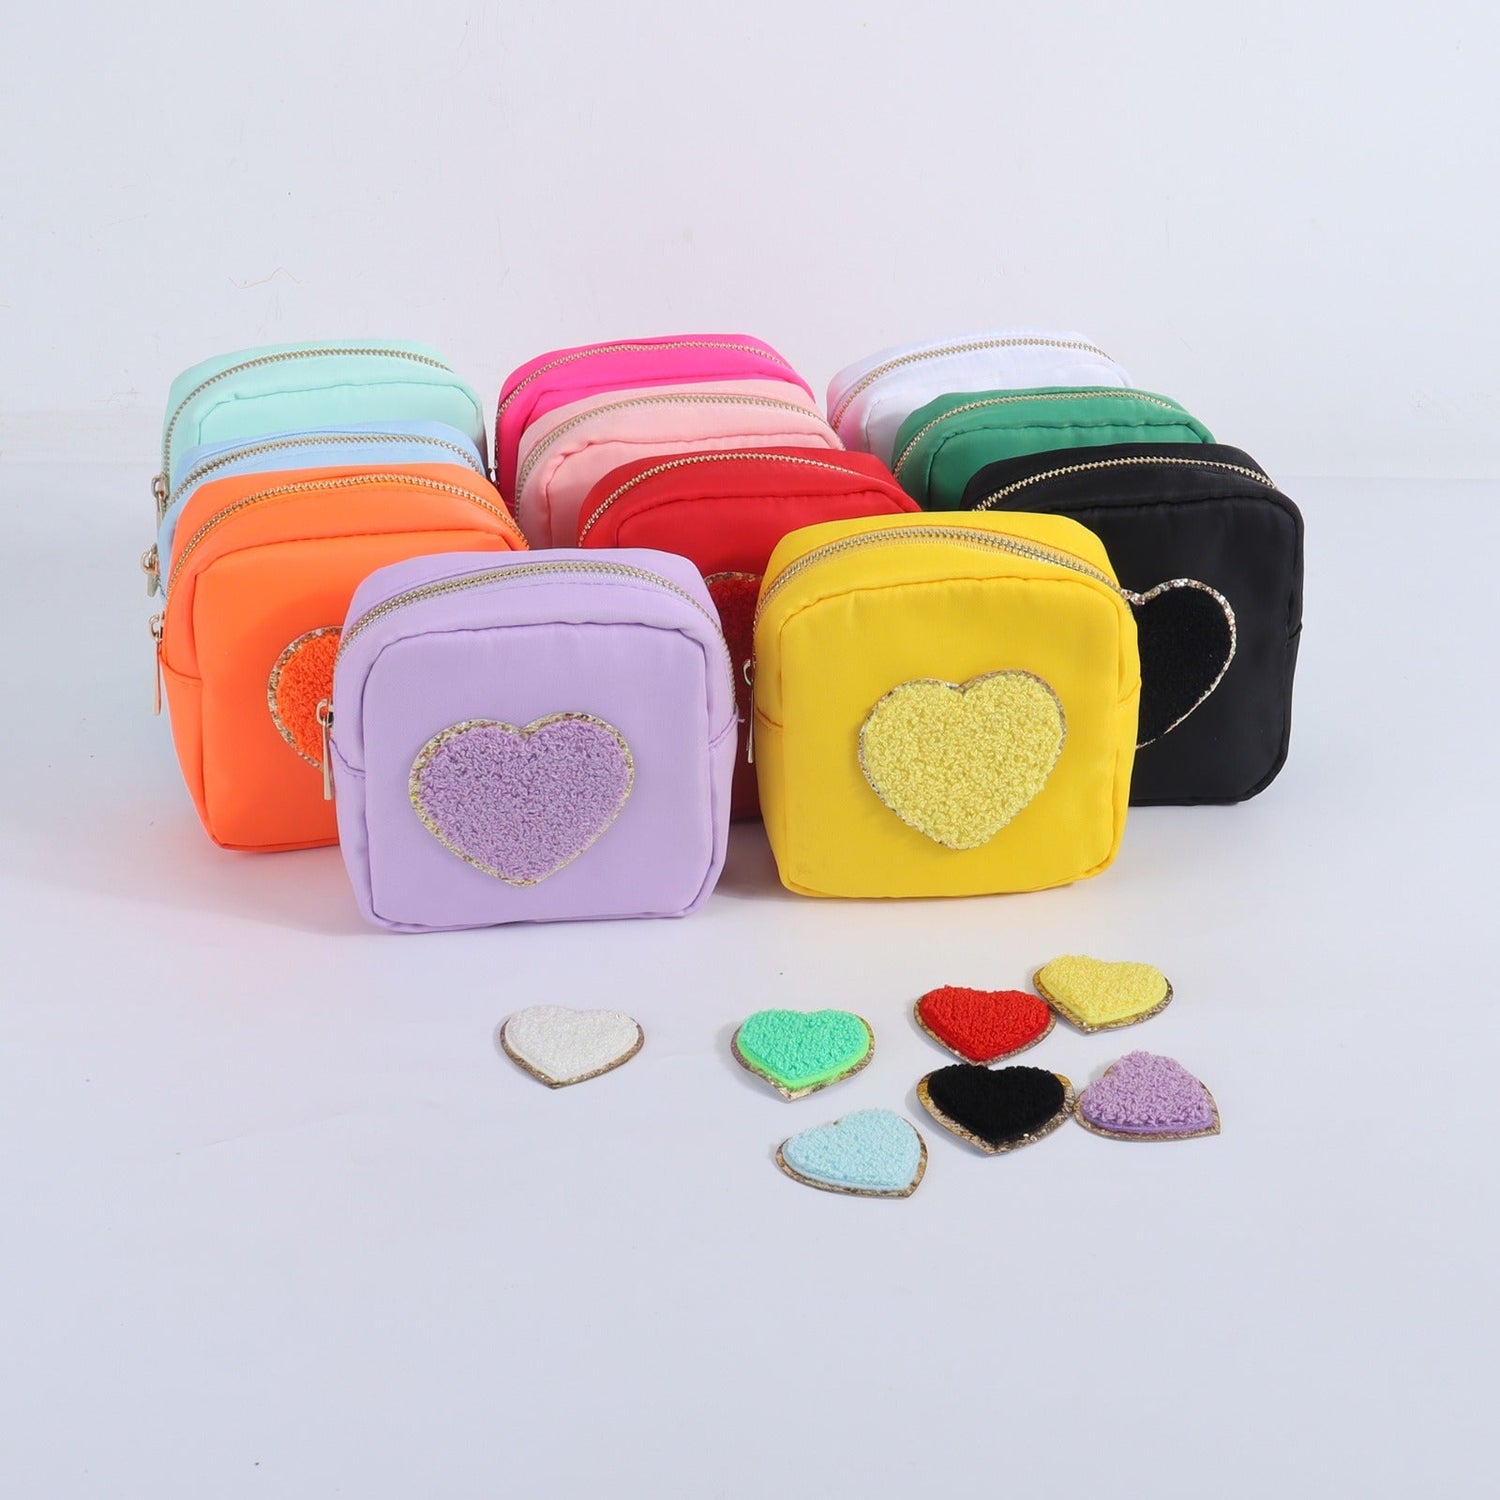
Mini Embroidered Alphabet Patches (A–Z, 2.5 cm Height) – Available in Black, White & Pink
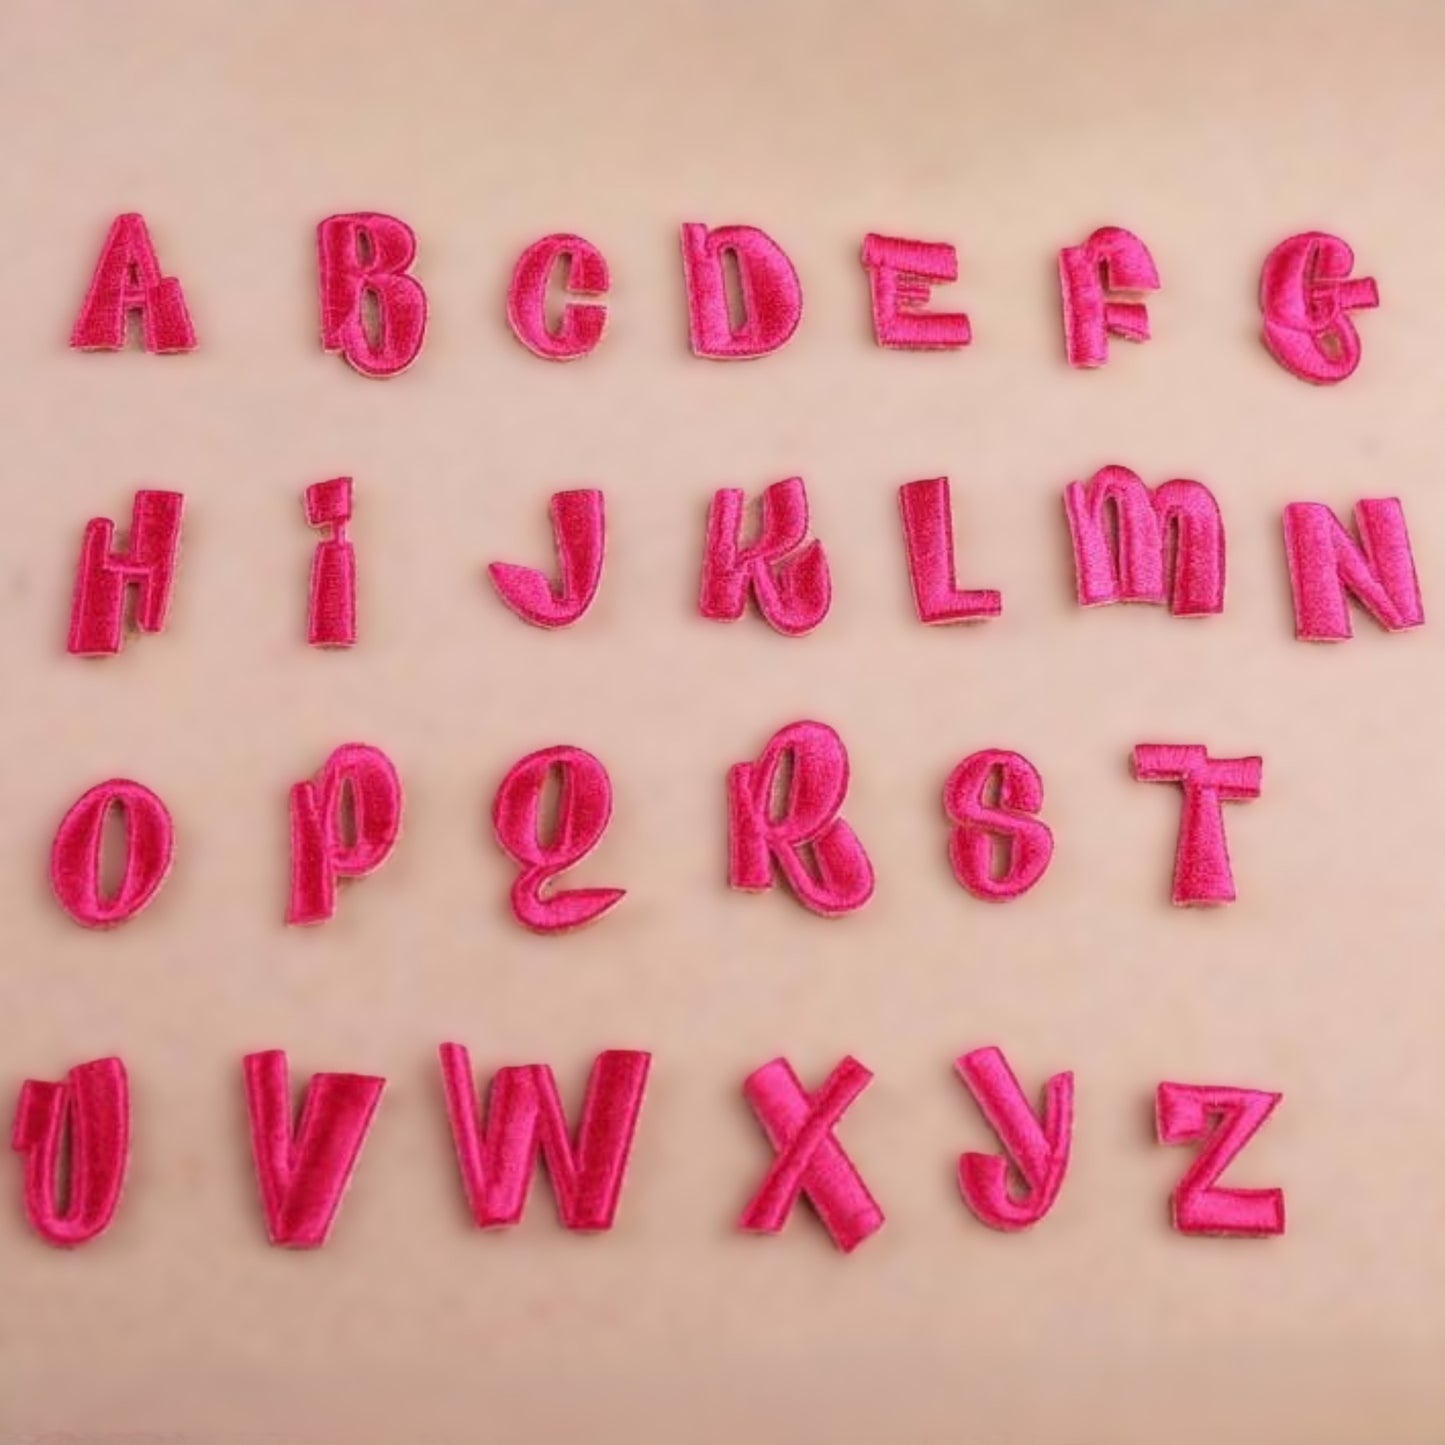
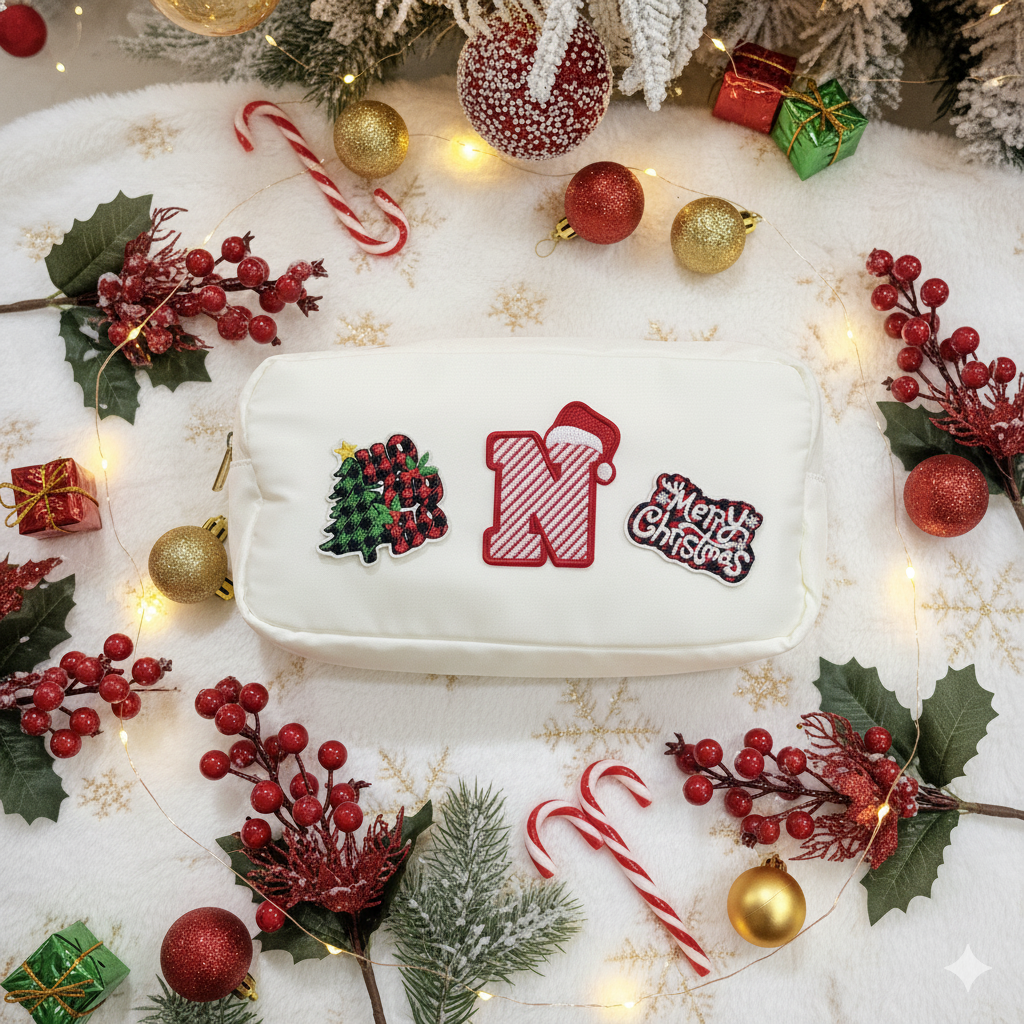
Personalize your style with our Mini Embroidered Alphabet Patches, available in all A–Z letters. These bold embroidered letters are perfect for customizing shoes, caps, jackets, backpacks, t-shirts, and other smaller accessories.
Each patch is designed in a fun, cartoon-inspired font with rounded, thick strokes, giving them a playful yet bold look that makes your accessories stand out. Available in three stylish colors – black, white, and pink, these patches are perfect for mixing and matching to spell out initials, names, or creative words.
With a height of 2.5 cm, these alphabet patches are the ideal size for subtle yet stylish personalization. Application is quick and easy: simply iron-on for a strong hold, or stick them on with fabric glue or super glue for a no-sew option.
Product Features:
Embroidered alphabet patches (A–Z) – choose your letters
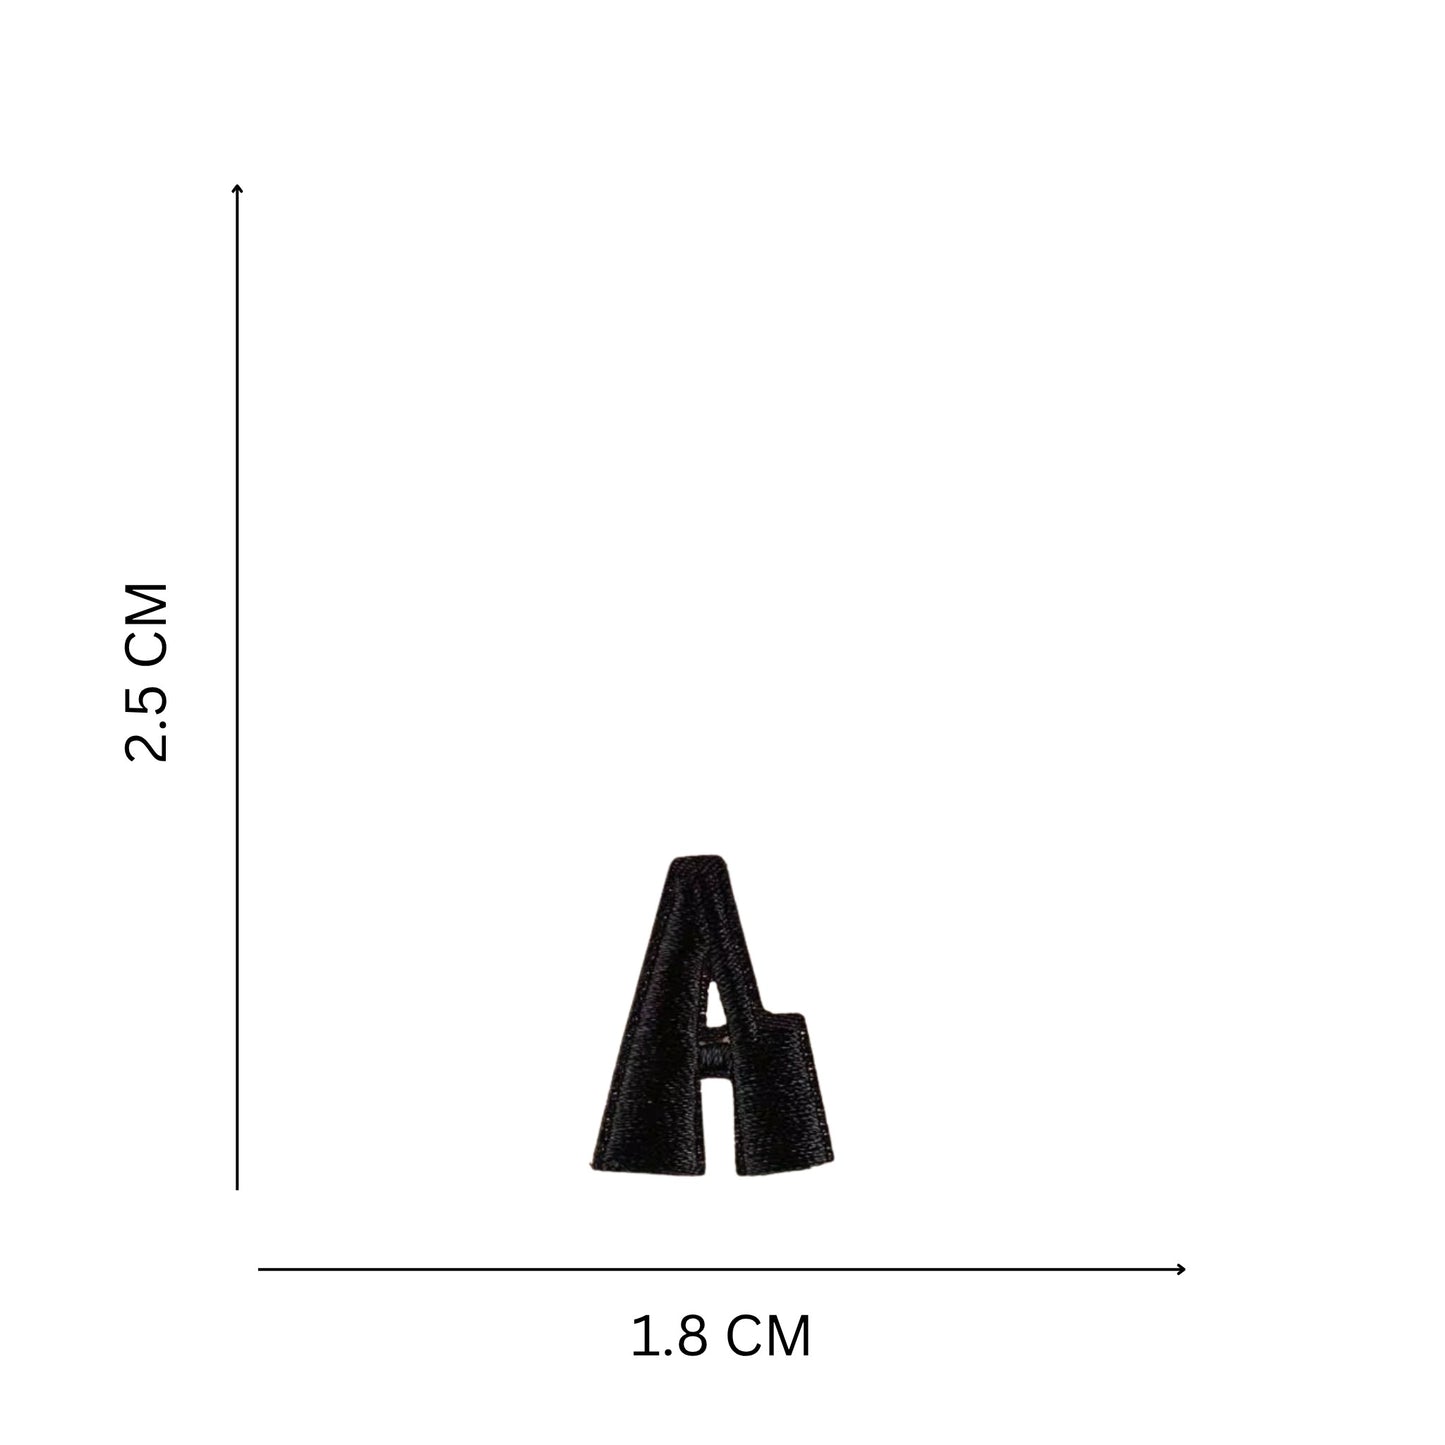
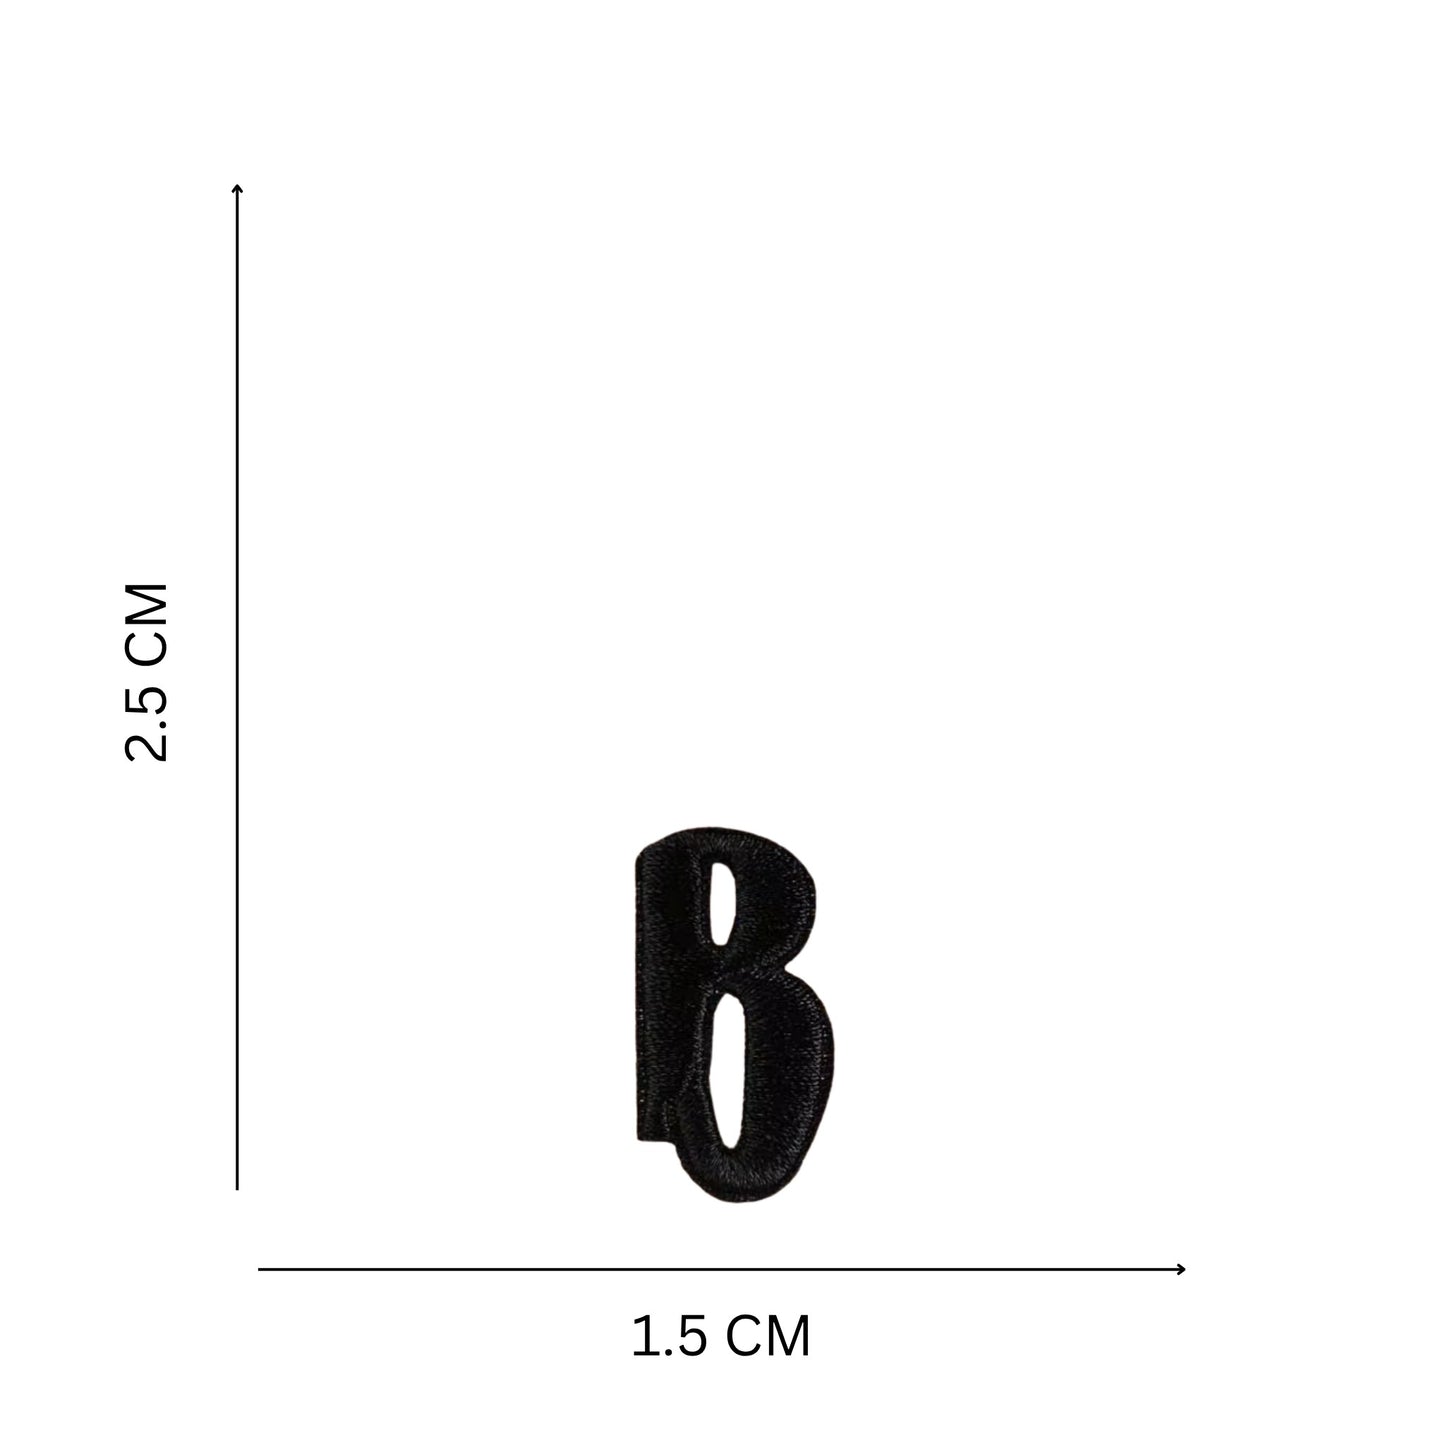
Size: Approx. 2.5 cm height
Colors available: Black, White, Pink
Rounded, thick stroke embroidered font for a bold finish
Application: Iron-on, fabric glue, or super glue
Perfect for DIY personalization of shoes, caps, bags & clothing
Great for names, initials, slogans & fun creative designs
From adding initials to sneakers, to personalizing school bags and jackets, these playful embroidered alphabet patches are a must-have for anyone who loves creative DIY fashion.
Personalization Process
Personalization Process
- Select Your Product
Browse our exclusive collection of premium, customizable products, including pouches, bags, and accessories. Select your preferred item to view detailed information such as size, style, and available personalization options. - Choose Your Patches and Designs
Visit the Patches & Personalization section to select from a variety of patches, text options, and design elements. Add your selections to the cart. - Custom Requests
If you have specific or custom requests, feel free to contact us with your ideas. - Proceed to Payment
Once you’ve finalized your product and customization choices, proceed to checkout. The total price will reflect the cost of the product along with any personalization fees. - Request Bespoke Customization
For fully bespoke designs or specific customization requests (e.g., text or patch placement), please contact us at business@glamglam.in or via WhatsApp at +91 77384 46321 with the following details:
- Order Number
- Desired text
- Preferred design placement
- Color preferences
We will send you a design preview for approval before production begins.
- Submit Customization Details
Ensure all details for your customization are provided accurately. We will send you a digital mock-up for your review and approval. - Review & Approve Design Proof
Carefully review the mock-up to ensure all details—text, design, placement, and color—are accurate. If adjustments are needed, provide feedback, and we’ll send an updated version for final approval. If we do not receive approval within 48 hours, we will proceed with production as is. - Finalize Your Order
Once the design is approved, we will begin processing your order. Please note that customization may take additional time depending on the complexity of your request.
Disclaimer - Patch shown in the image is not included.
Shipping & Returns
Shipping & Returns
Shipping Information:
We offer fast and reliable shipping with tracking to ensure your order reaches you promptly.
Returns Information:
We do not accept returns
Disclaimer
Disclaimer
Please note that the colors of our products may vary slightly from what you see on the website. This is due to differences in photography, editing, and lighting. We strive to represent our products as accurately as possible.