Multicolor Embroidered Heart Iron On Patch - Set of 20
- Delivery time: 7-8 working days
- Free Shipping on All Orders Above INR 1,000

Description
Description
This vibrant heart patch set features a curated collection of twenty embroidered heart patches designed to add color, personality and charm to everyday accessories and garments. Each patch is finely crafted with a smooth satin stitch embroidery, offering a rich thread texture and a clean, premium finish that feels both playful and polished.
The set includes twenty heart shaped patches in an assorted color palette featuring shades of red, pink, hot pink, purple, lavender, navy blue, sky blue, turquoise, yellow, lime green, forest green, black, orange, peach and beige tones. The variety of colors allows for endless creative combinations, making this set ideal for themed designs, mix and match styling or personalized projects.
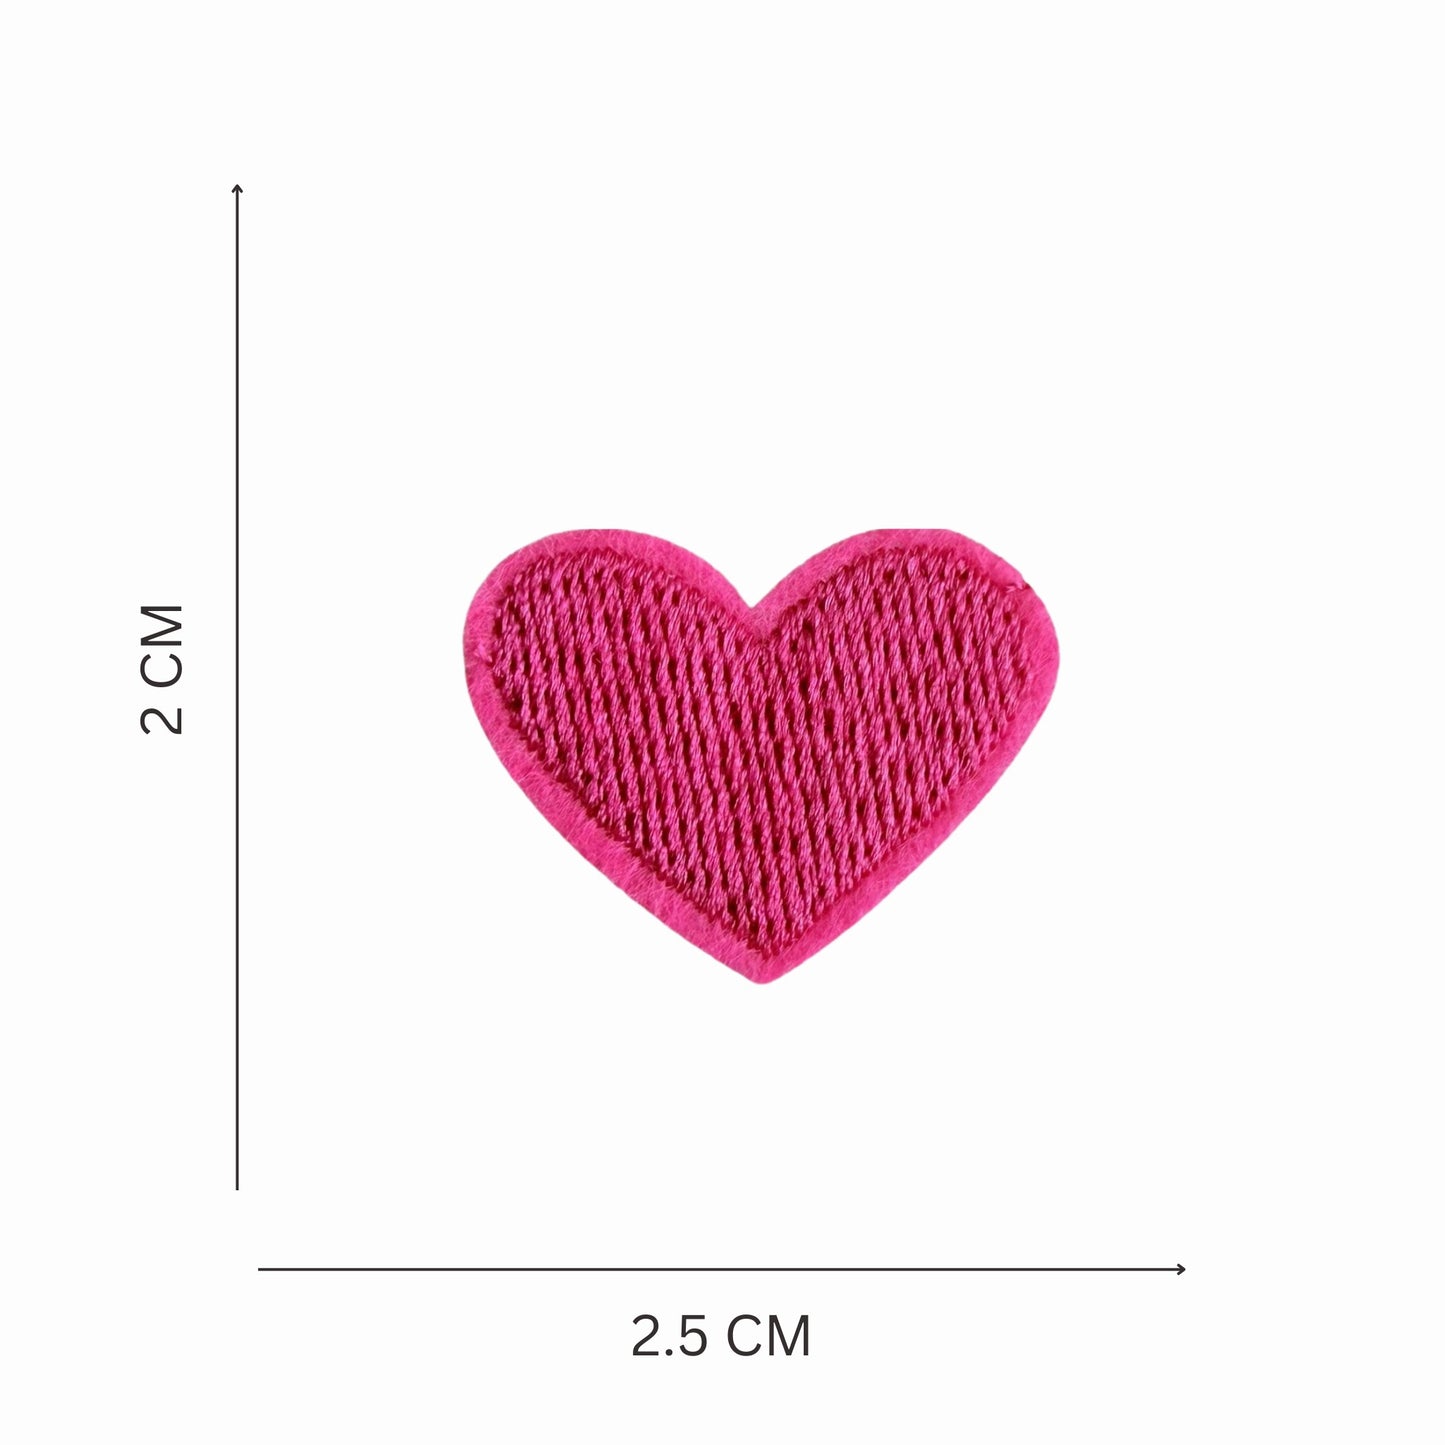
Each patch measures approximately 2.5 cm in width and 2 cm in height, making them perfectly sized for detailed customization without overpowering the surface. Their compact dimensions make them suitable for pouches, backpacks, tote bags, denim jackets, kid swear, caps and DIY craft projects.
These iron on patches are easy to apply and work well on cotton, denim and most fabric blends. They are ideal for refreshing old pieces, adding playful accents to children’s accessories, creating custom gifts or designing one of a kind personalized items.
How To Use:
How To Use:
To Iron-On A Patch
Step 1: Prepare the Patch Area
Ensure the patch area is free from any debris, such as hairs, lint, or dirt.
Step 2: Select the Appropriate Fabric
Assess the fabric type of the item you plan to attach the patch to. For delicate materials like leather or heat-sensitive synthetics, opt for a sew-on patch instead.
Step 3: Set Your Iron
Prepare a dry iron (without steam) to avoid damaging the fabric or patch.
Step 4: Attach the Patch
Position the patch on the fabric, covering it with a piece of fabric or parchment paper. Gently press the iron onto the patch, starting from the center and using the tip of the iron for precision.
Step 5: Flip the Fabric
Turn the fabric over and repeat the same ironing process on the back side of the patch to ensure a secure bond.
Step 6: Allow Time to Bond
Let the patch cool for 5-10 minutes, allowing the adhesive to fully bond with the fabric.
Shipping & Returns
Shipping & Returns
Shipping Information:
We offer fast and reliable shipping with tracking to ensure your order reaches you promptly.
Returns Information:
We do not accept returns
Disclaimer
Disclaimer
Please note that the colors of our products may vary slightly from what you see on the website. This is due to differences in photography, editing, and lighting. We strive to represent our products as accurately as possible.