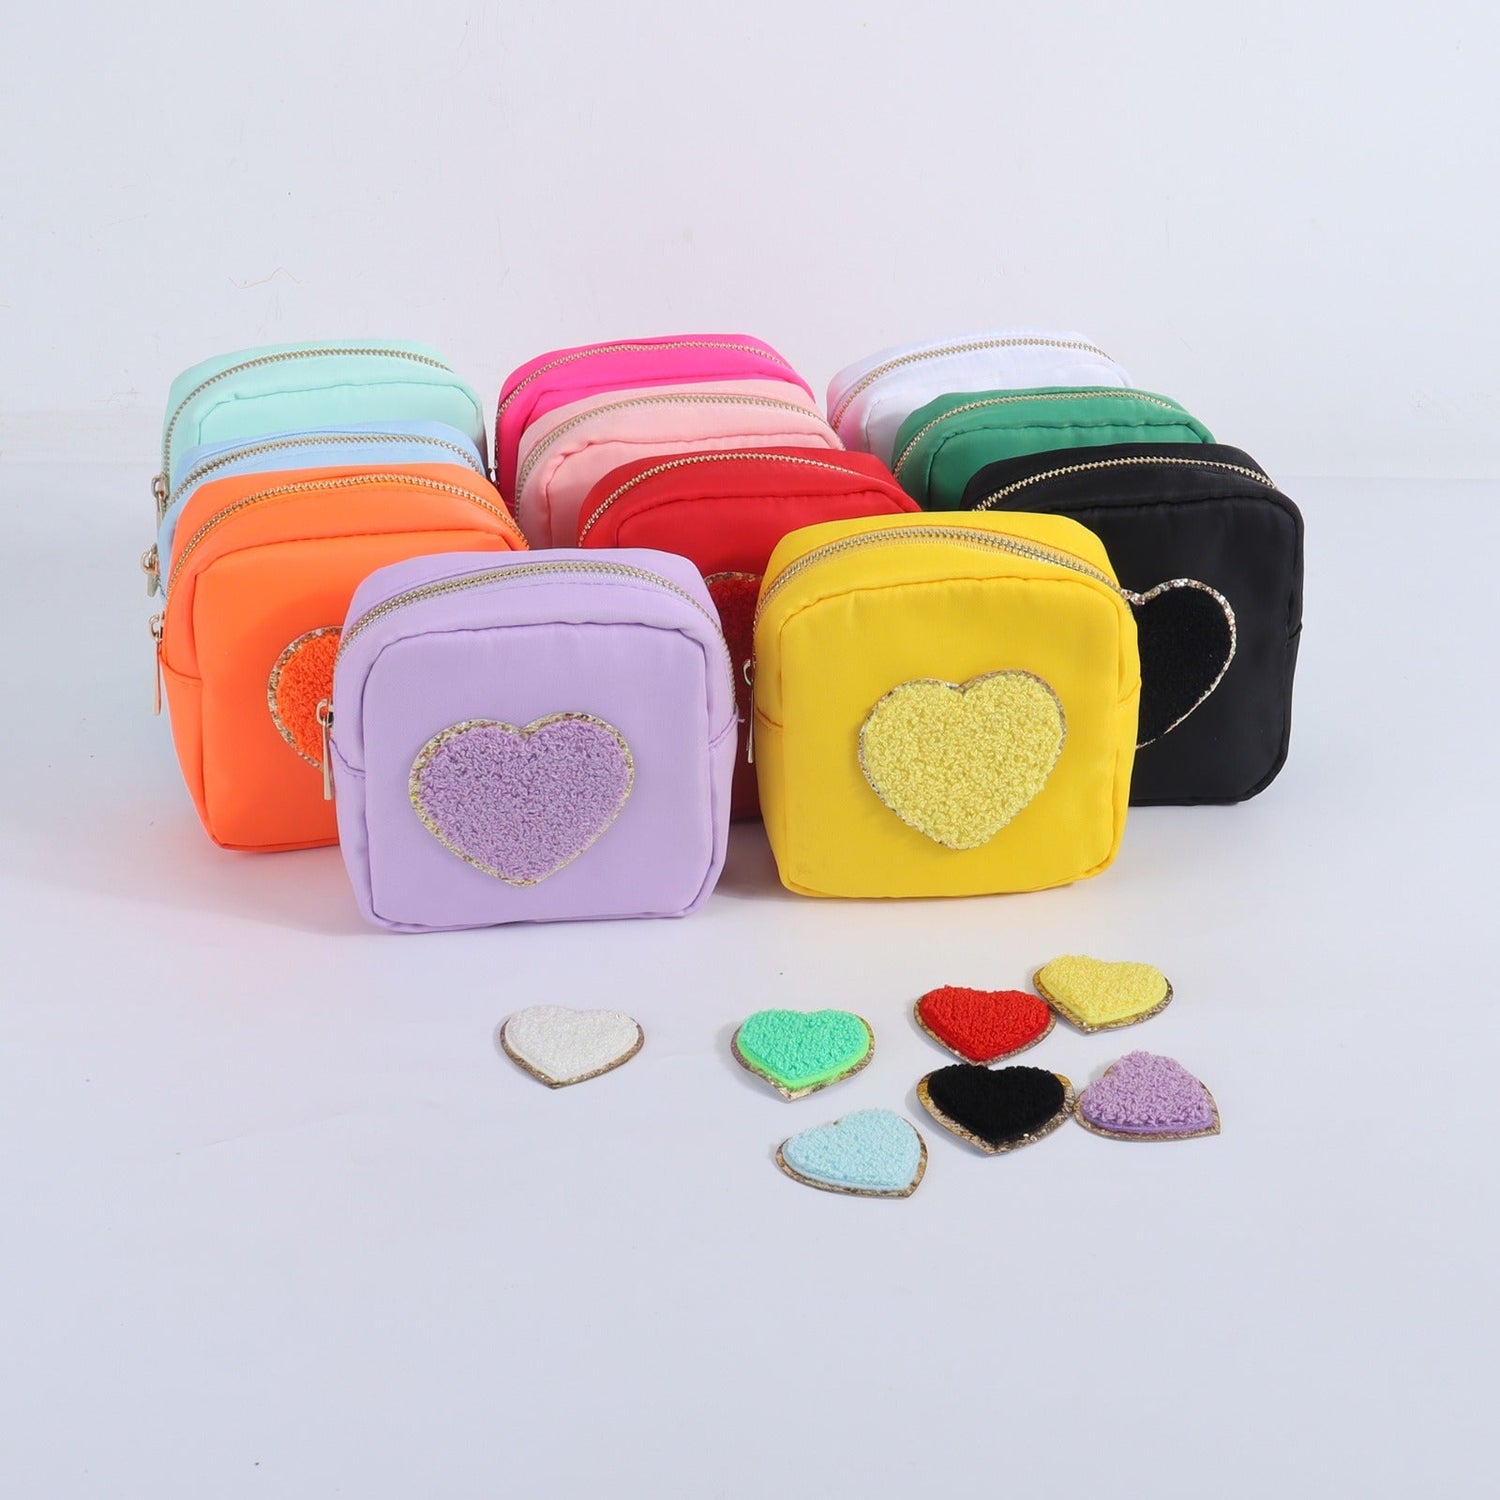
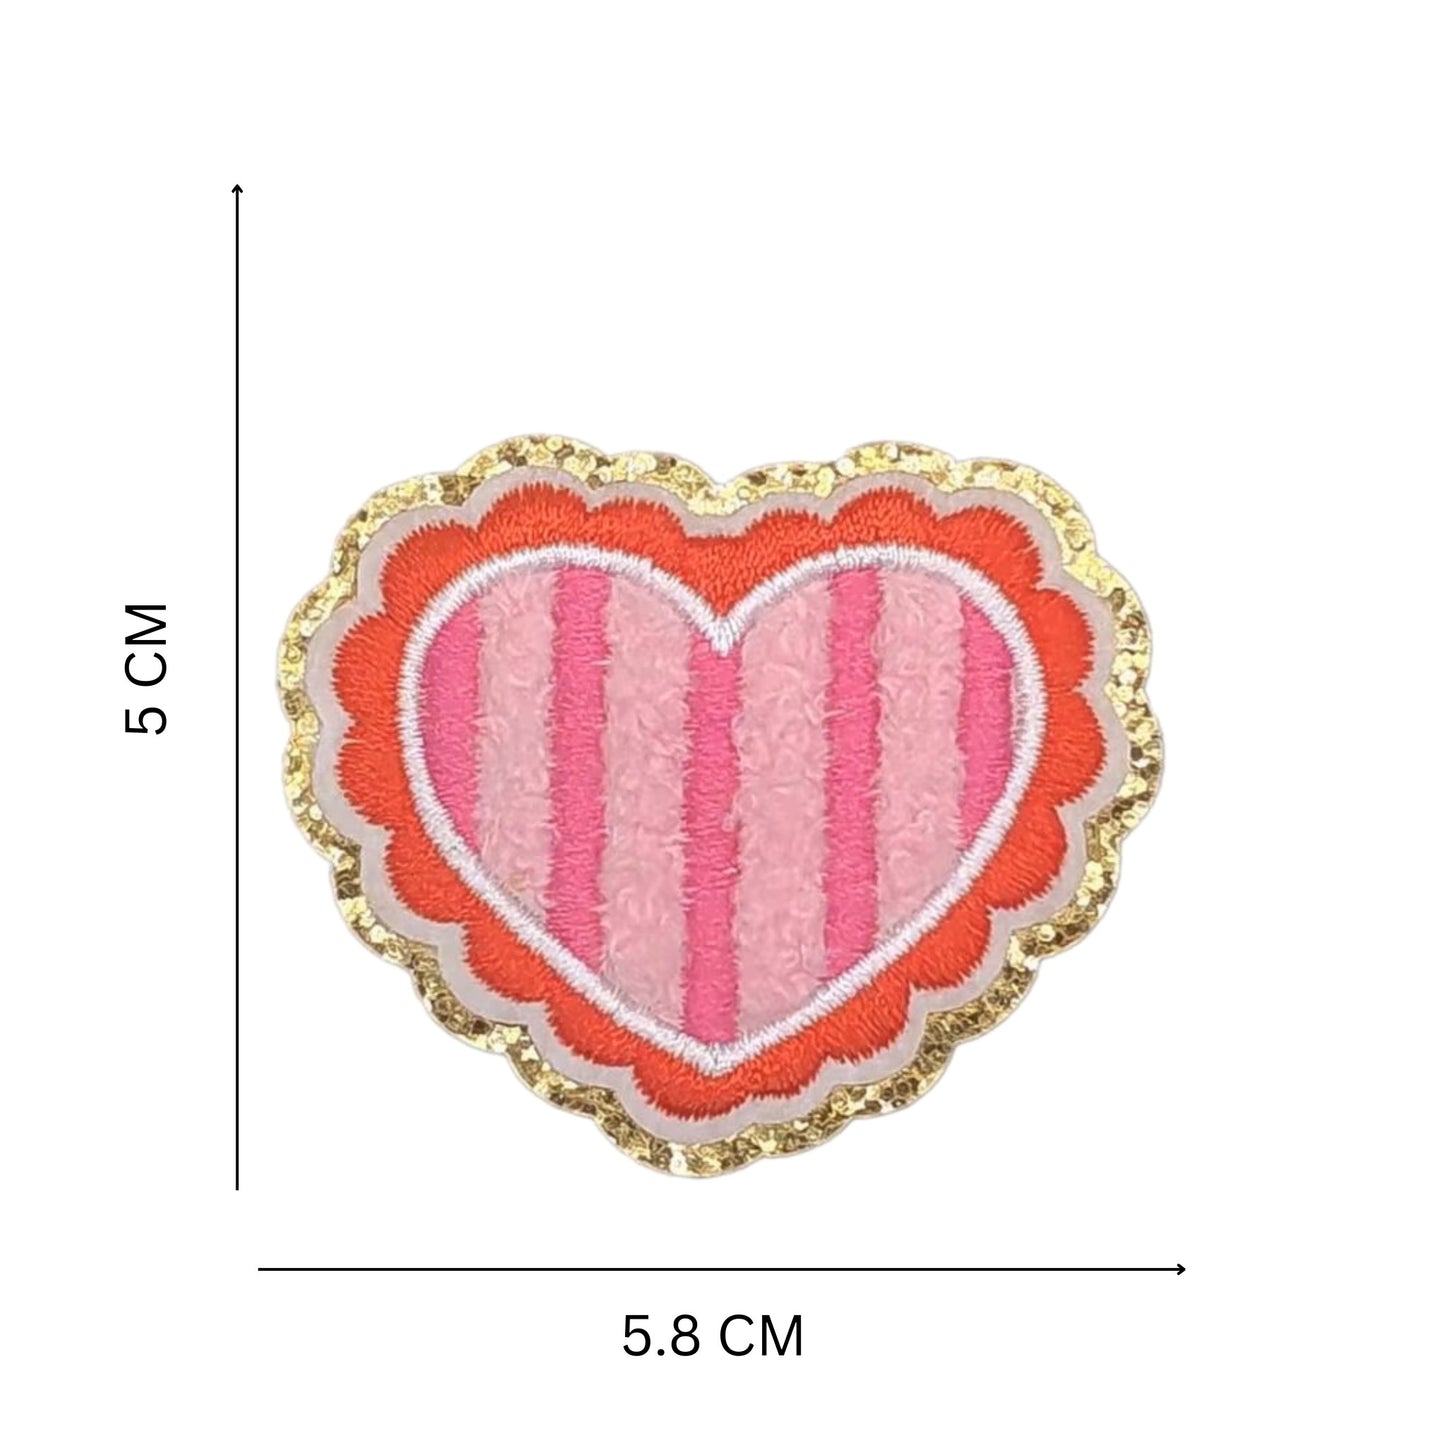
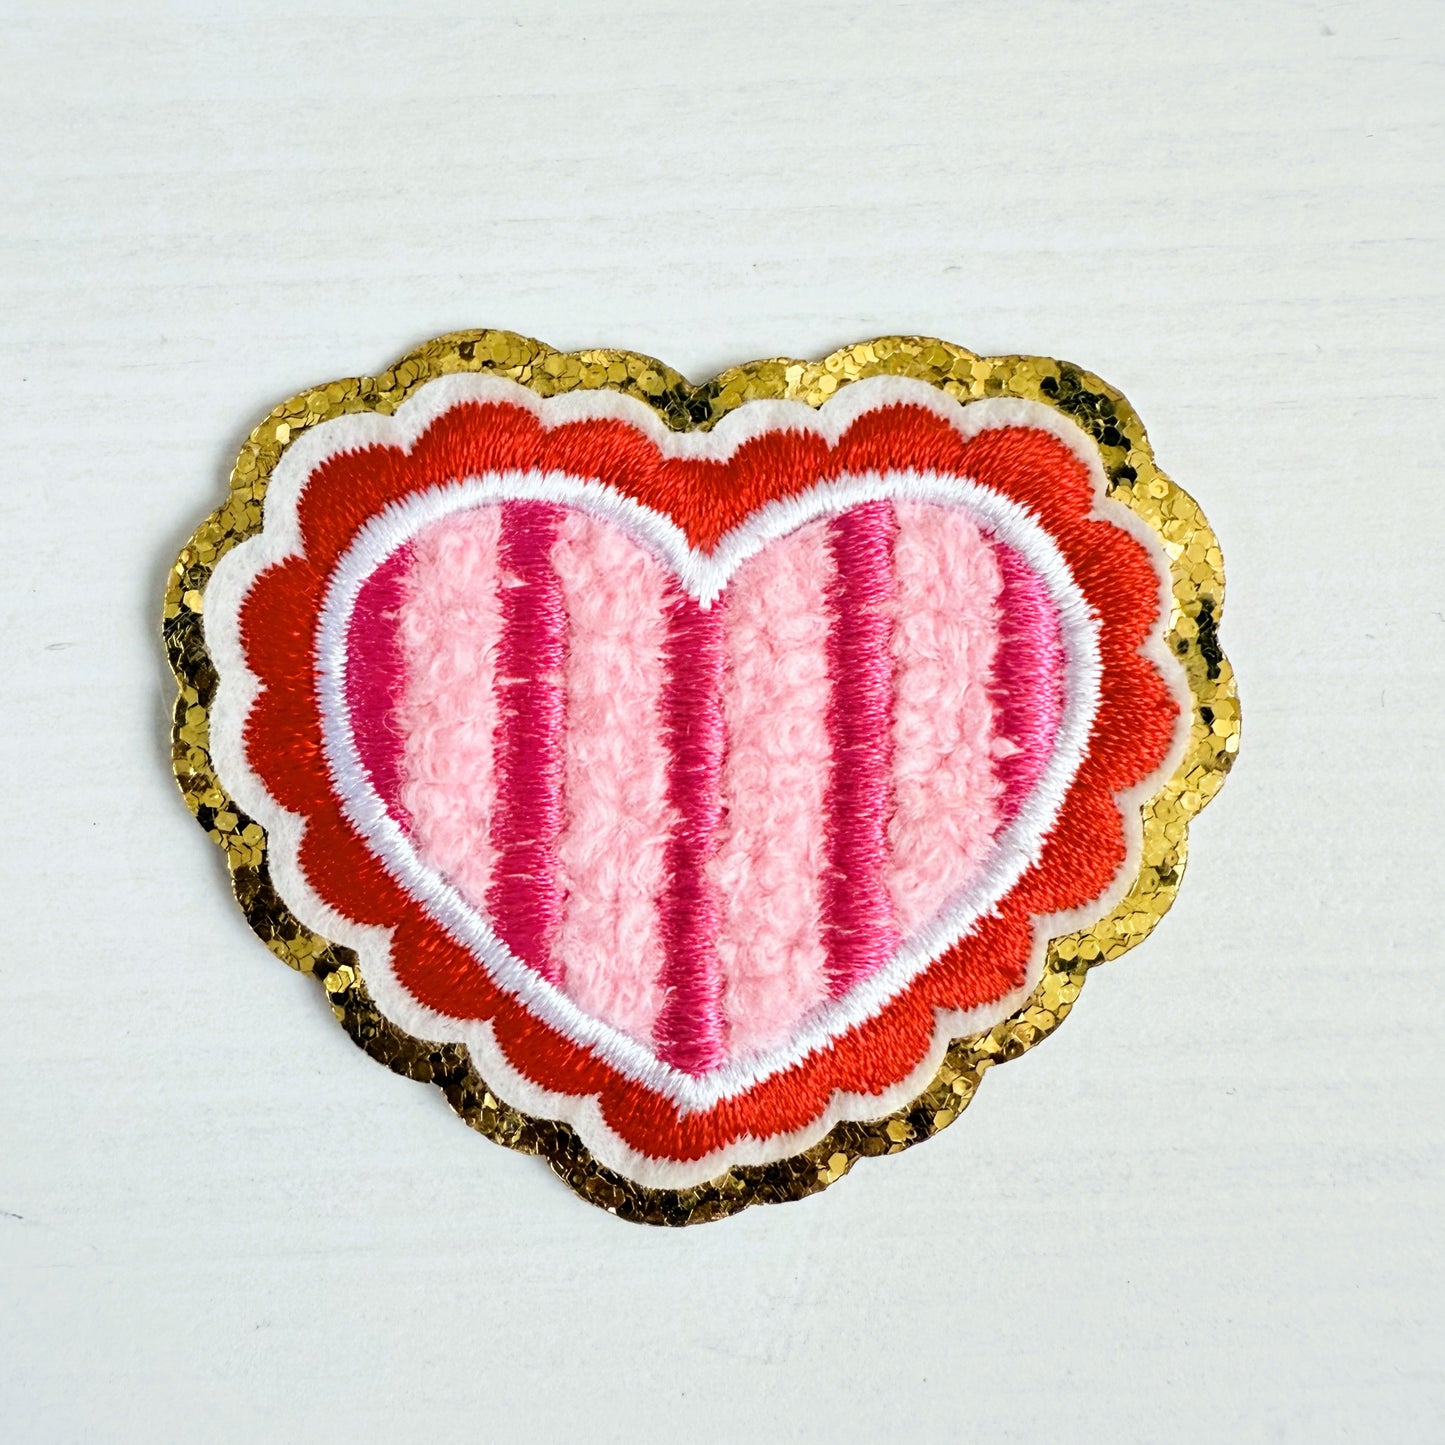
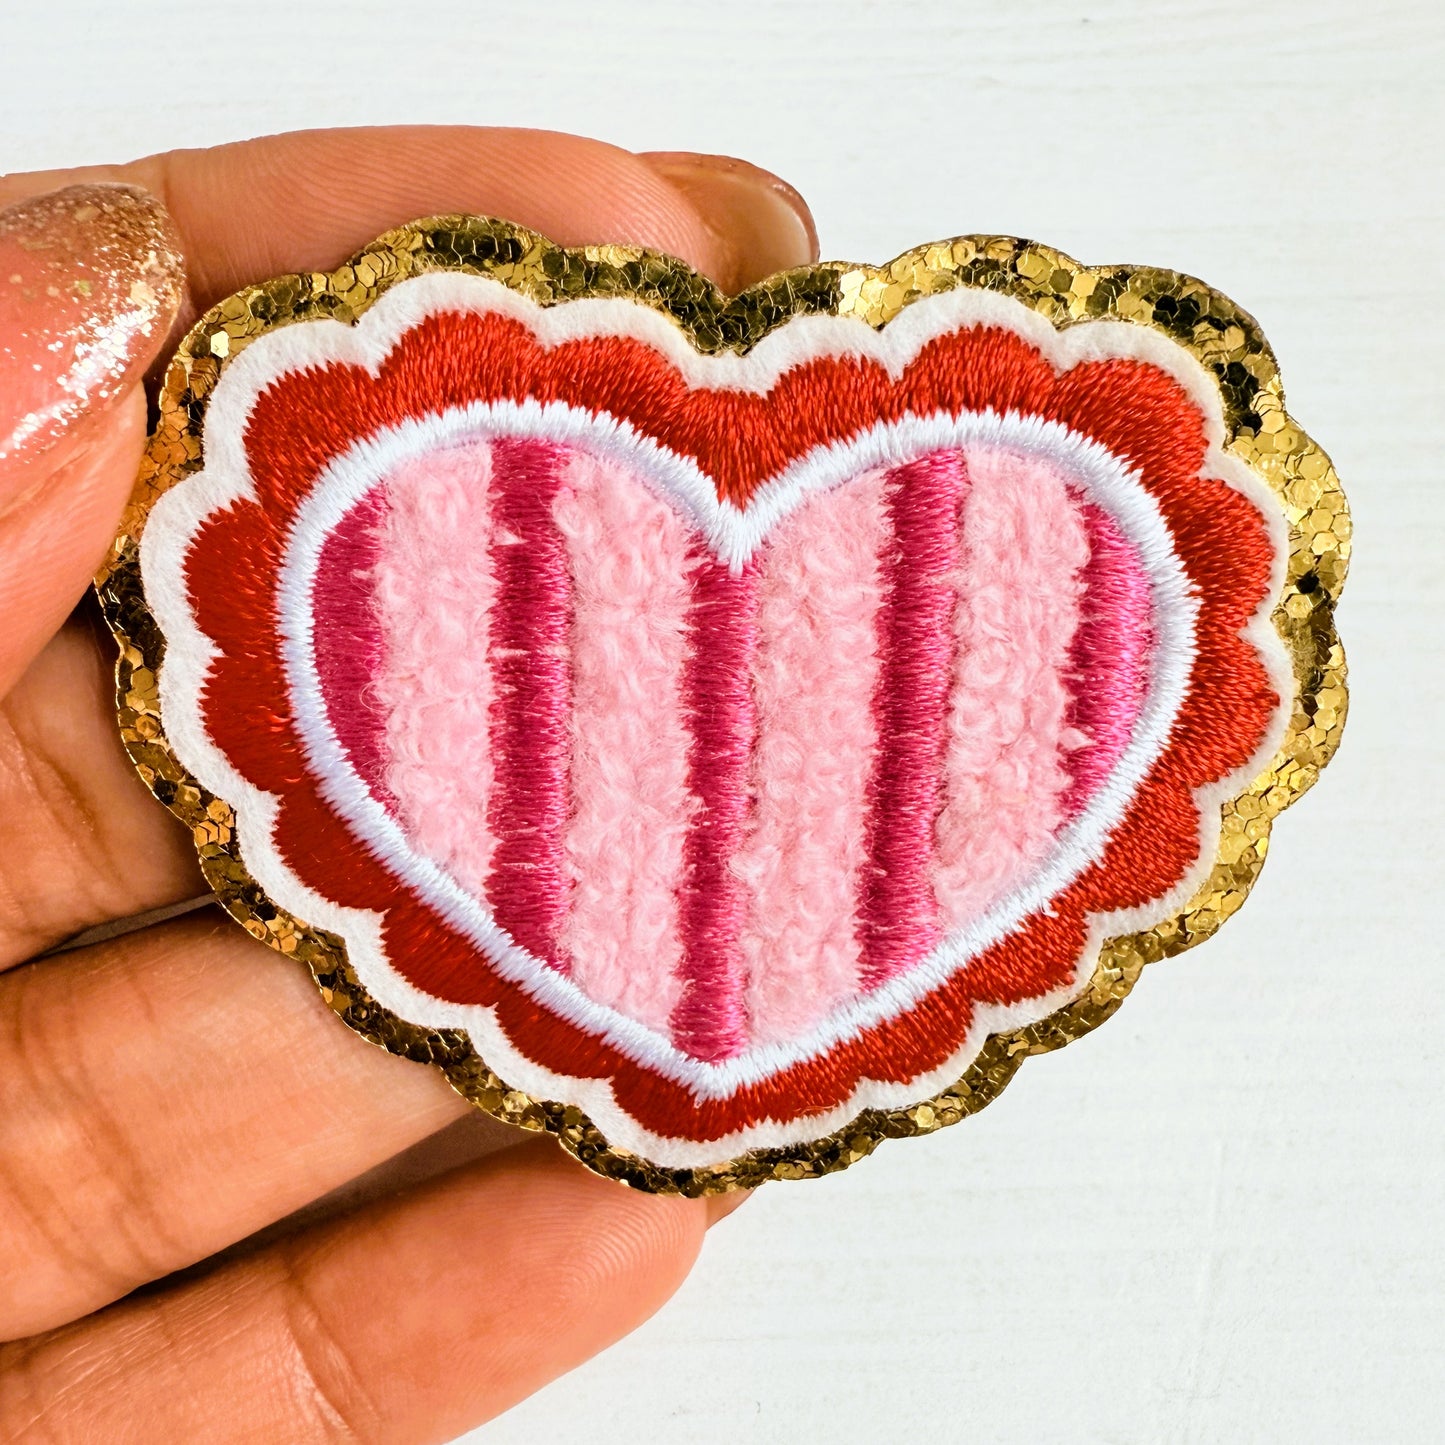
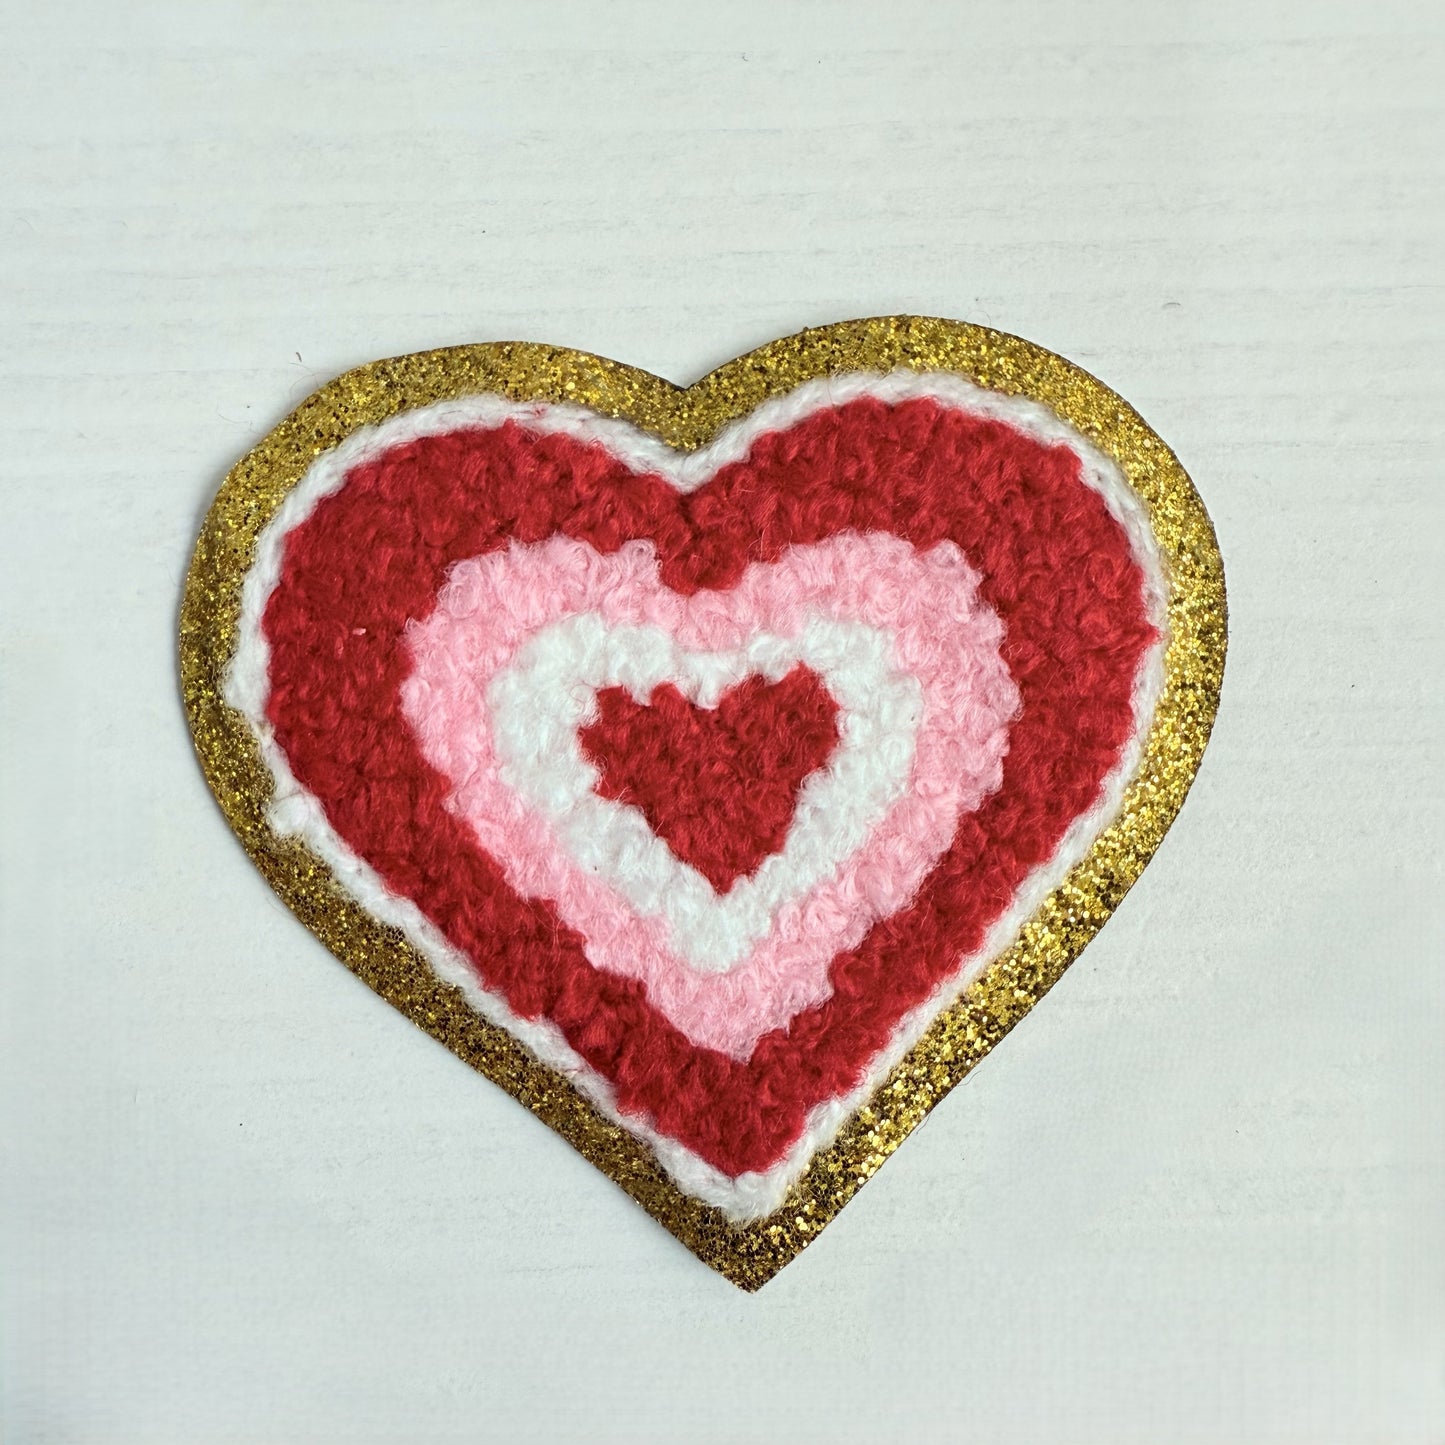
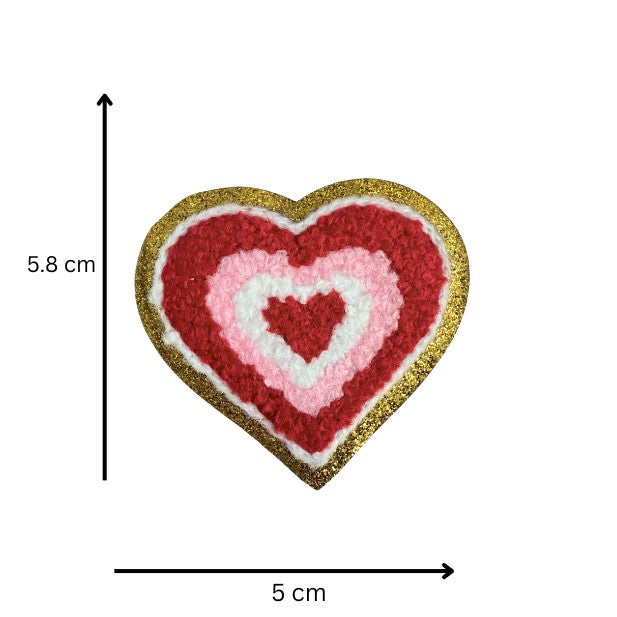
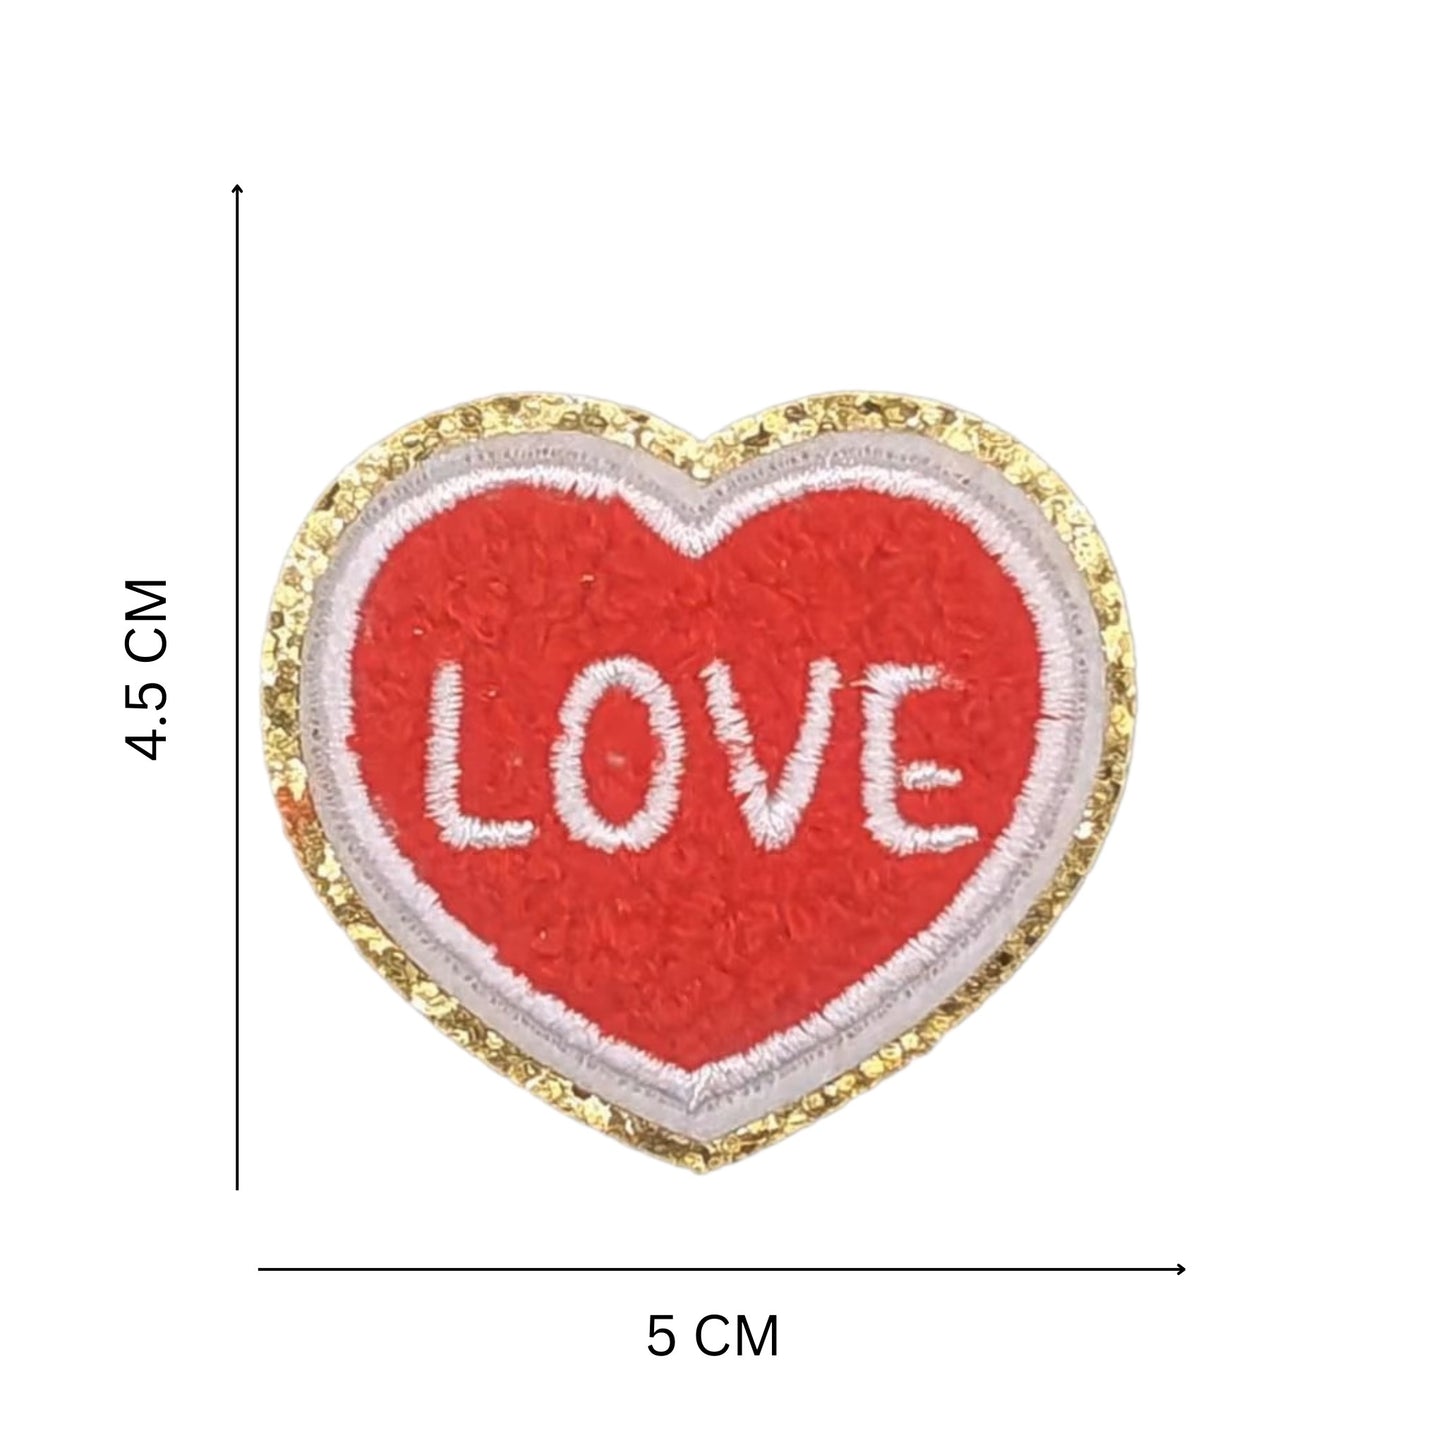
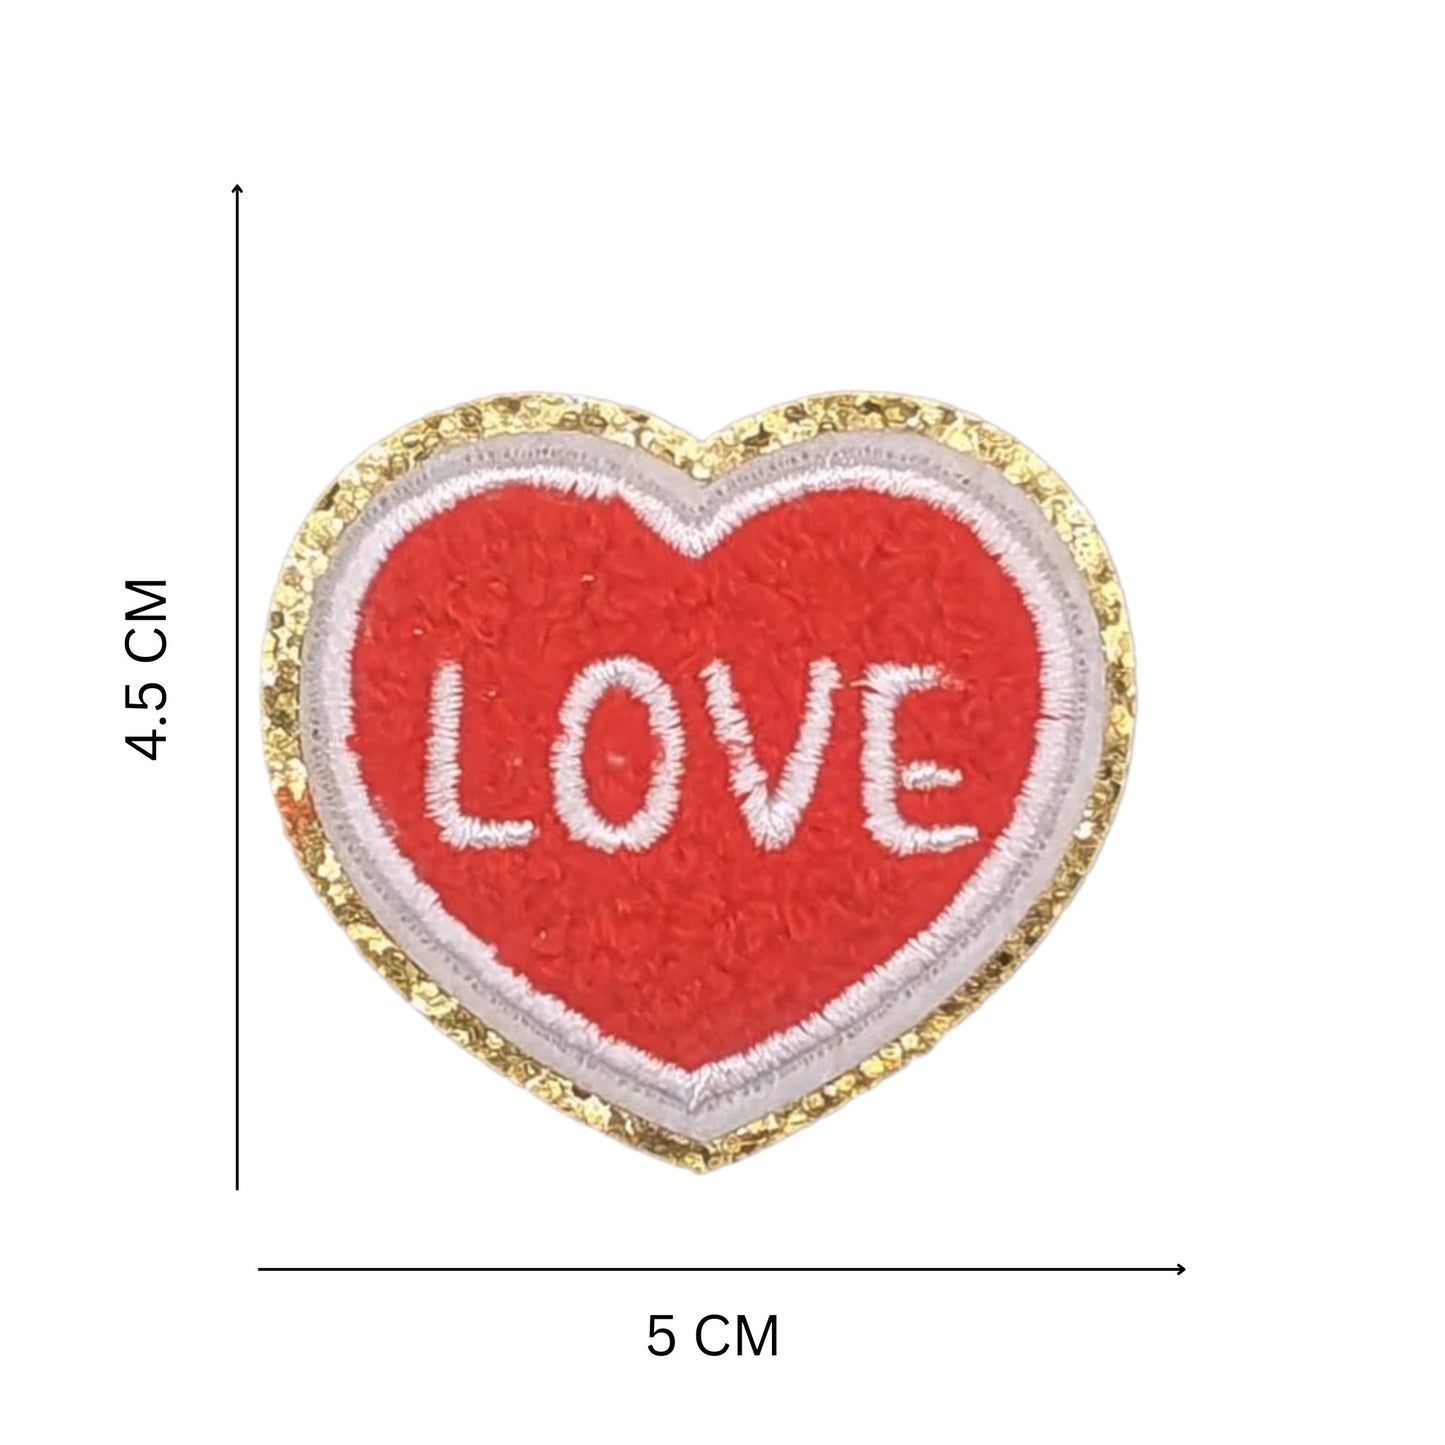
Self-Adhesive and Iron On/Sew On Pink & Red Chenille Heart Patch – 5 cm x 5.8 cm for Quick Customization on Bags, Hats & DIY Projects
Couldn't load pickup availability
- Delivery time: 7-8 working days
- Buy 10 or more patches and avail free shipping | Use Code: FREESHIPPING
- Free Shipping On All Orders Above INR 4000
Description
Description
Add a sweet, stylish touch to your everyday accessories with this Pink & Red Self-Adhesive Chenille Heart Patch—a fun and feminine detail designed for quick, no-sew customization. Made from soft, towel-textured chenille in a charming pink hue, this plush heart-shaped patch delivers cozy, varsity-inspired vibes to any look.
Featuring a self-adhesive backing, it's perfect for instant decoration—just peel and stick. No ironing or sewing required! Ideal for enhancing notebooks, phone cases, tote bags, hats, and smooth fabric surfaces with a playful pop of personality.
Patch Size: Approx. 5 cm x 5.8 cm (2 in x 2.3 in)
To Apply the Self-Adhesive Heart Patch:
Step 1: Prepare the Surface
Ensure the surface where you’ll apply the patch is clean and smooth. Make sure it’s free from any dust, dirt, lint, or moisture for the best adhesion.
Step 2: Peel Off the Backing
Gently peel the protective backing from the adhesive side of the patch, exposing the sticky surface.
Step 3: Position the Patch
Carefully place the patch on your desired area. Once positioned, press it down firmly to ensure that it adheres to the fabric or surface.
Step 4: Apply Pressure
Press the patch firmly for 15–20 seconds to ensure a good bond. You can use your fingers or a flat object to apply even pressure across the patch.
Step 5: Iron for Extra Durability
For a stronger bond, turn the fabric over and gently iron the backside of the patch (without steam) for 15–20 seconds. This step helps the adhesive set and ensures long-lasting attachment.
Step 6: Allow Time to Set
Let the patch sit for a few minutes before using or wearing the item to ensure the adhesive has fully set and bonded.
To Iron-on a Patch:
Step 1: Prepare the Patch Area
Ensure the patch area is free from any debris, such as hairs, lint, or dirt.
Step 2: Select the Appropriate Fabric
Assess the fabric type of the item you plan to attach the patch to. For delicate materials like leather or heat-sensitive synthetics, opt for a sew-on patch instead.
Step 3: Set Your Iron
Prepare a dry iron (without steam) to avoid damaging the fabric or patch.
Step 4: Attach the Patch
Position the patch on the fabric, covering it with a piece of fabric or parchment paper. Gently press the iron onto the patch, starting from the center and using the tip of the iron for precision.
Step 5: Flip the Fabric
Turn the fabric over and repeat the same ironing process on the back side of the patch to ensure a secure bond.
Step 6: Allow Time to Bond
Let the patch cool for 5-10 minutes, allowing the adhesive to fully bond with the fabric.
Shipping & Returns
Shipping & Returns
Shipping Information:
We offer fast and reliable shipping with tracking to ensure your order reaches you promptly.
Returns Information:
We do not accept returns
Disclaimer
Disclaimer
Please note that the colors of our products may vary slightly from what you see on the website. This is due to differences in photography, editing, and lighting. We strive to represent our products as accurately as possible.

Collections You'll Love
Hear it from our customers!

"Love the specially curated bags.They are truly tasteful and I am delighted to see the fine quality.Thank you so much Glam Glam!"
"Can completely vouch for the quality and designs!Love the products!"
"Beautiful vibrant colours and awesome texture! Keep doing the good work"


